Waterproof Your Retaining Wall
Find all products needed to waterproof your Retaining Wall below ↓
Products you need for your roof
FAQ
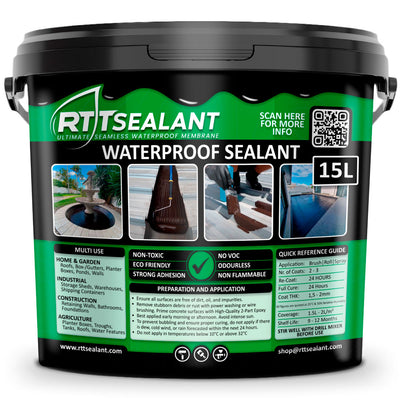
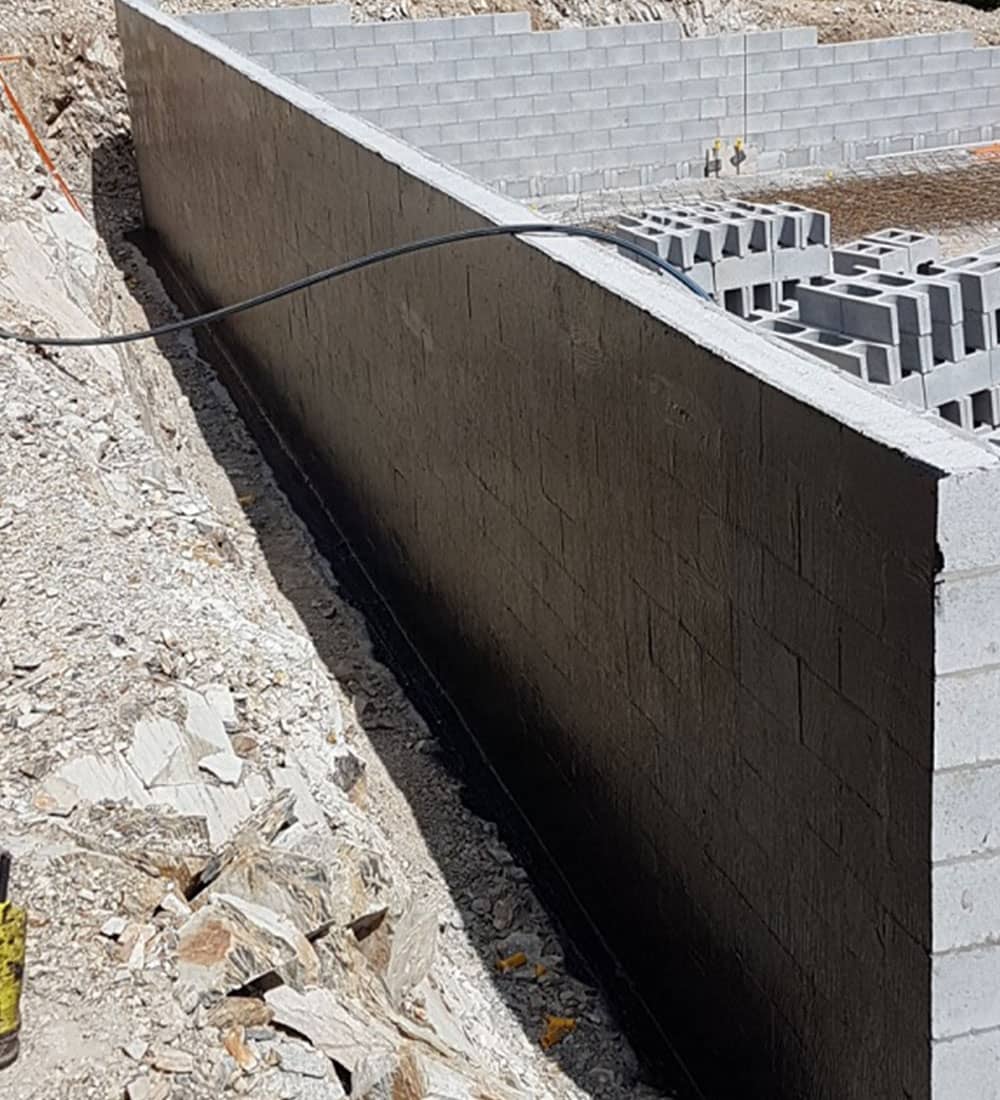
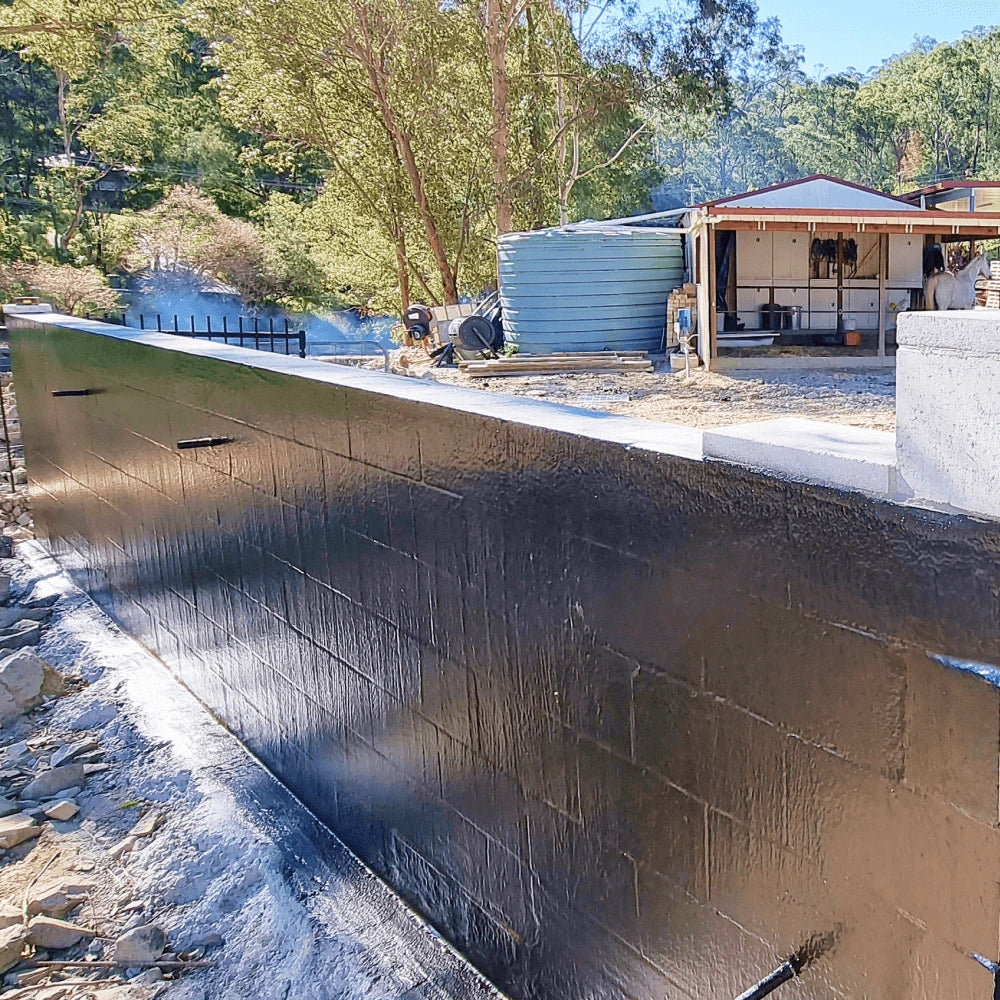
You will need a minimum of 2L/m2 of RTT - Waterproof Sealant for concrete surfaces.
You will need a minimum of minumum of 1.5L/m2 RTT - Waterproof Sealant for metal surfaces.
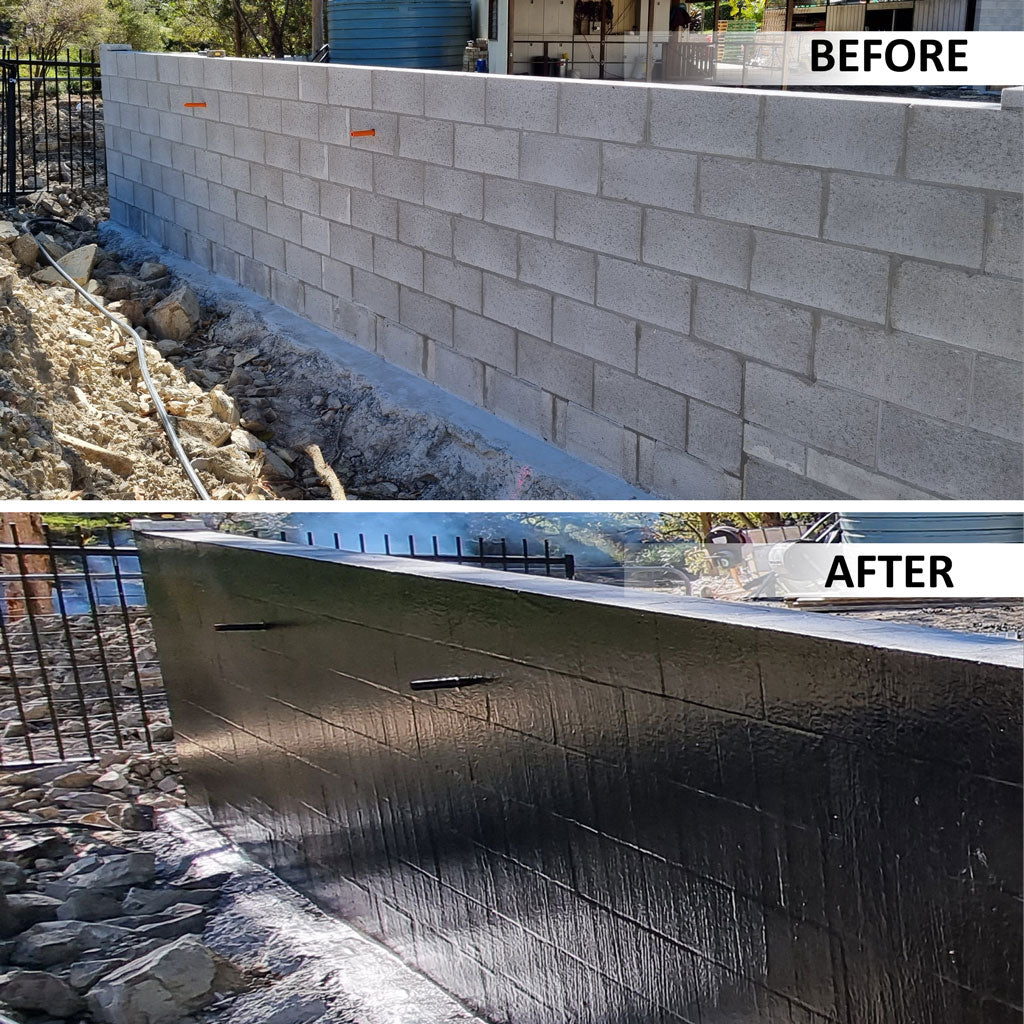
We've been testing and improving our products since 2008. When properly applied the Waterproof Membrane will extend the life of your Planter Box by 10+ year.
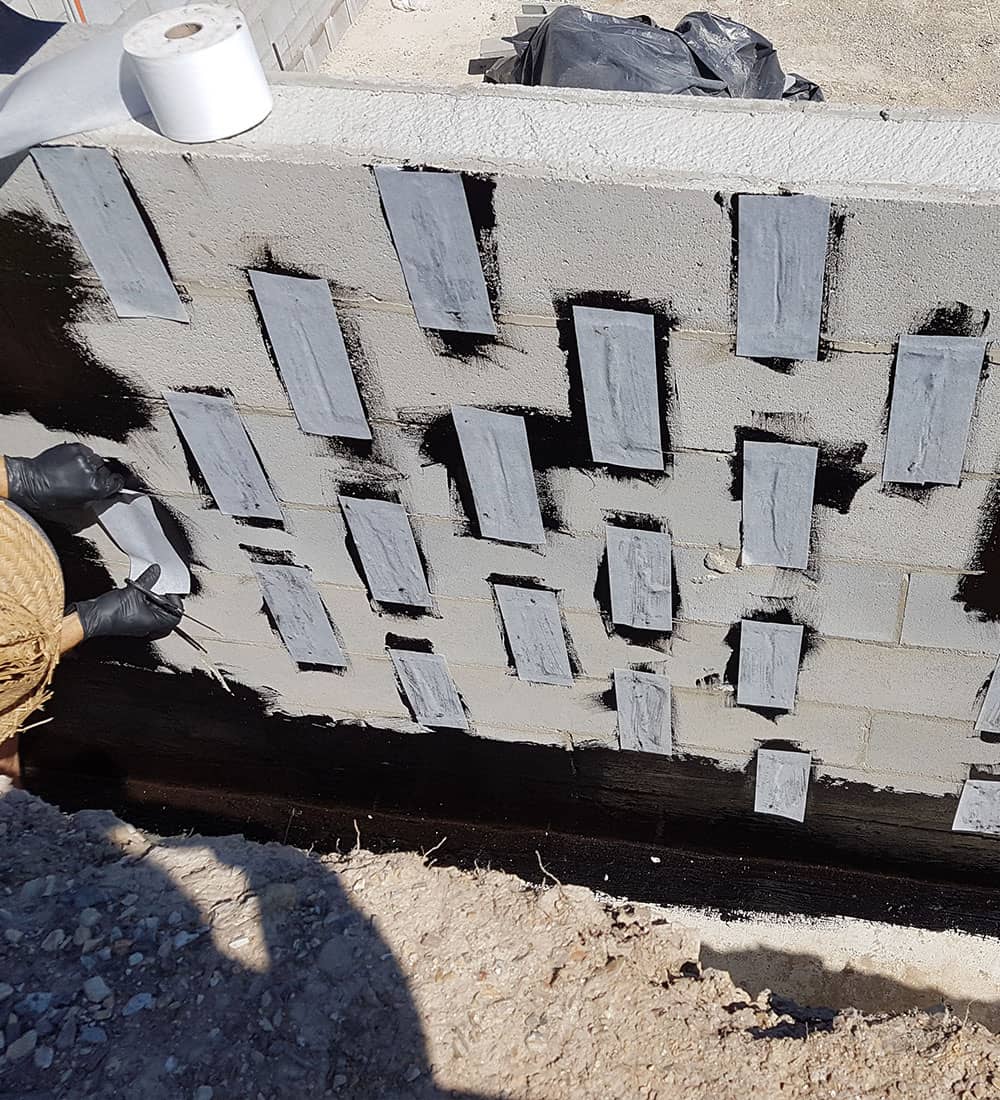
The GEO Textile is sandwiched with the Waterproof Sealant over cracks, holes, seams, vents etc. It is used for reinforcement and stabilisation purposes for your box gutter repair
The Seam Tape is used to cover bigger holes and cracks causing your box gutter leak, as it is firmer than the GEO Textile. Like the GEO Textile, it is used for reinforcement and stabilisation purposes.
The Quick Dry Spray is optional. However, we recommend spraying it on top of a wet Waterproof Sealant layer for a quicker cure and to protect the product from approching rain.
