
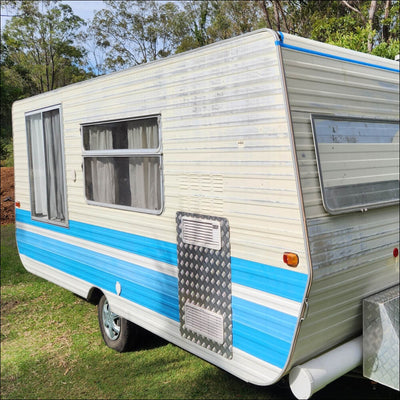
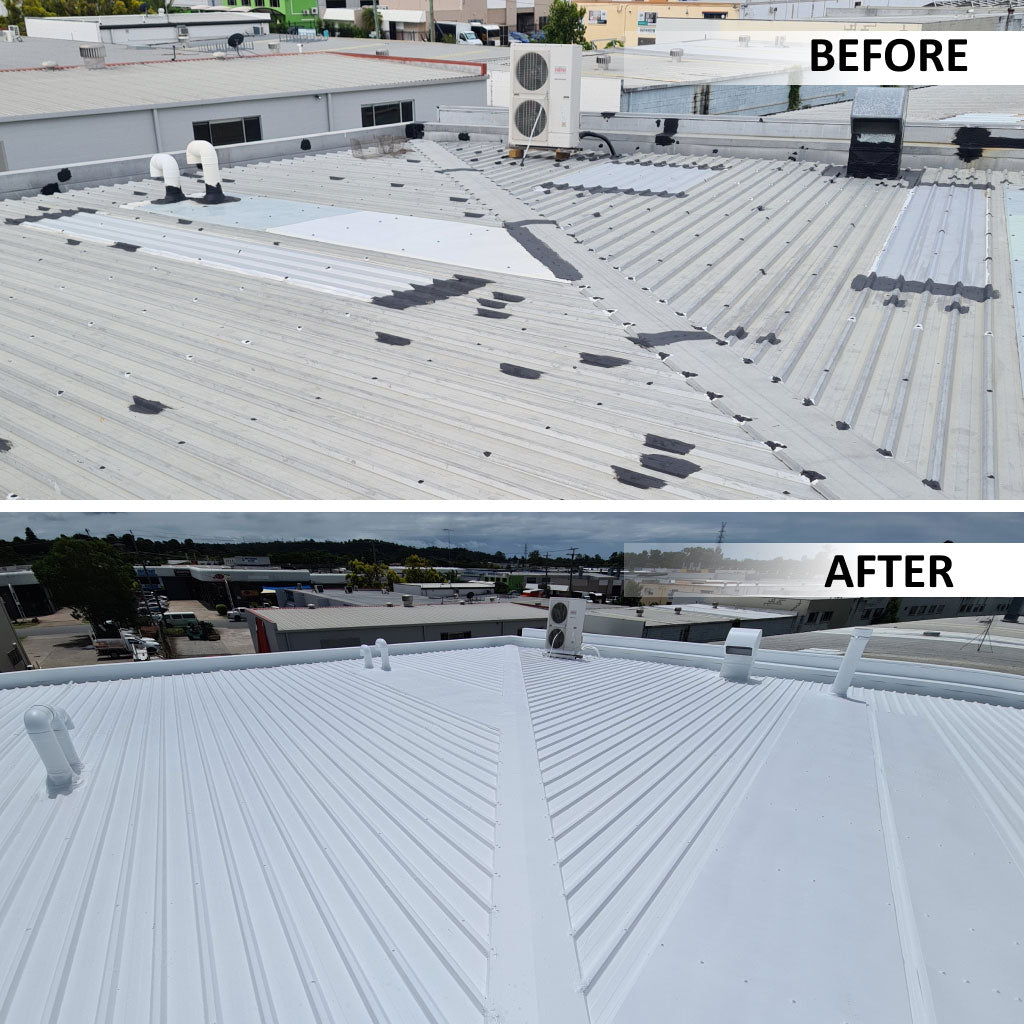
Waterproof Your Caravan Roof
Explore our collection of caravan roof sealants designed to help DIY enthusiasts in Australia protect their RVs from leaks and water damage. Find the best solutions to waterproof your caravan roof effectively and keep your adventures worry-free. Don’t pay thousands for your RV roof replacement.
Find all products needed to waterproof your RV Roof below ↓
Step-by-step guide for sealing your RV Roof:

STEP 1:
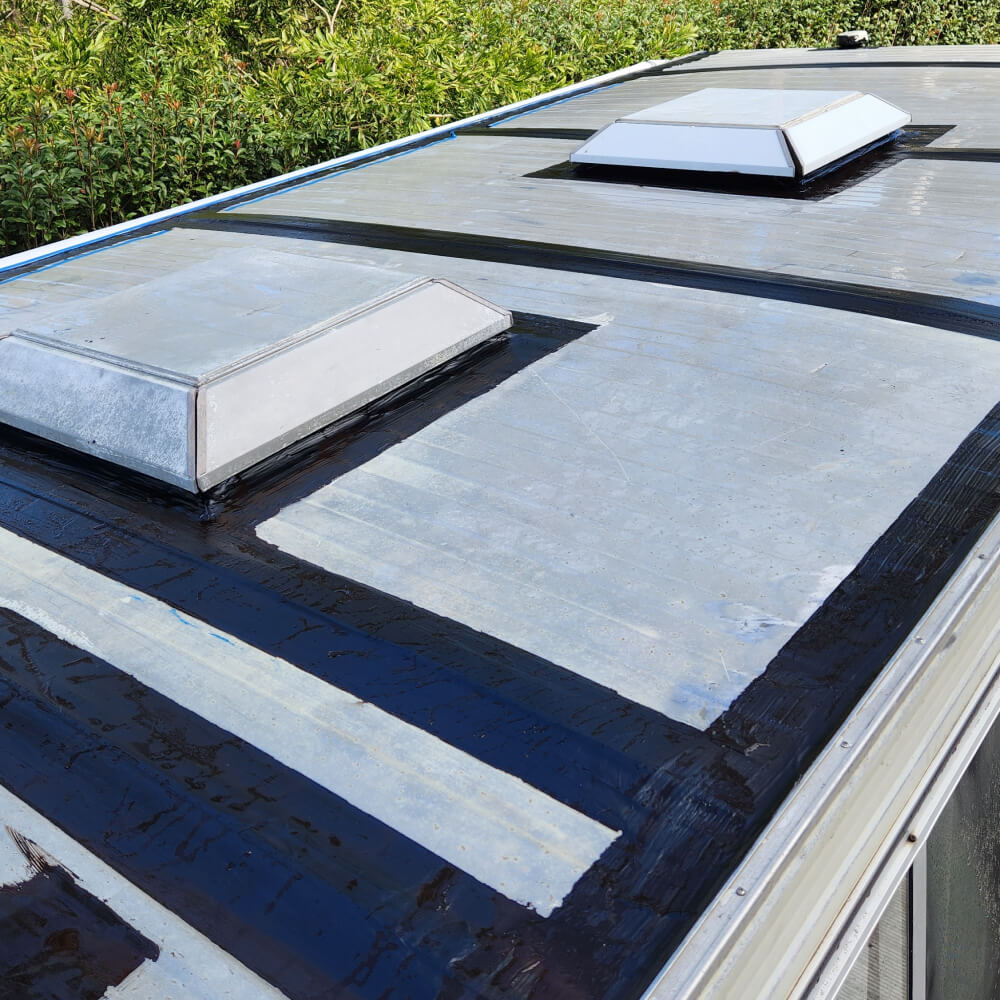
Ensure the surface is free of any oils, minerals or loose materials before application.
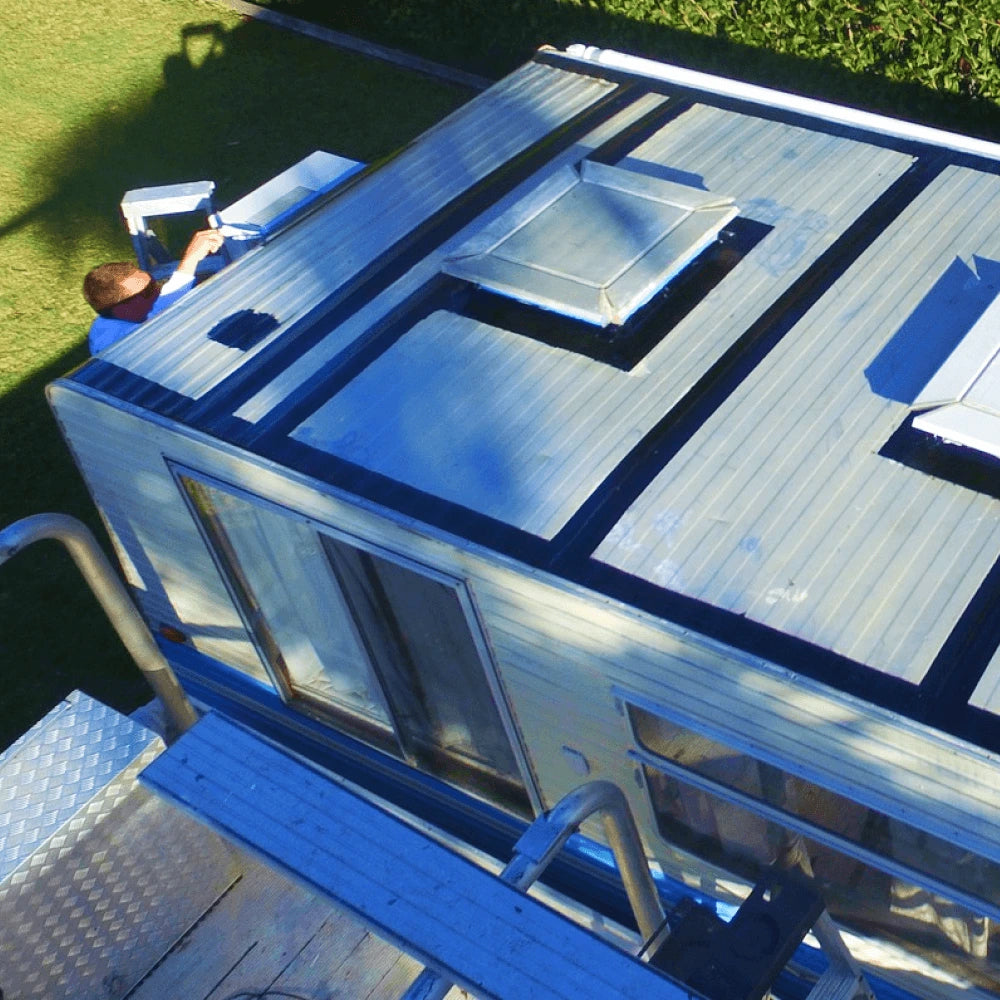
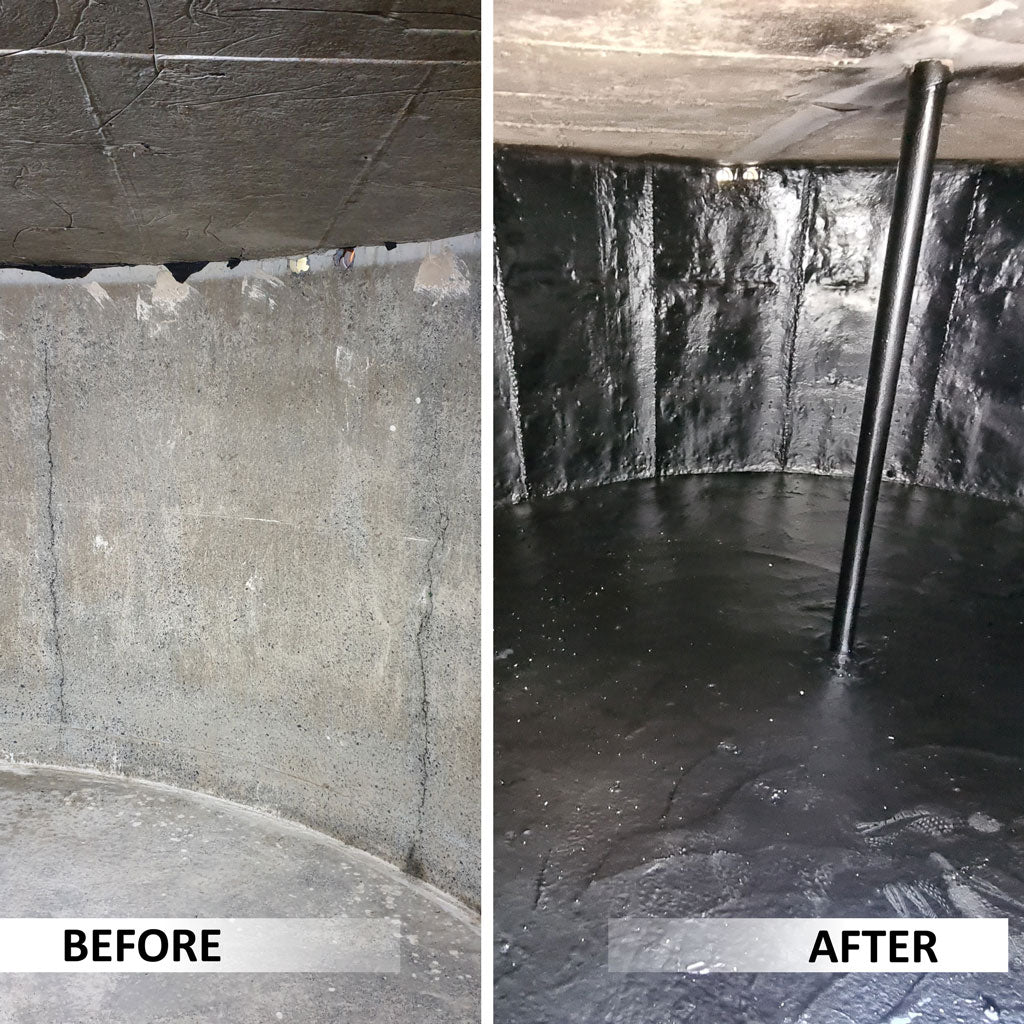
Wash and clean the entire surface. Use a power washer.
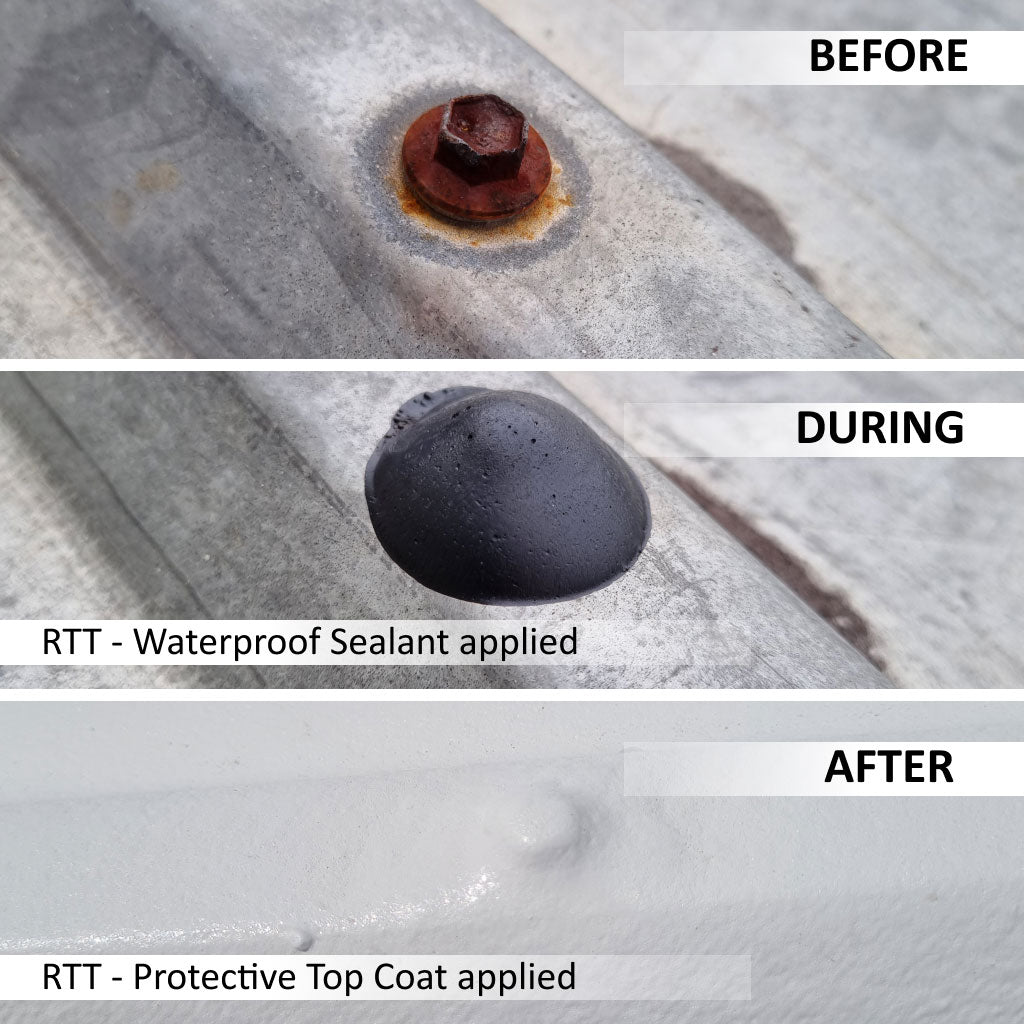
STEP 2:
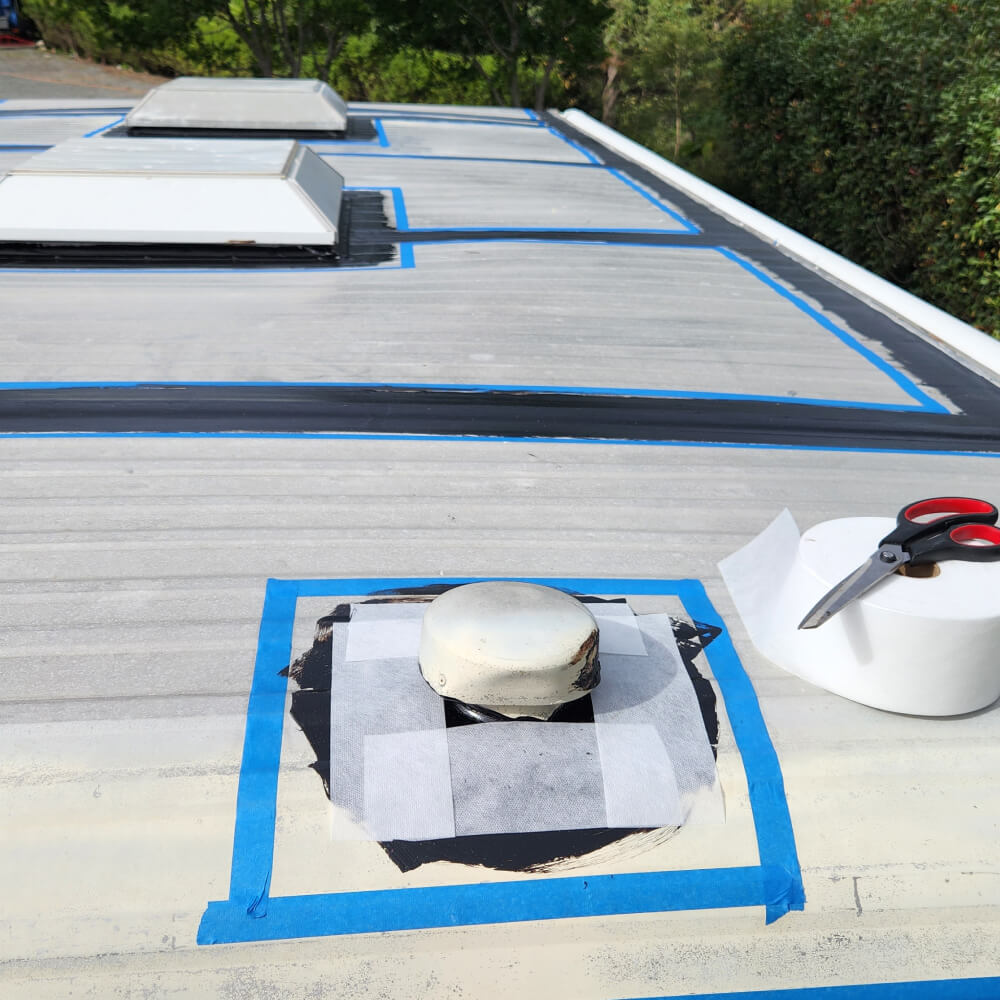
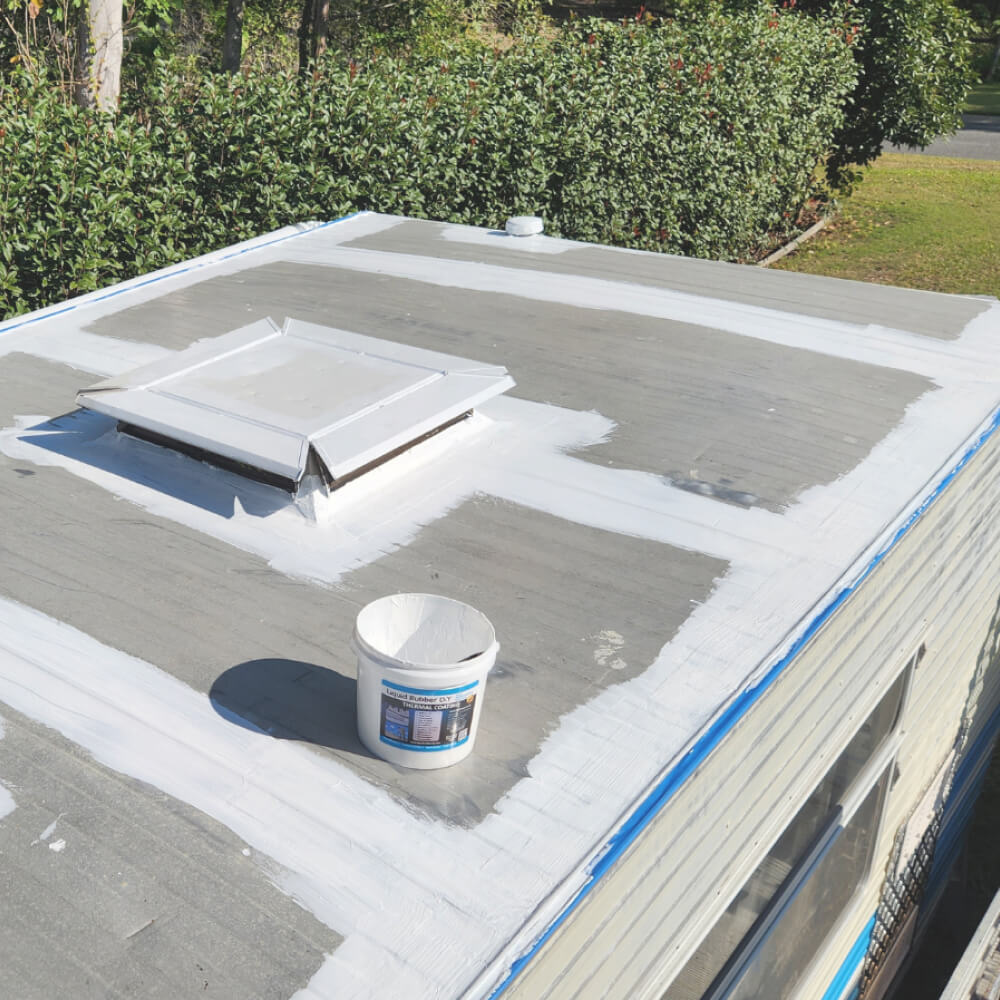
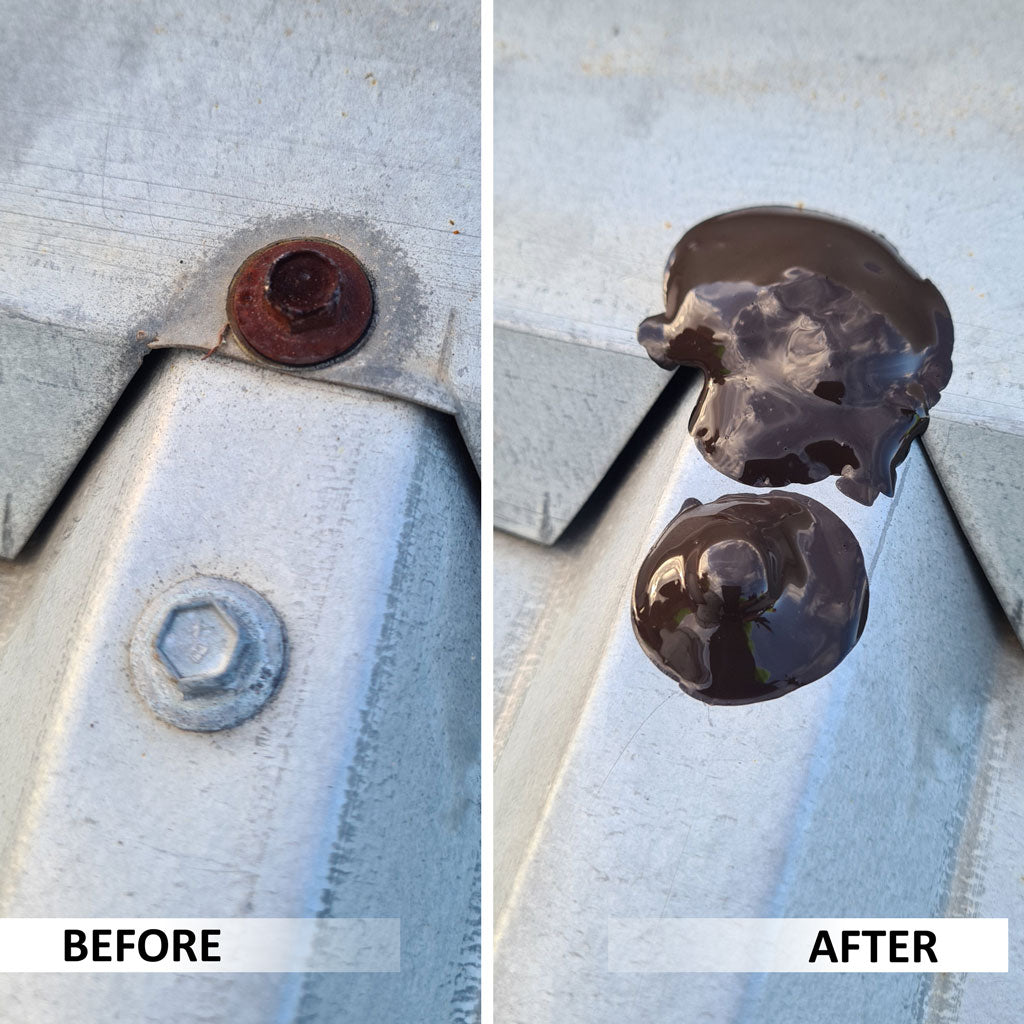
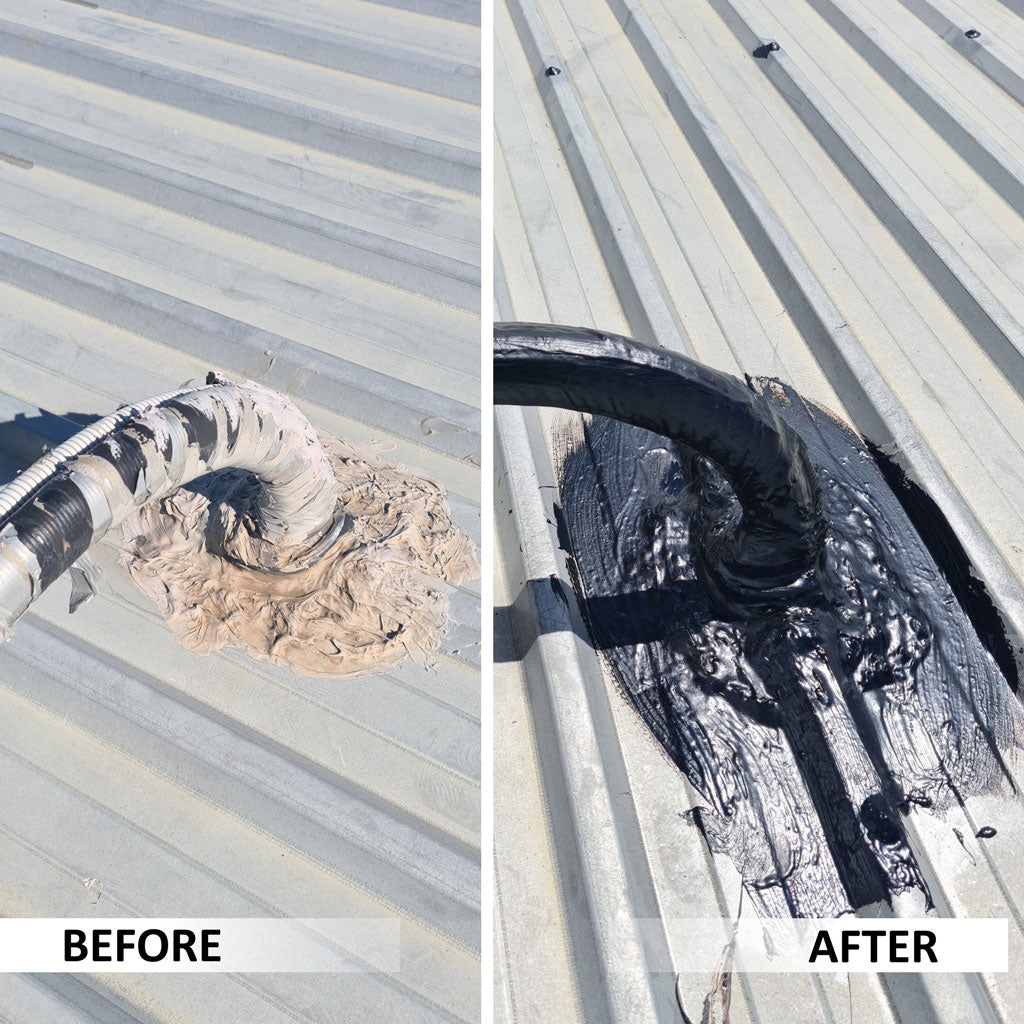
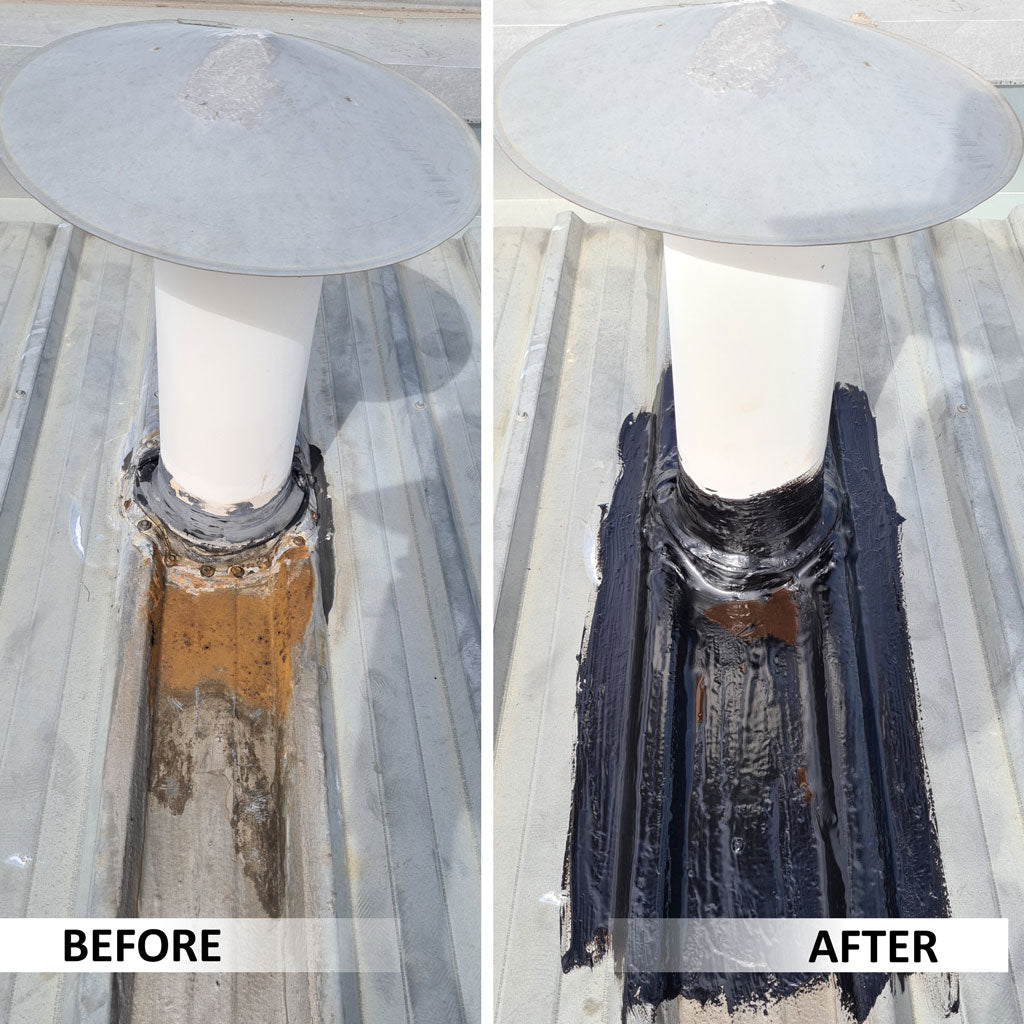
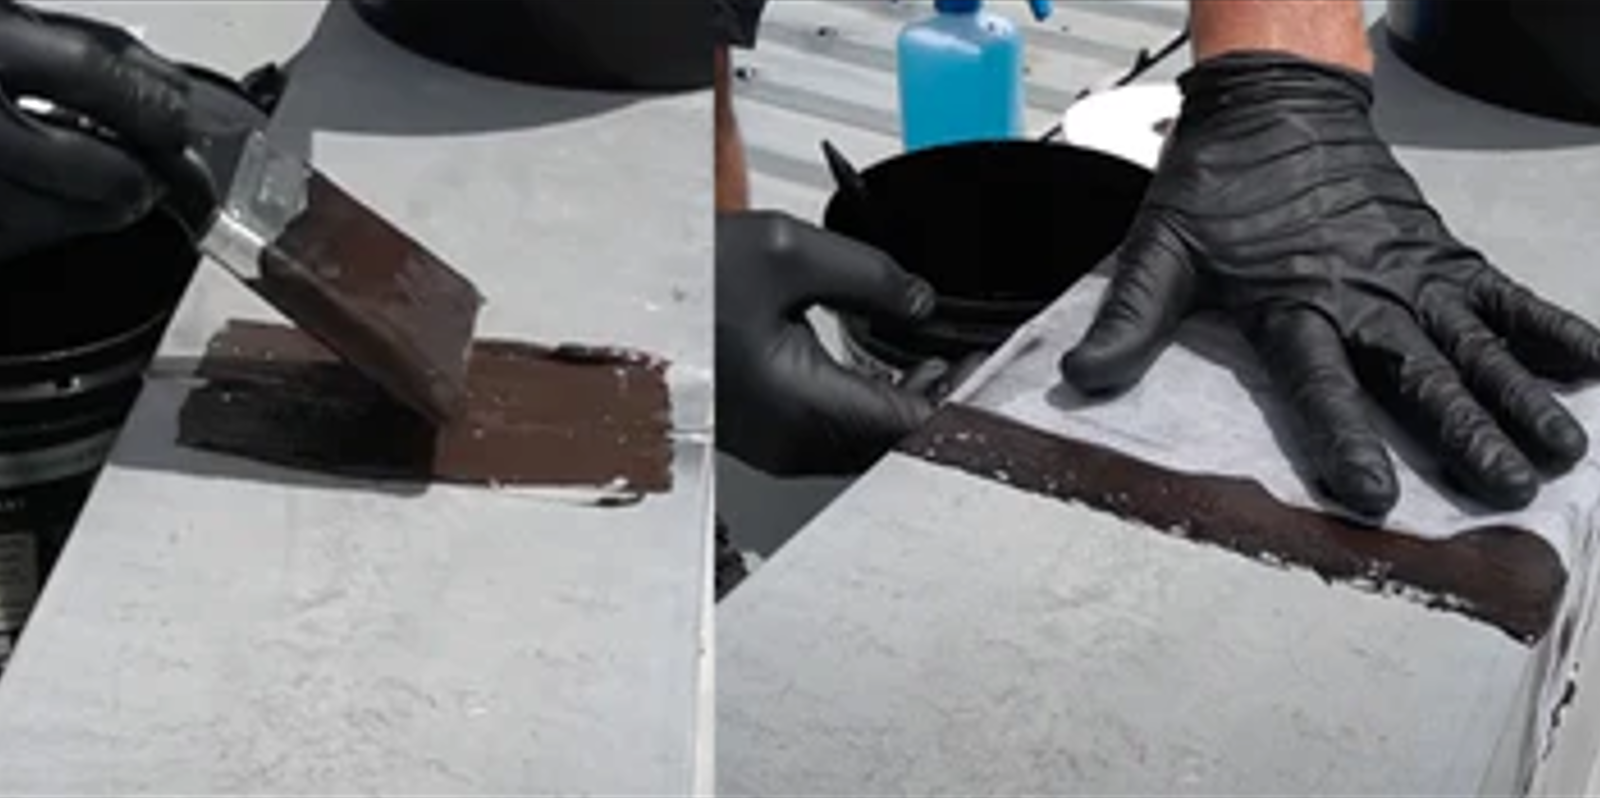
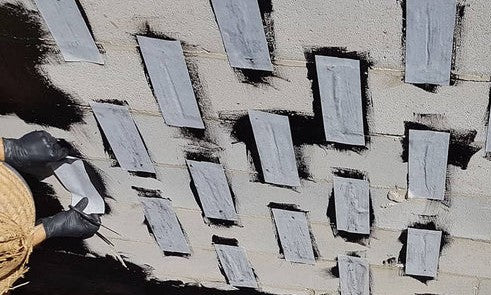
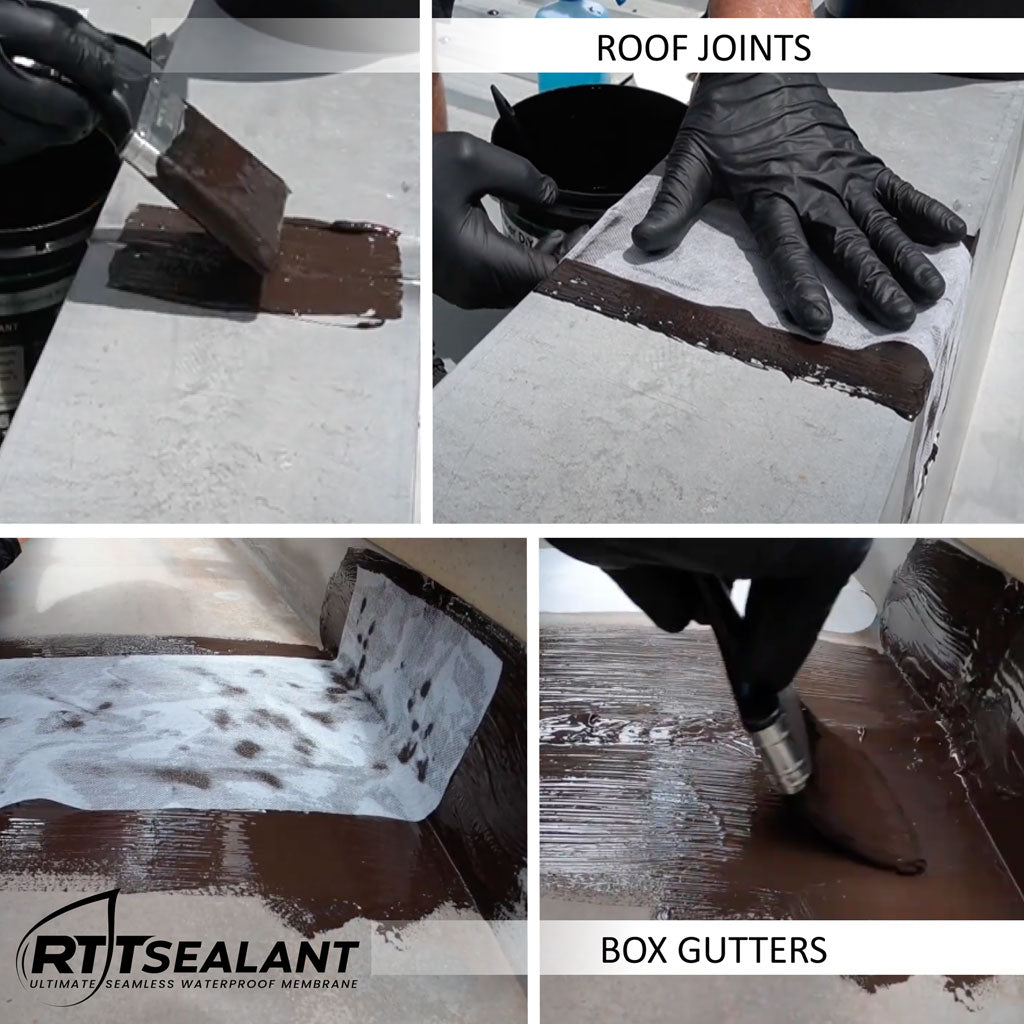
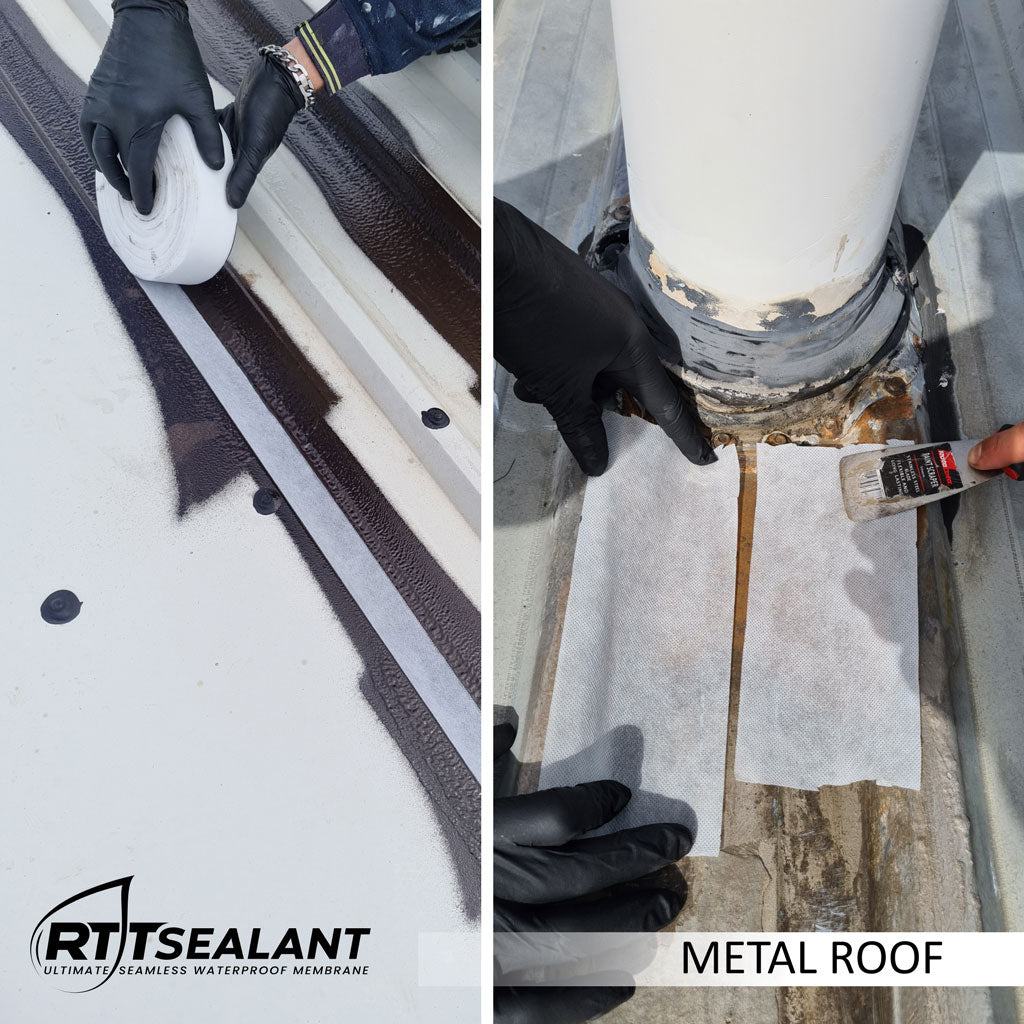
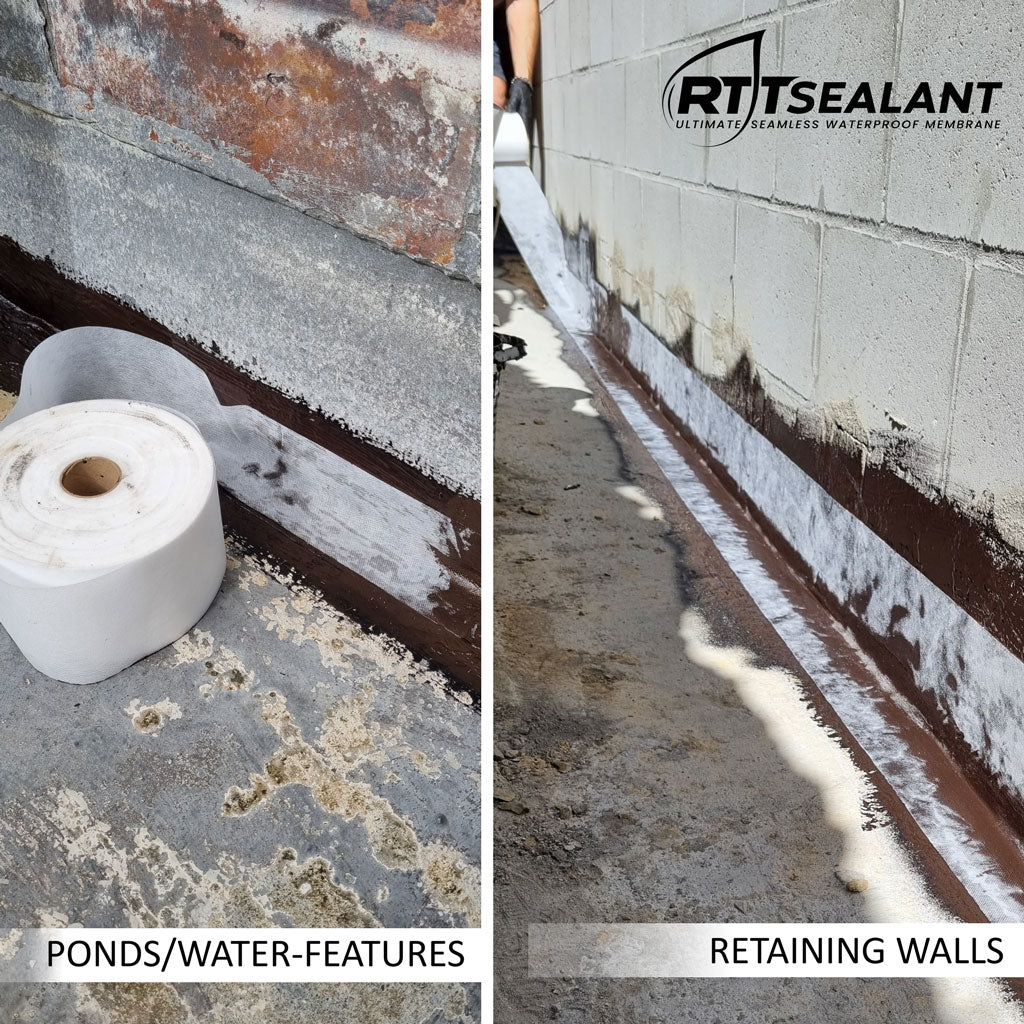
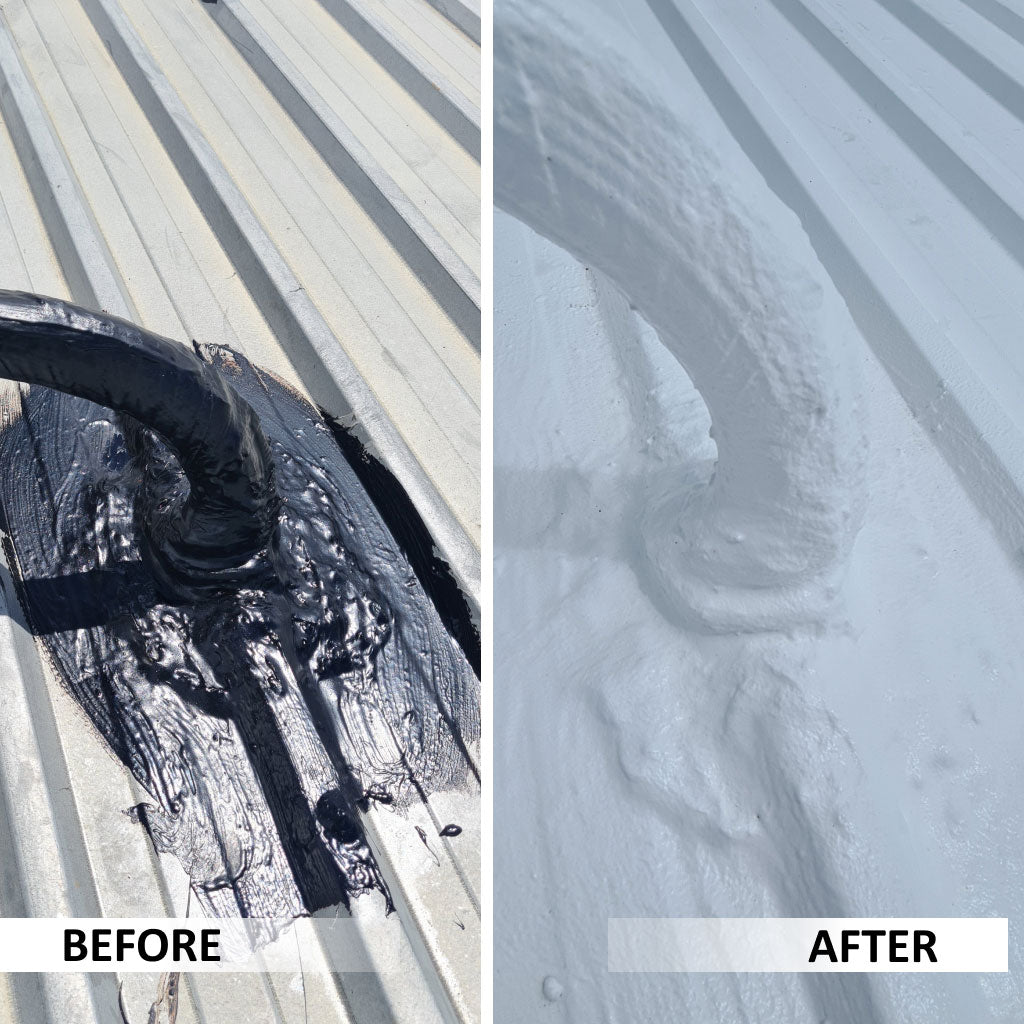
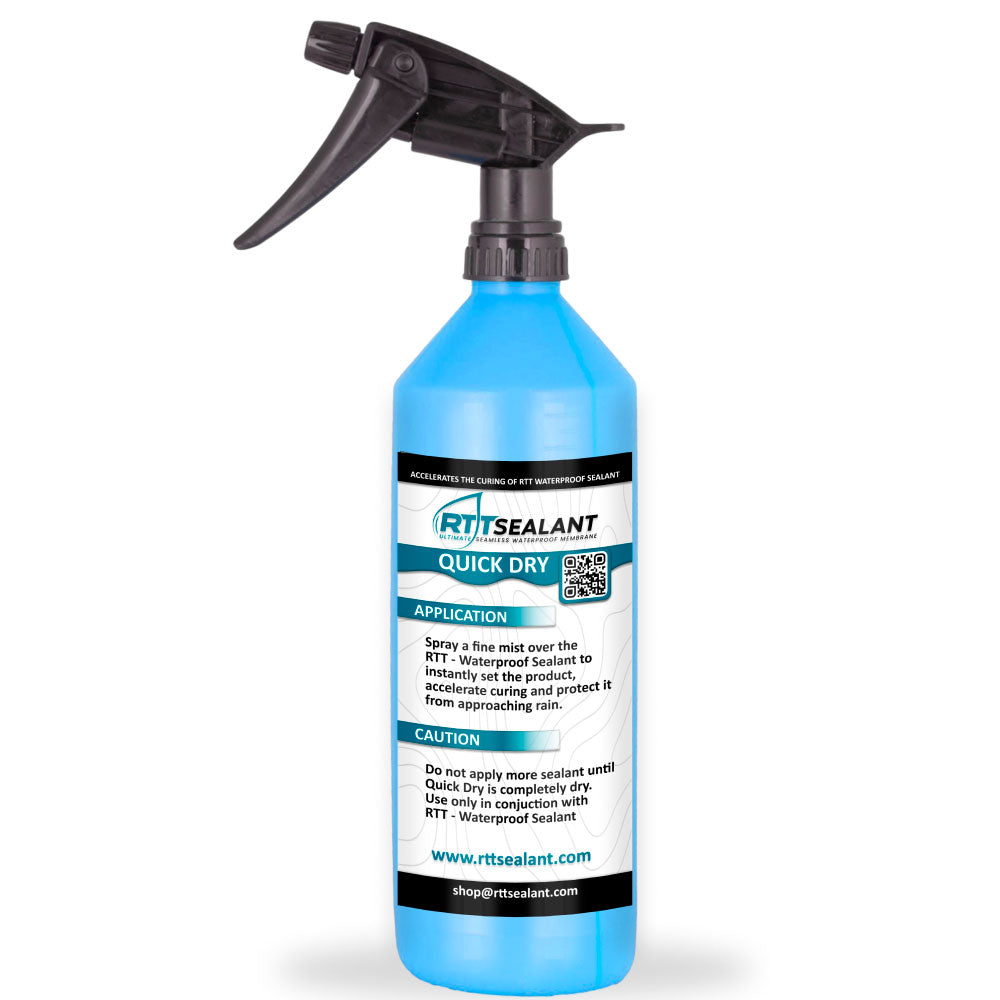
Cover and Sandwich the RTT - GEO Textile with the RTT - Waterproof Sealant over seams, vents, joints and around skylights, outlets and AC. Apply RTT - Quick Dry on the RTT - Waterproof Sealant to speed up curing and to protect the sealant from approaching rain.
STEP 3:
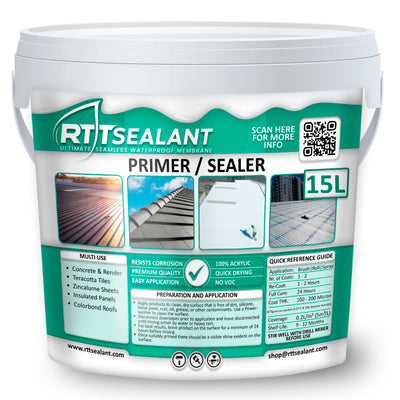
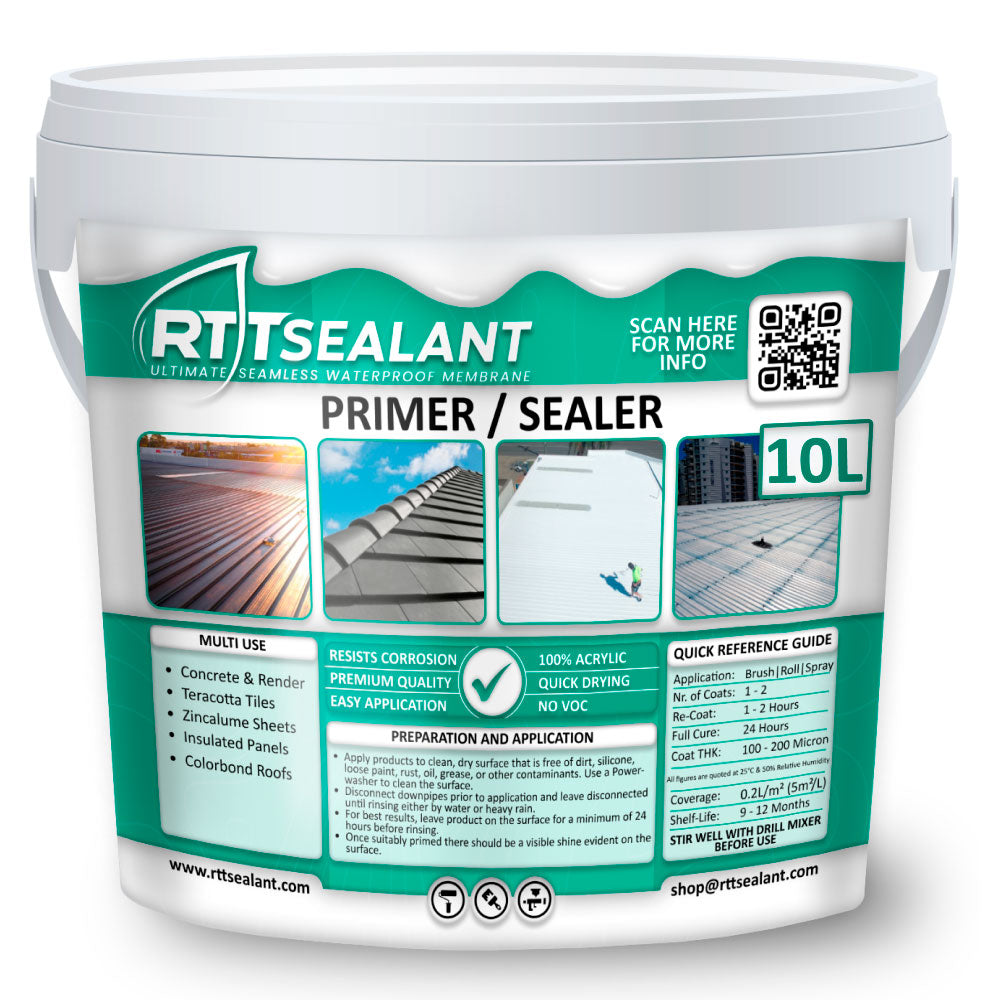
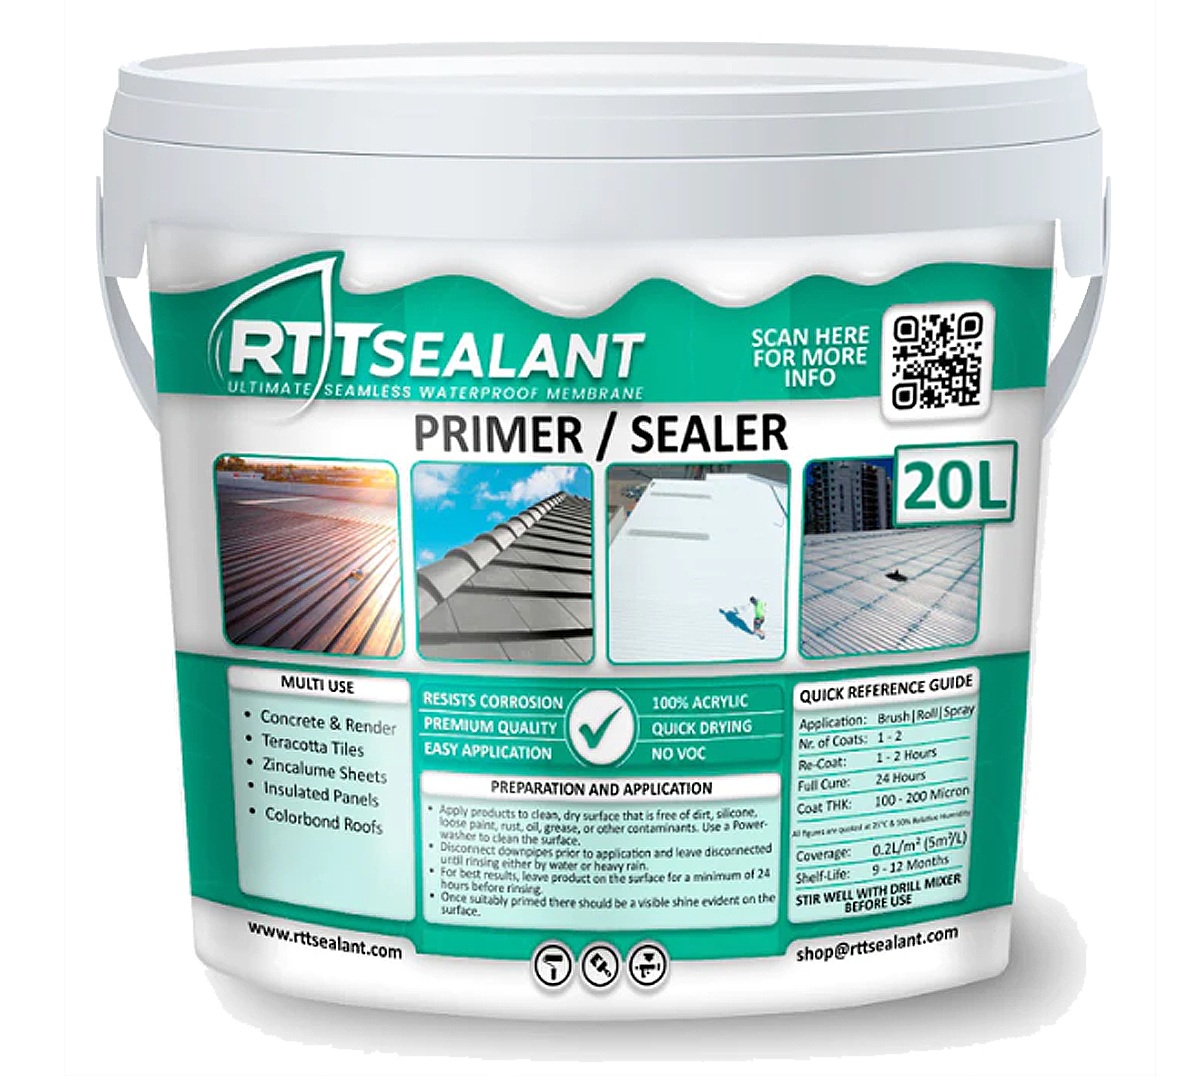
Apply RTT - Sealer/Primer (if previously painted) or Rust Inhibitor Primer (if raw metal) to entire surface.
STEP 4:
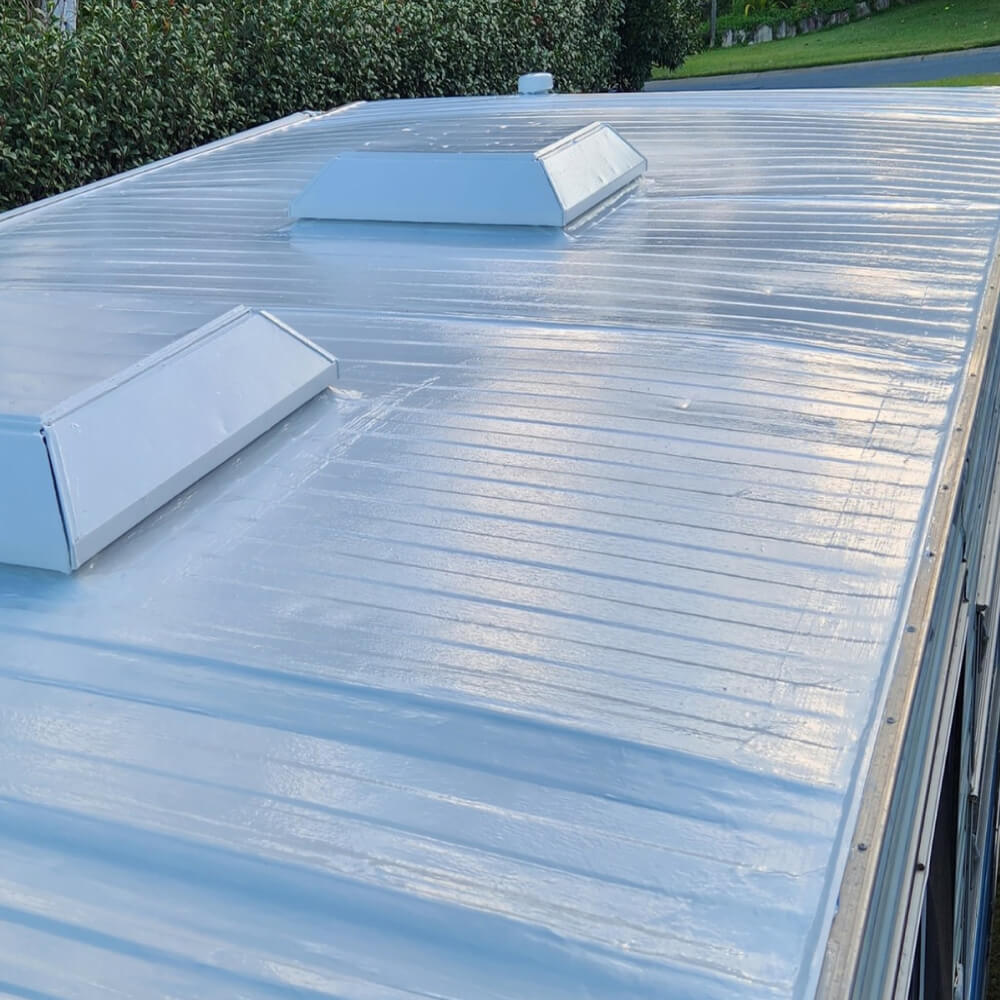
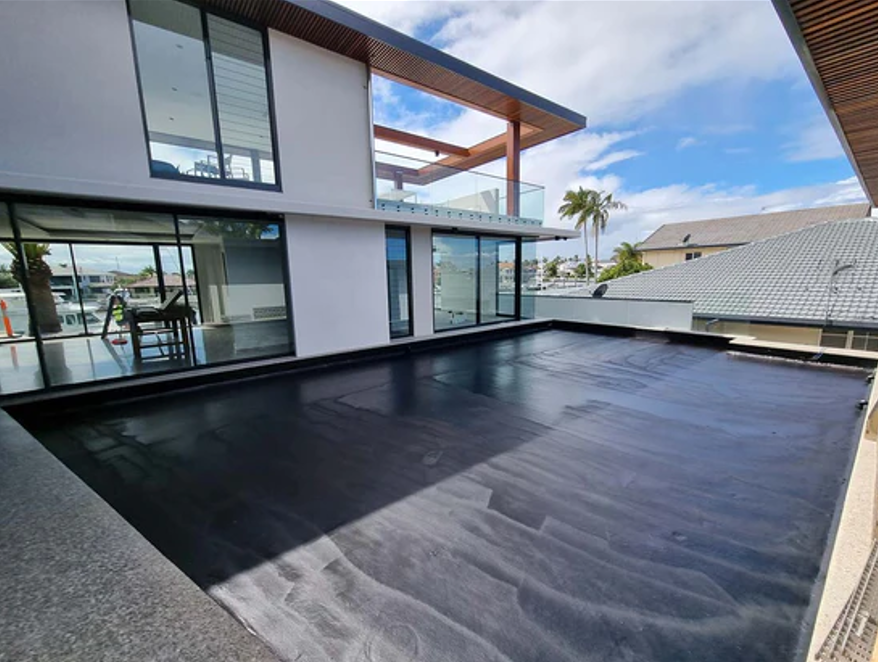
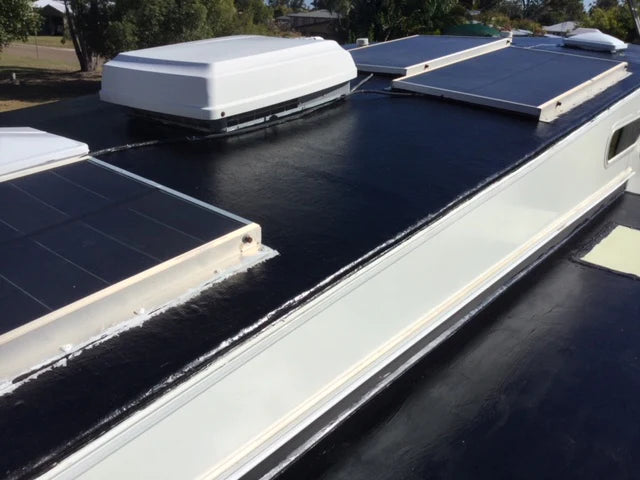
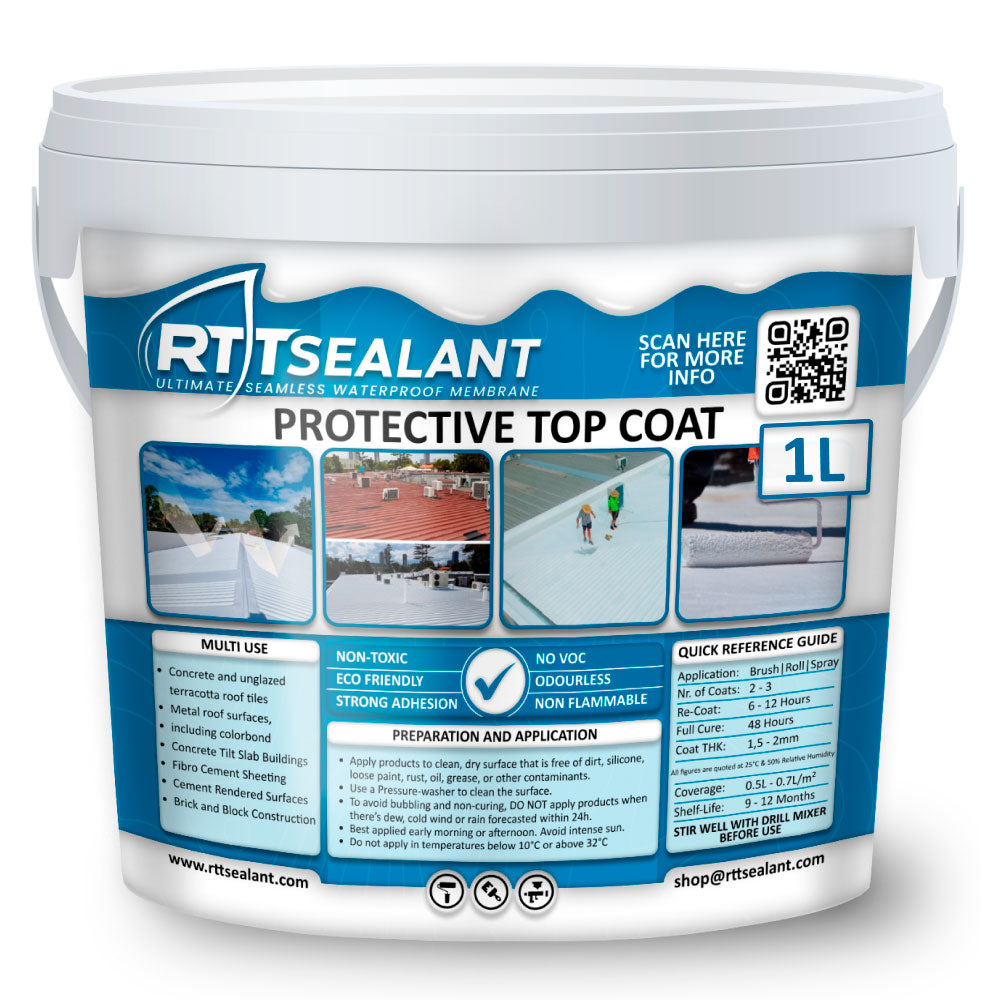
Apply 1-2 Coats of RTT - Protective Top Coat on top of the primed sealant coating.
STEP 5:
Apply 2 - 3 Coats of RTT - Protective Top Coat on top of the entire surface.
Build and Customise Your Caravan Roof Repair Kit
Enter the length and width of your caravan roof:
Products you need for your roof


FAQ
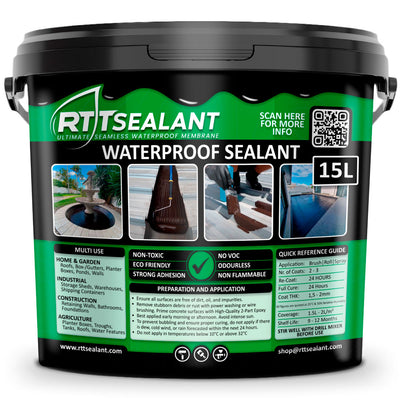
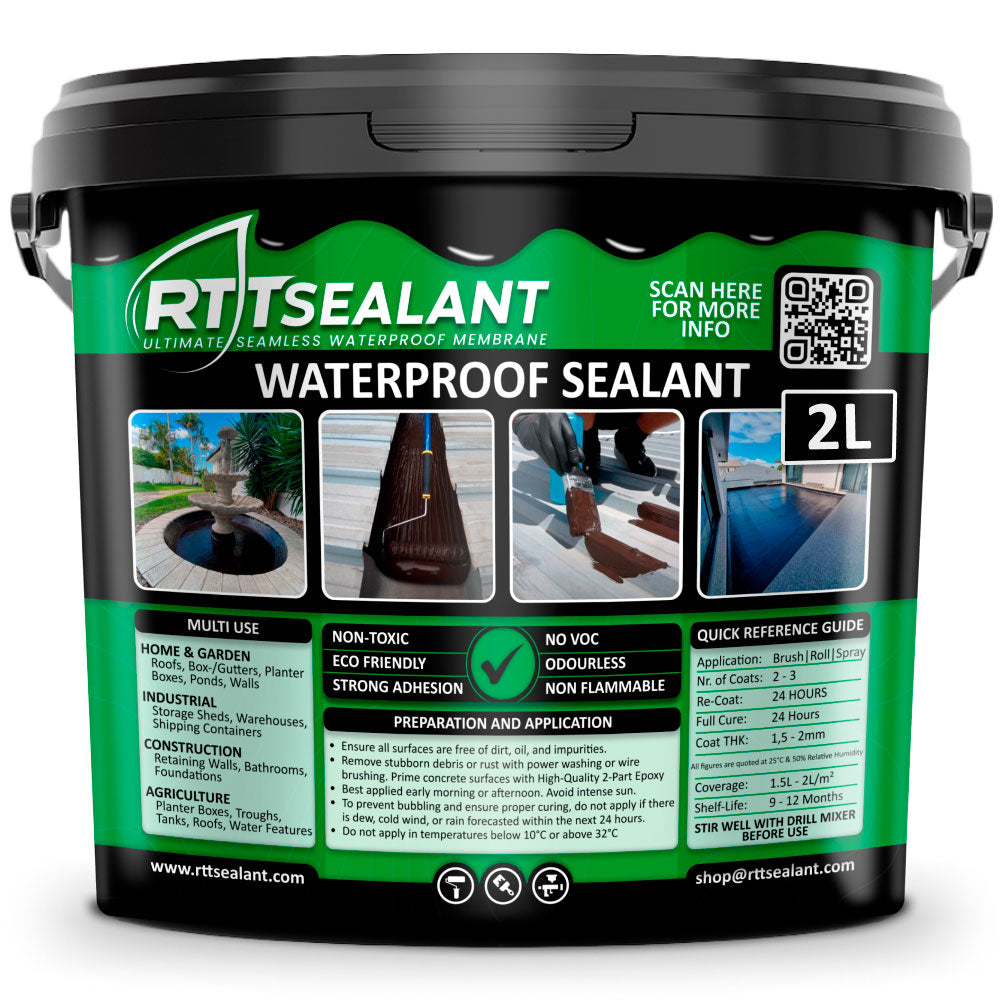
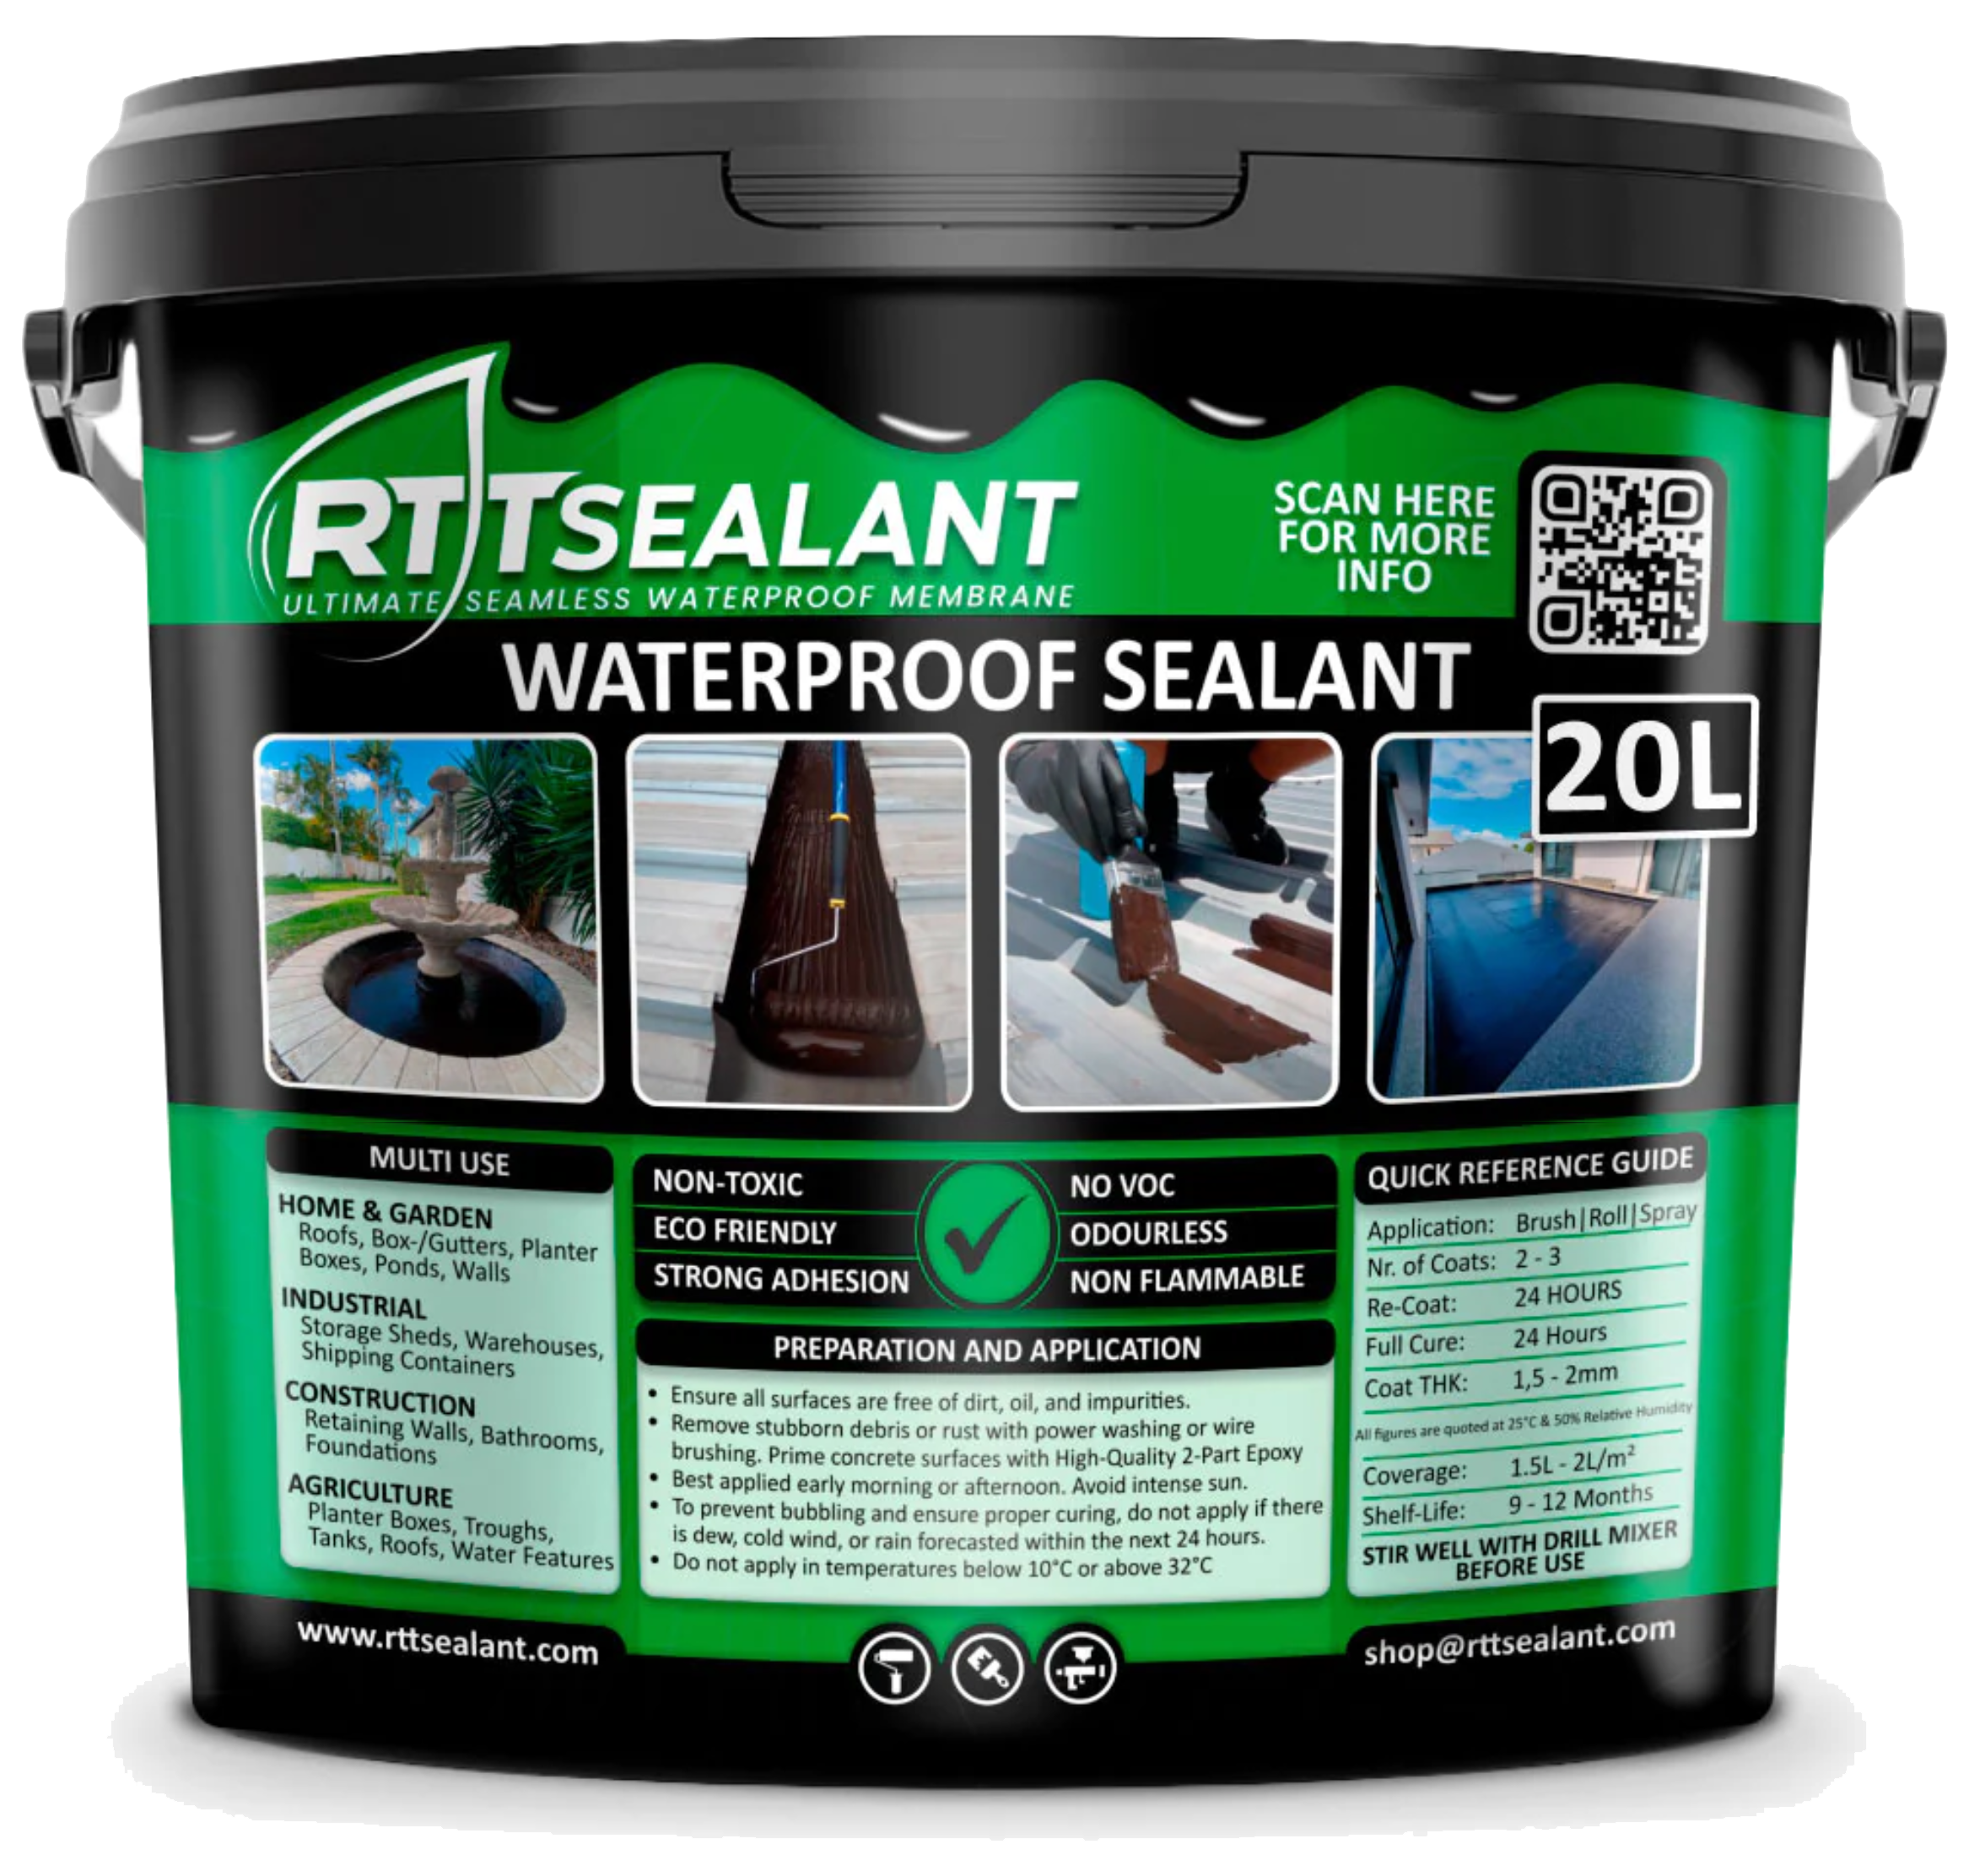
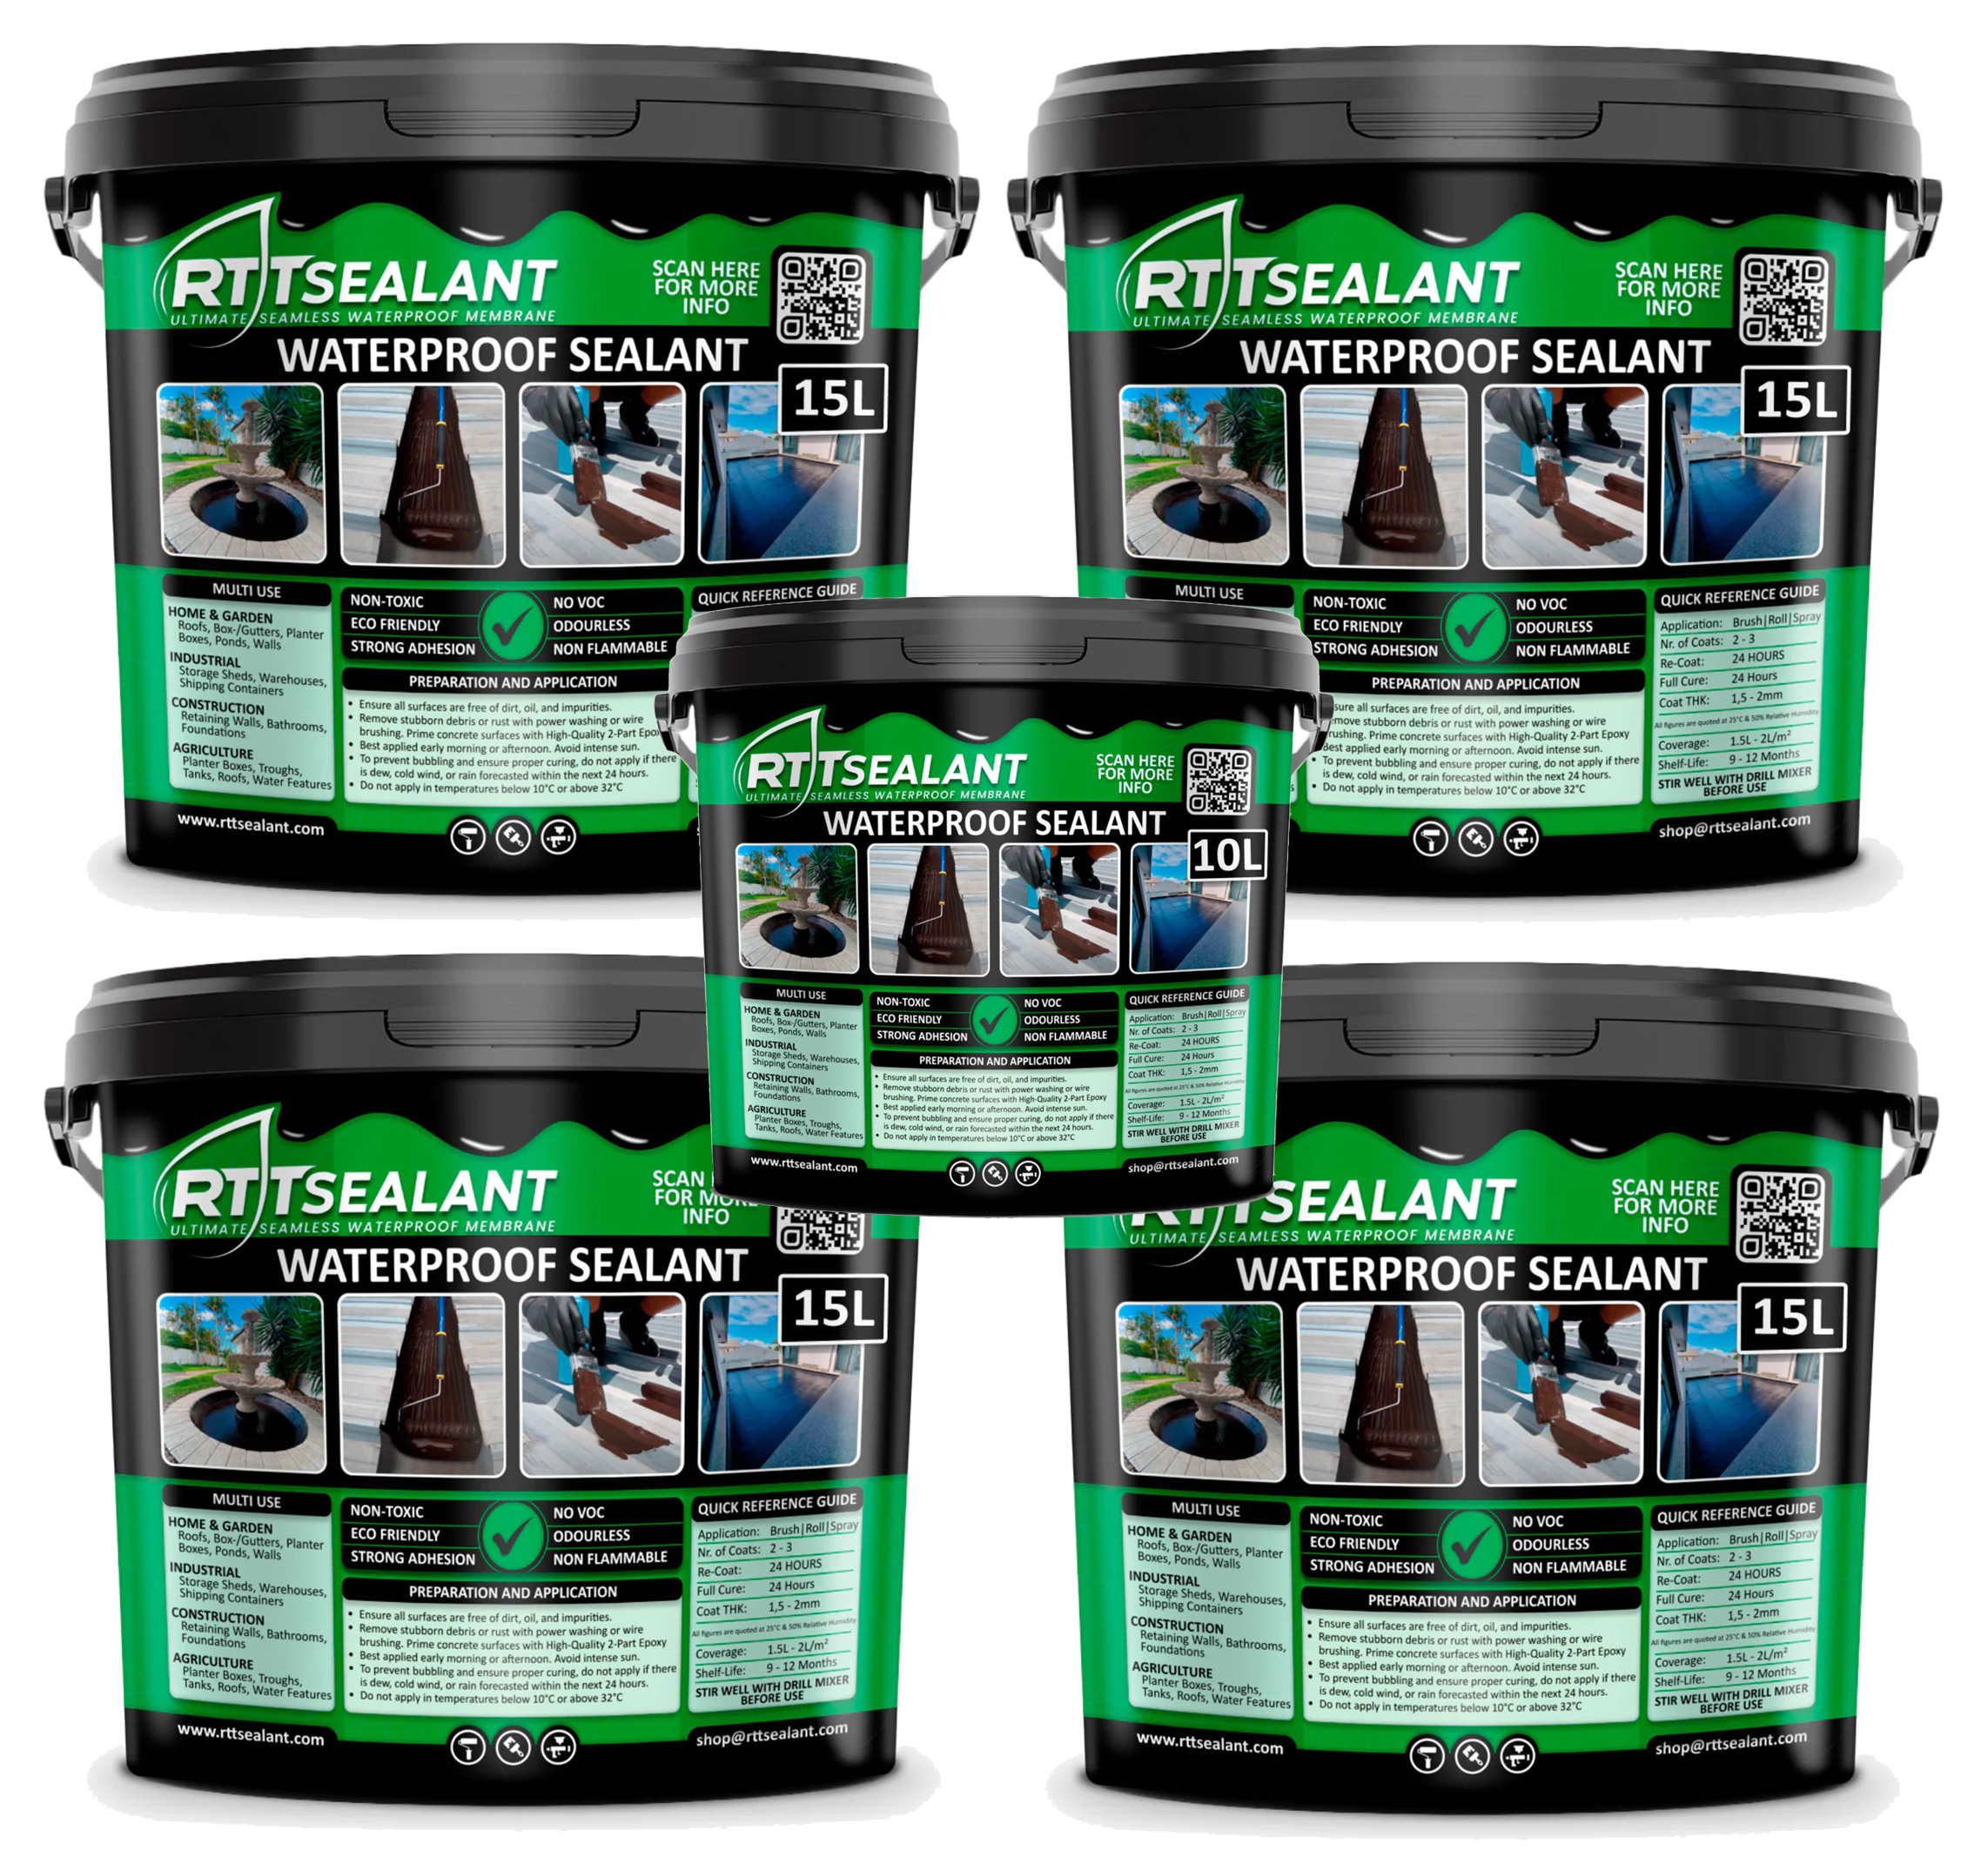
RTT - Waterproof Sealant (1L/sqm). (1 x 15L Bucket is sufficient for 15sqm)
RTT - Protective Top Coat (0.6L/sqm). (1 x 15L Bucket is sufficient for 25sqm)
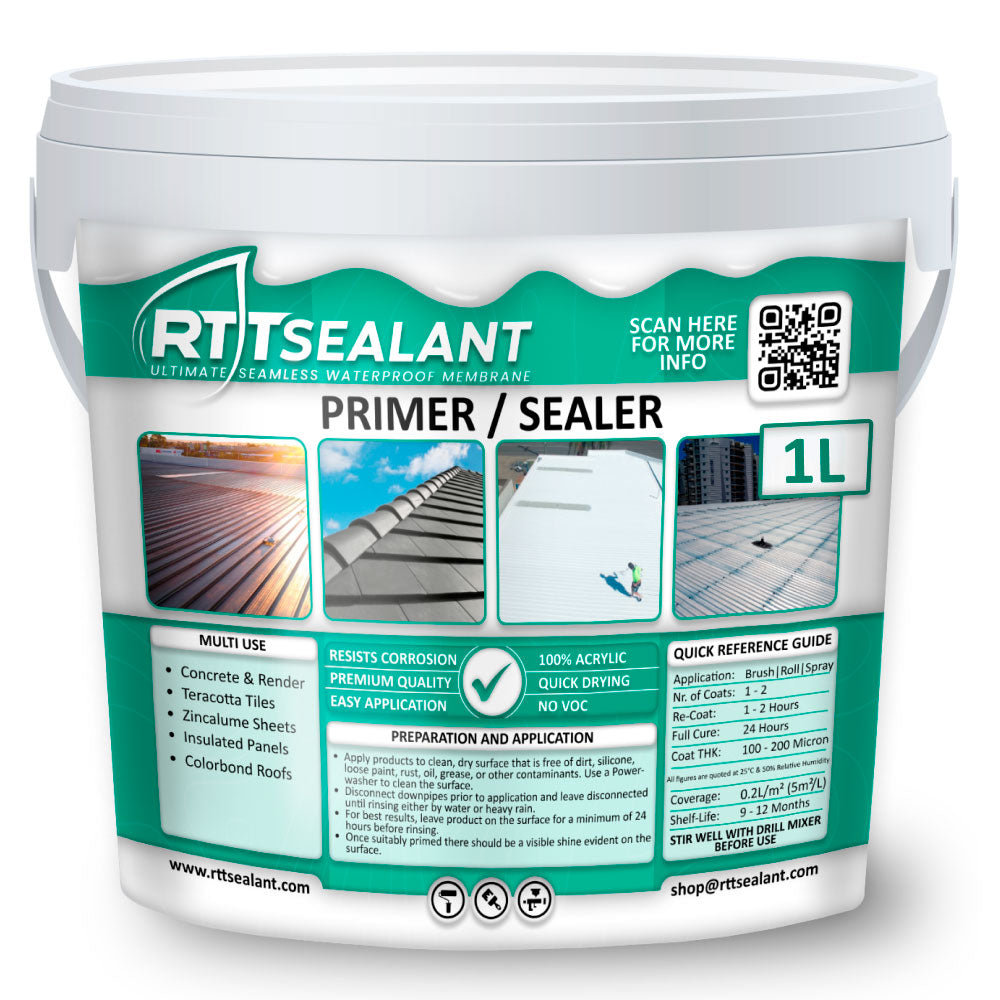
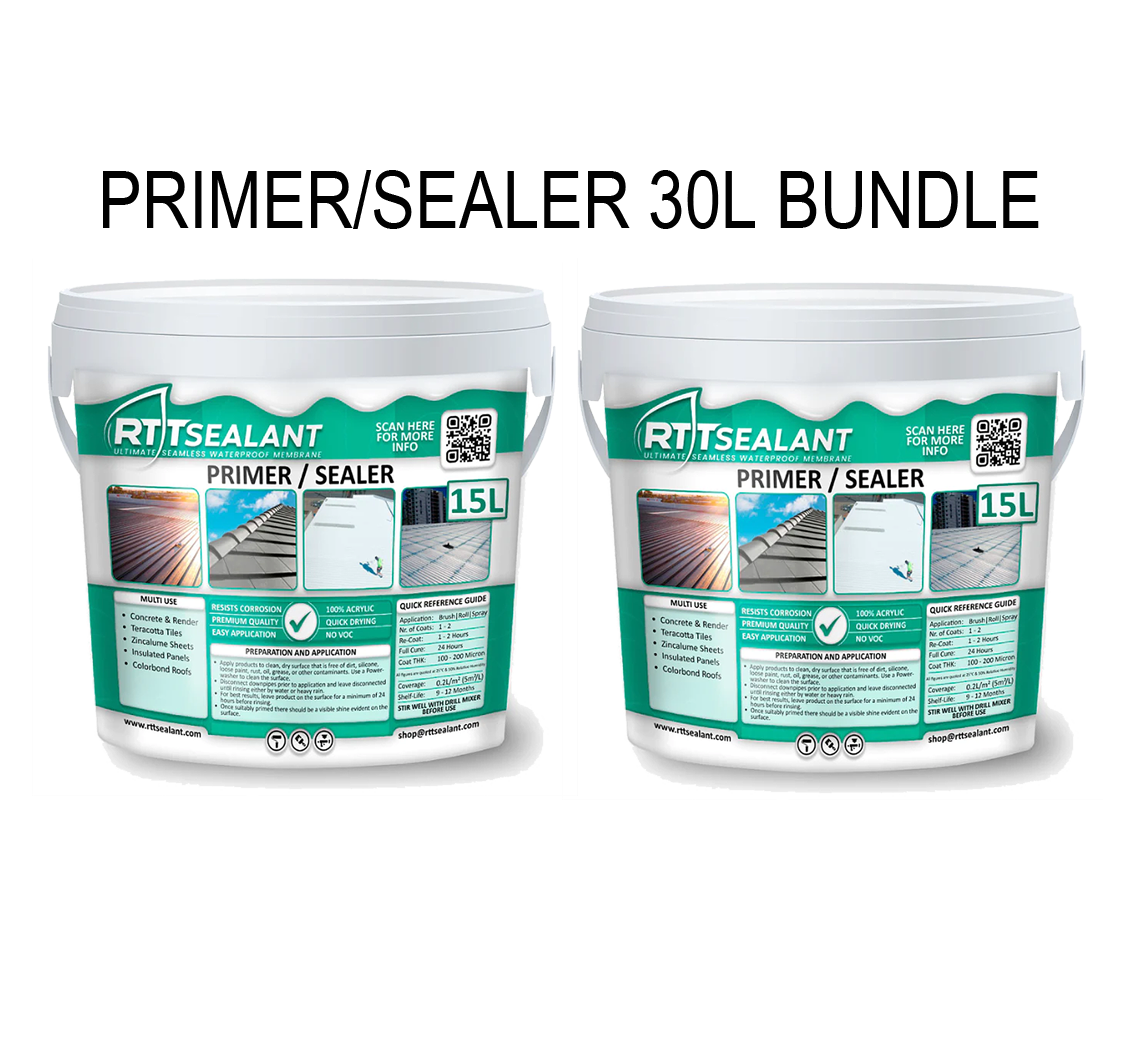
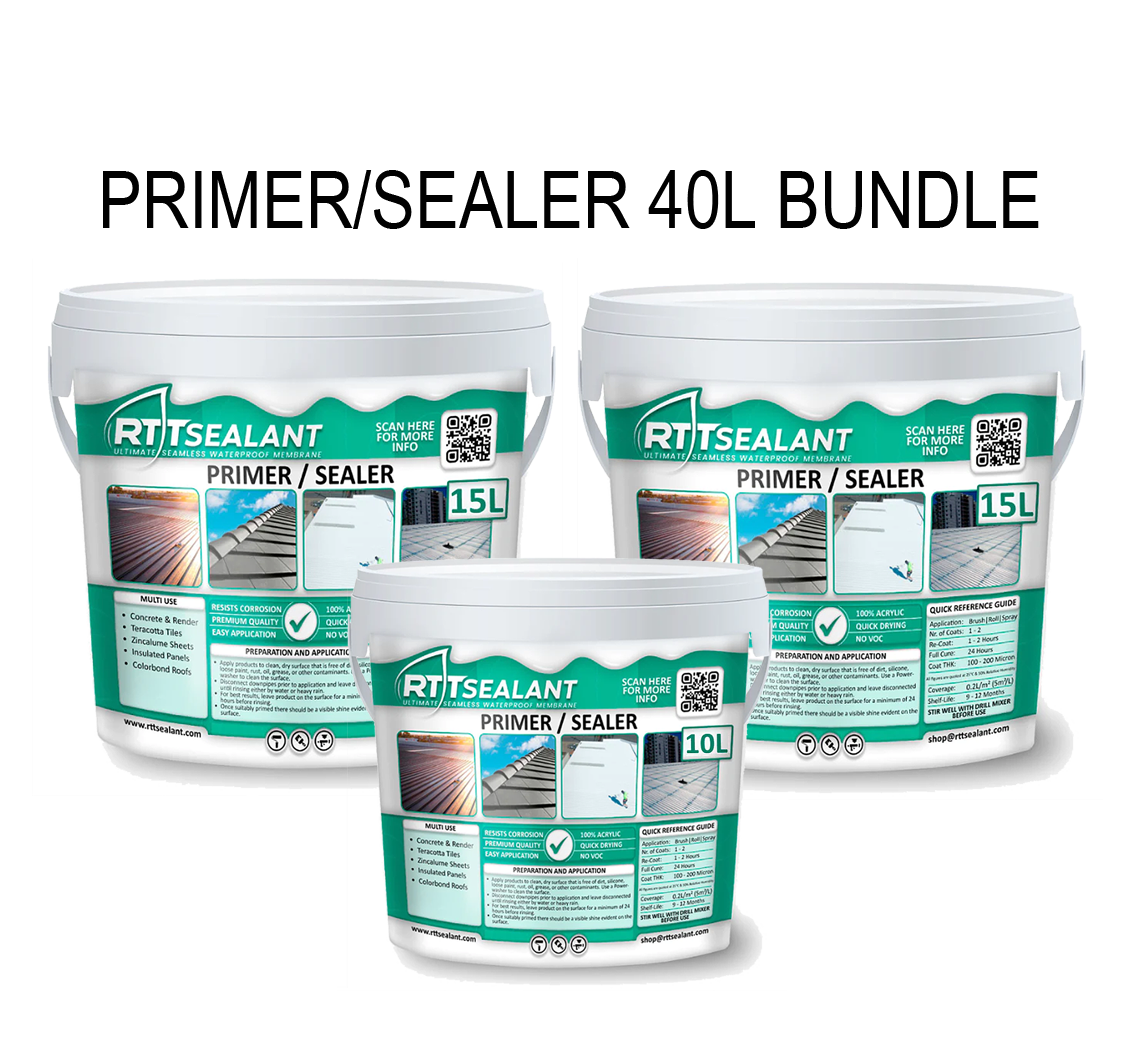
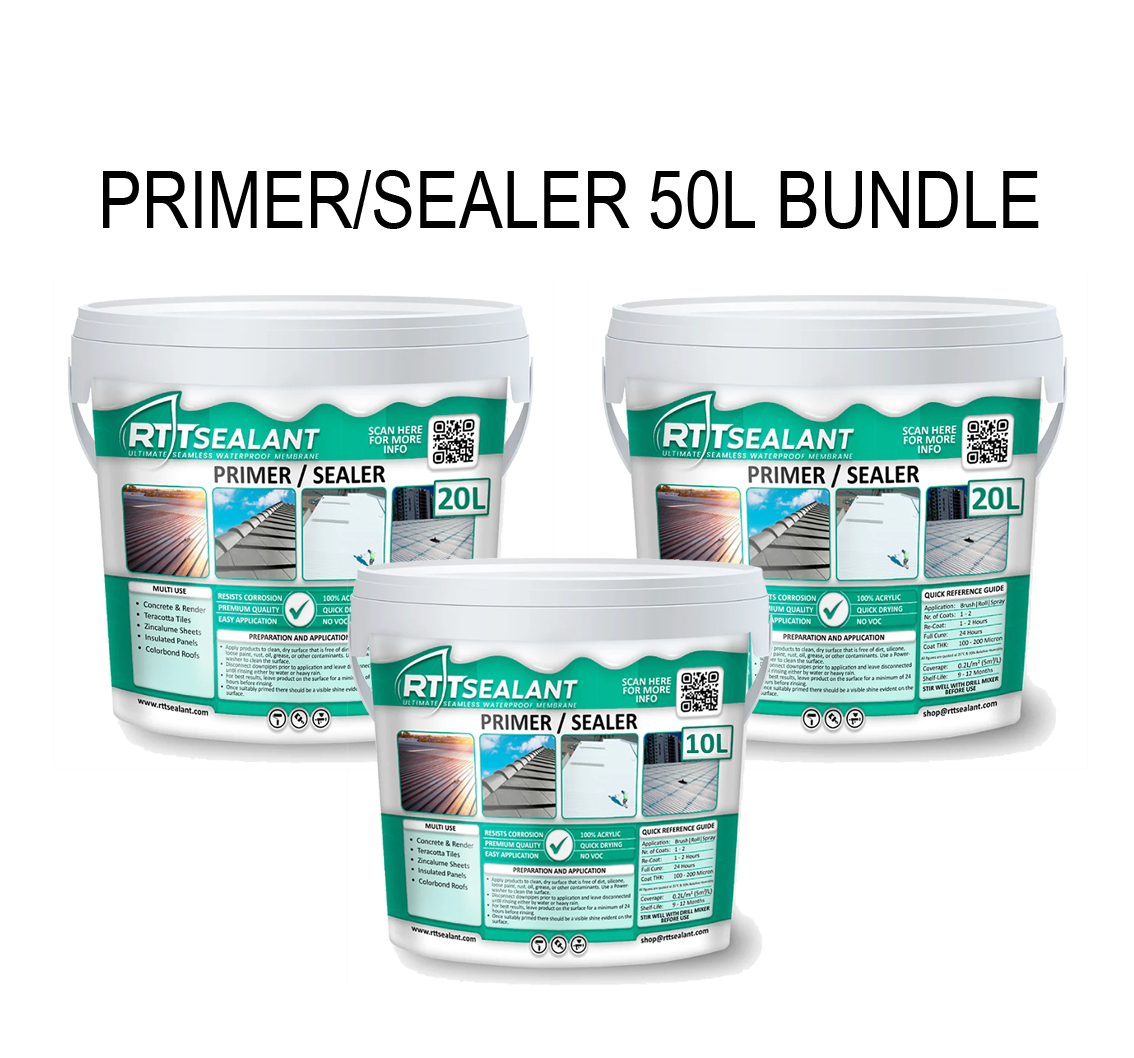
RTT - Primer/Sealer (0.2L/sqm) (1x 4L Bucket is sufficient for 20sqm)
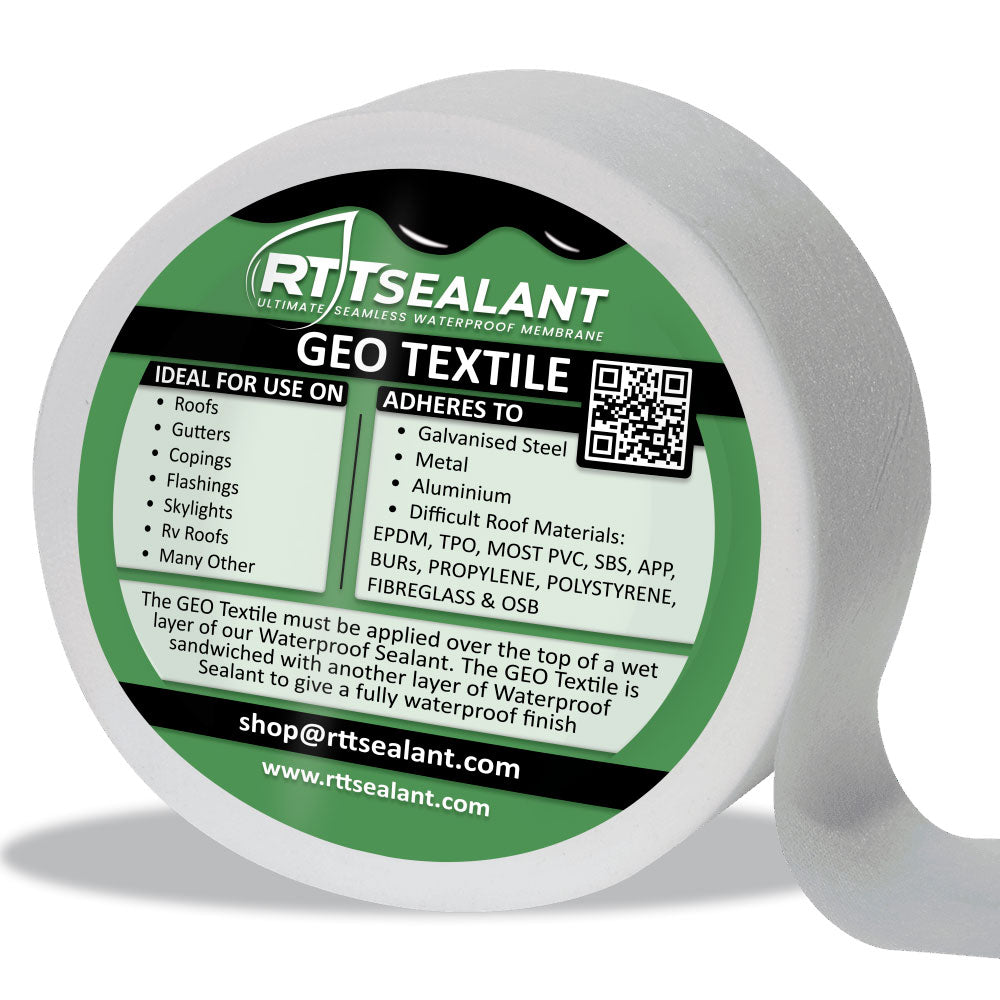
RTT - GEO Textile (roughly 30m for an RV Roof is sufficient)
RTT - QUICK DRY (1 x 200ml Spray Bottle is sufficient)
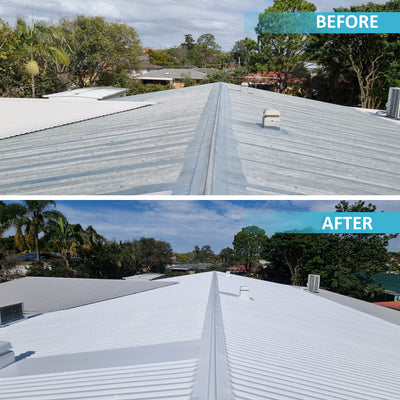
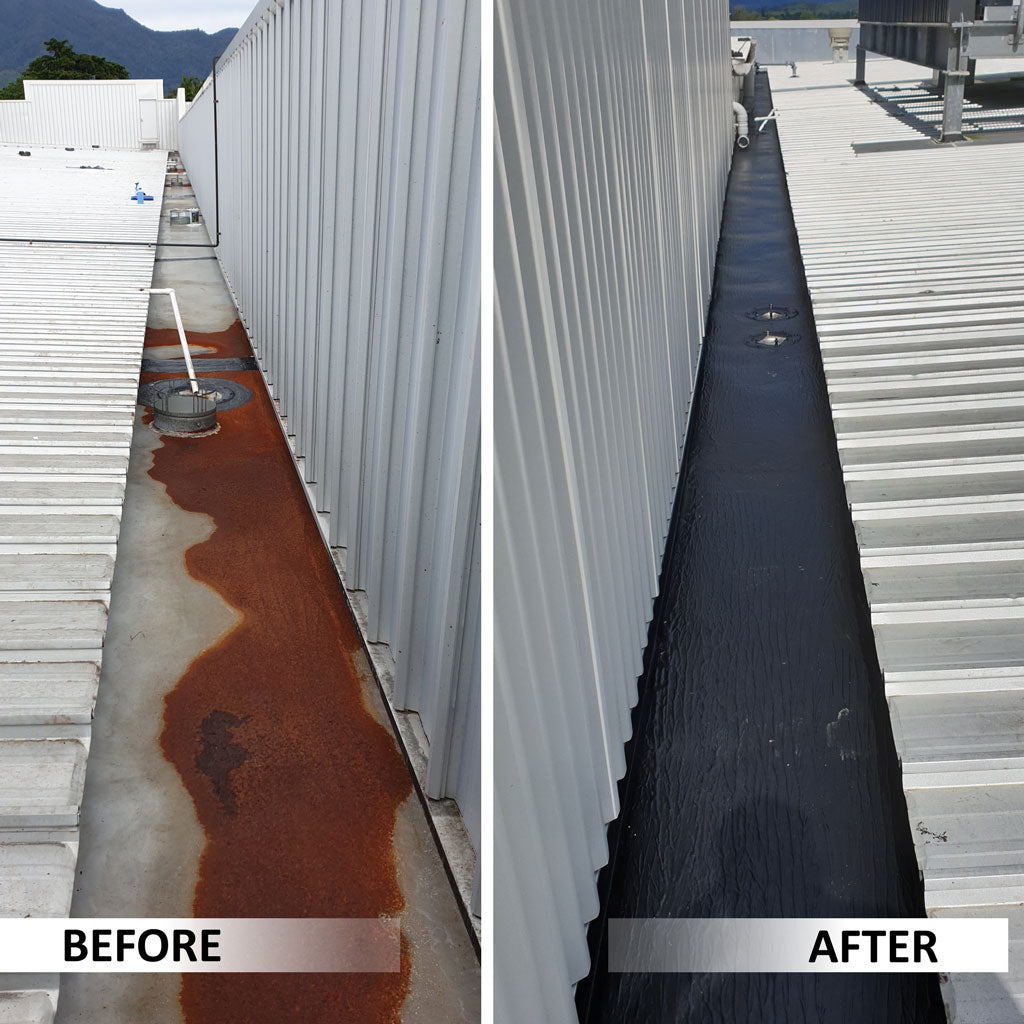
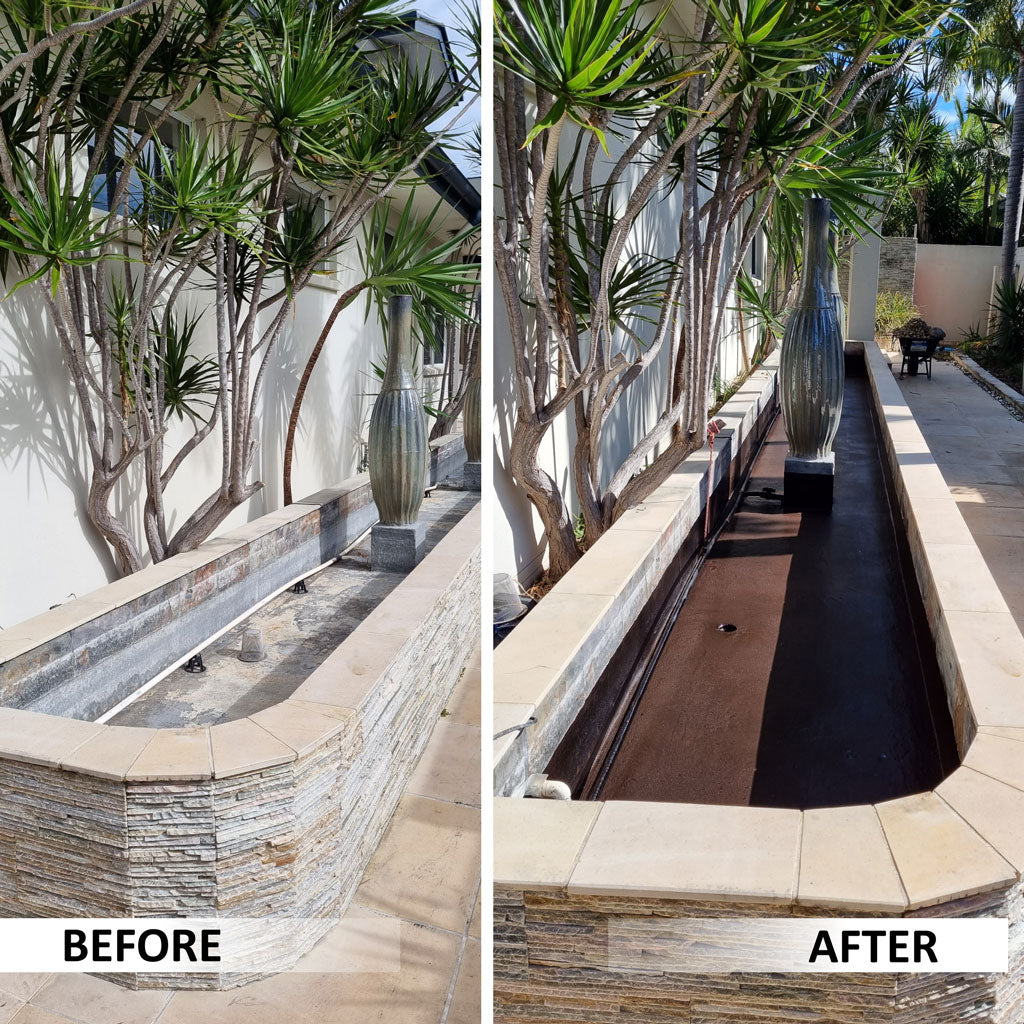
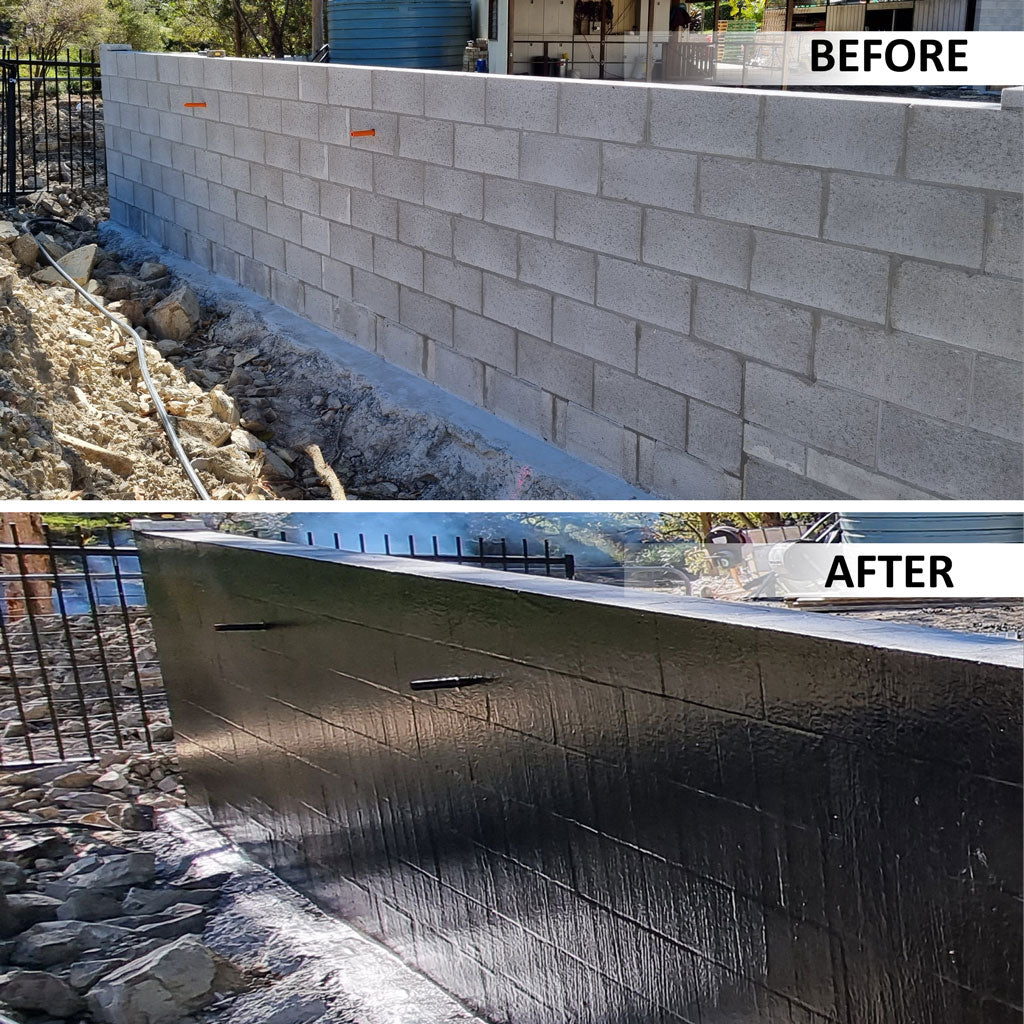
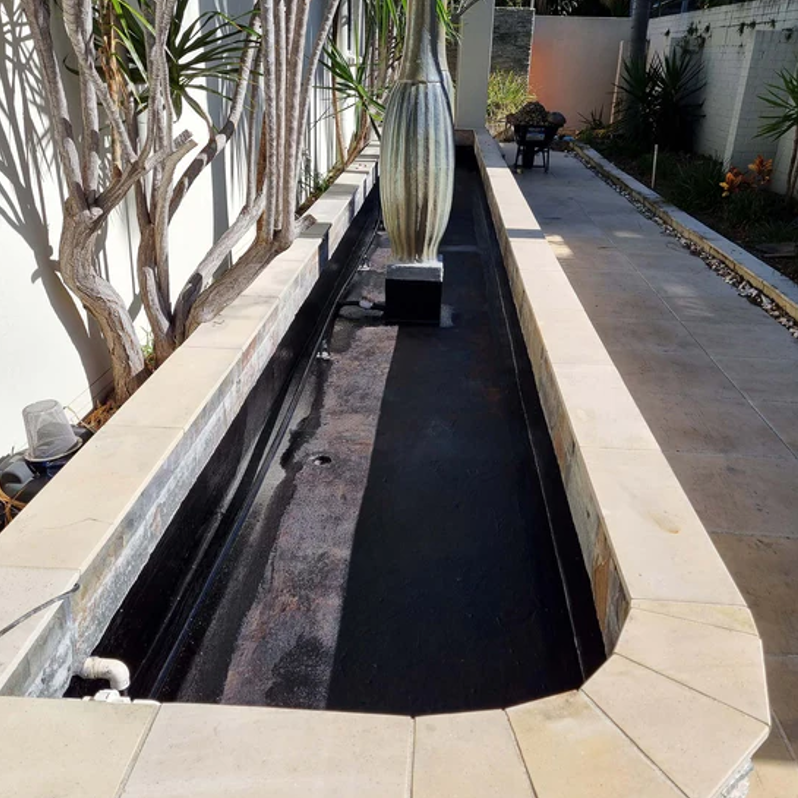
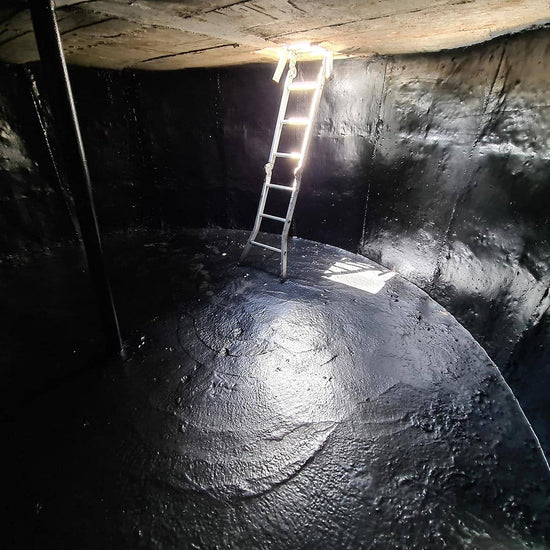
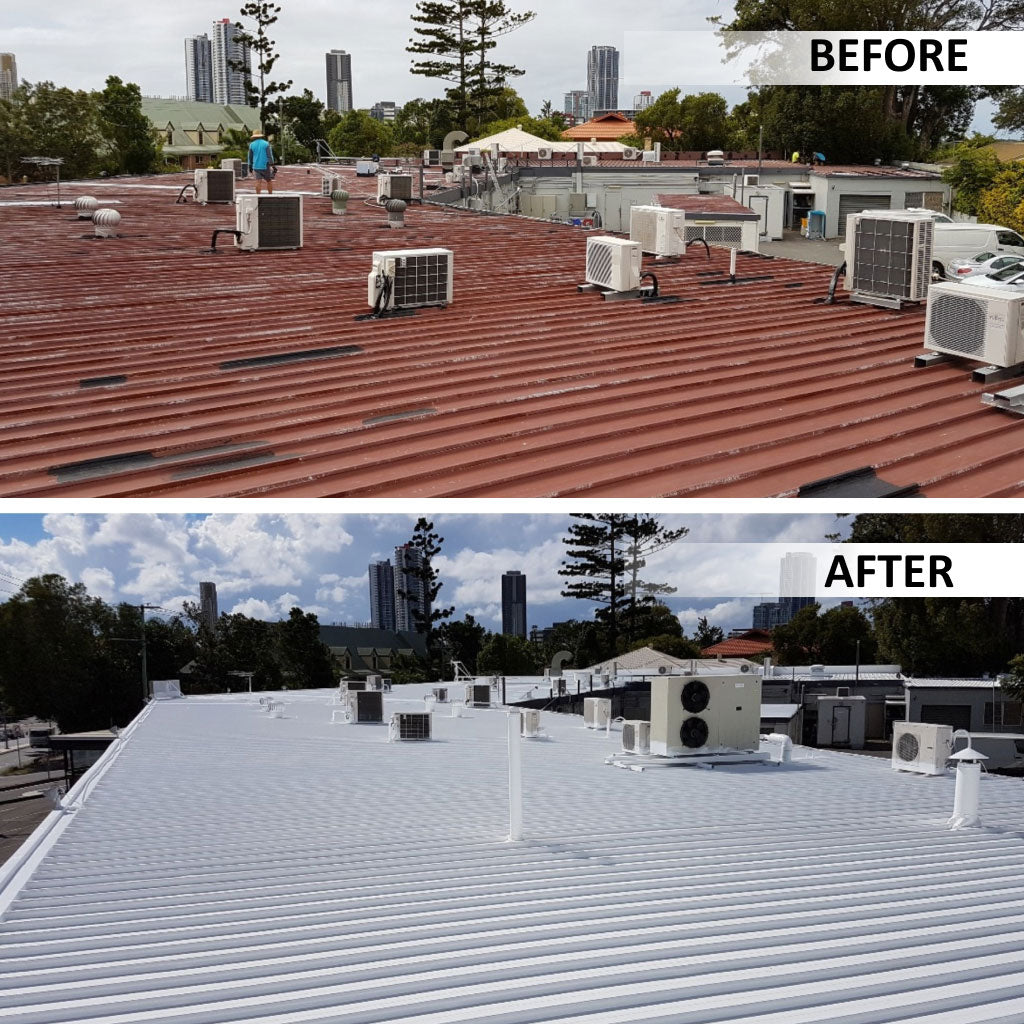
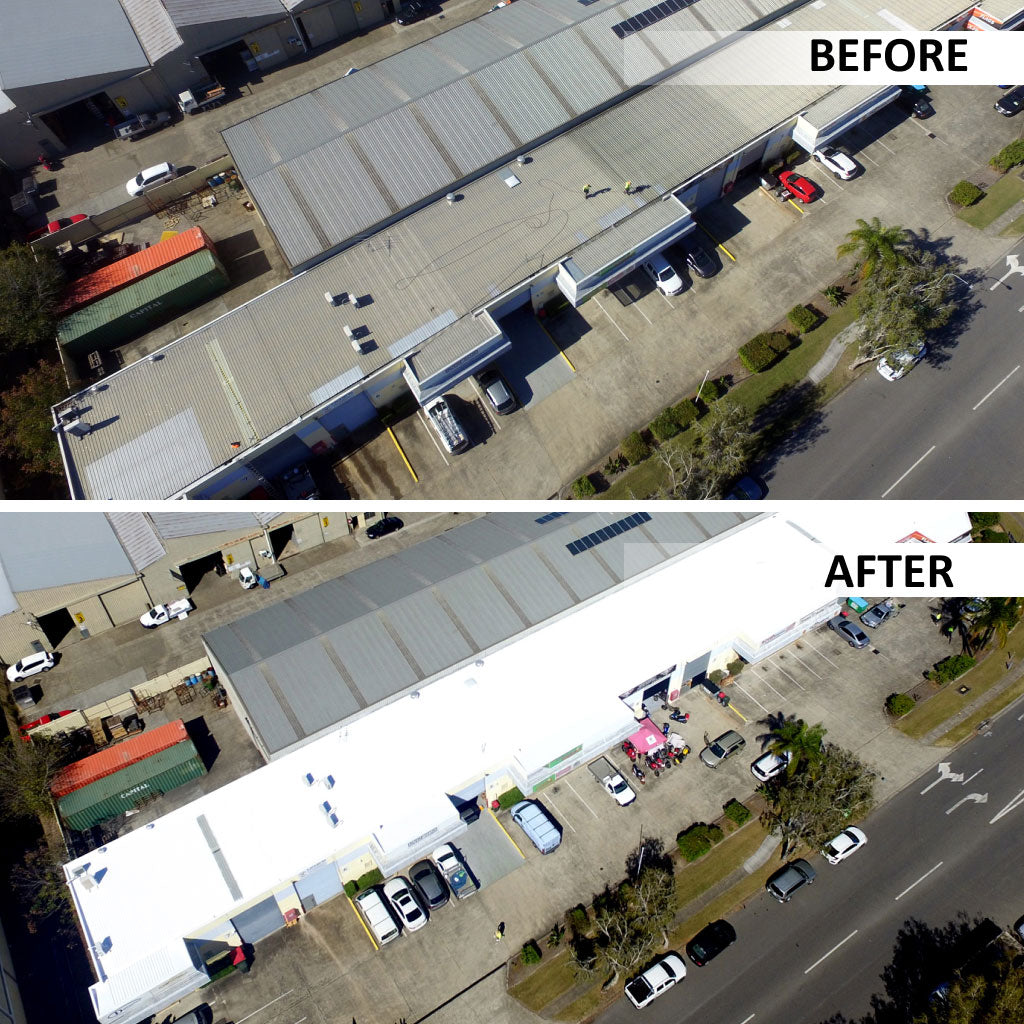
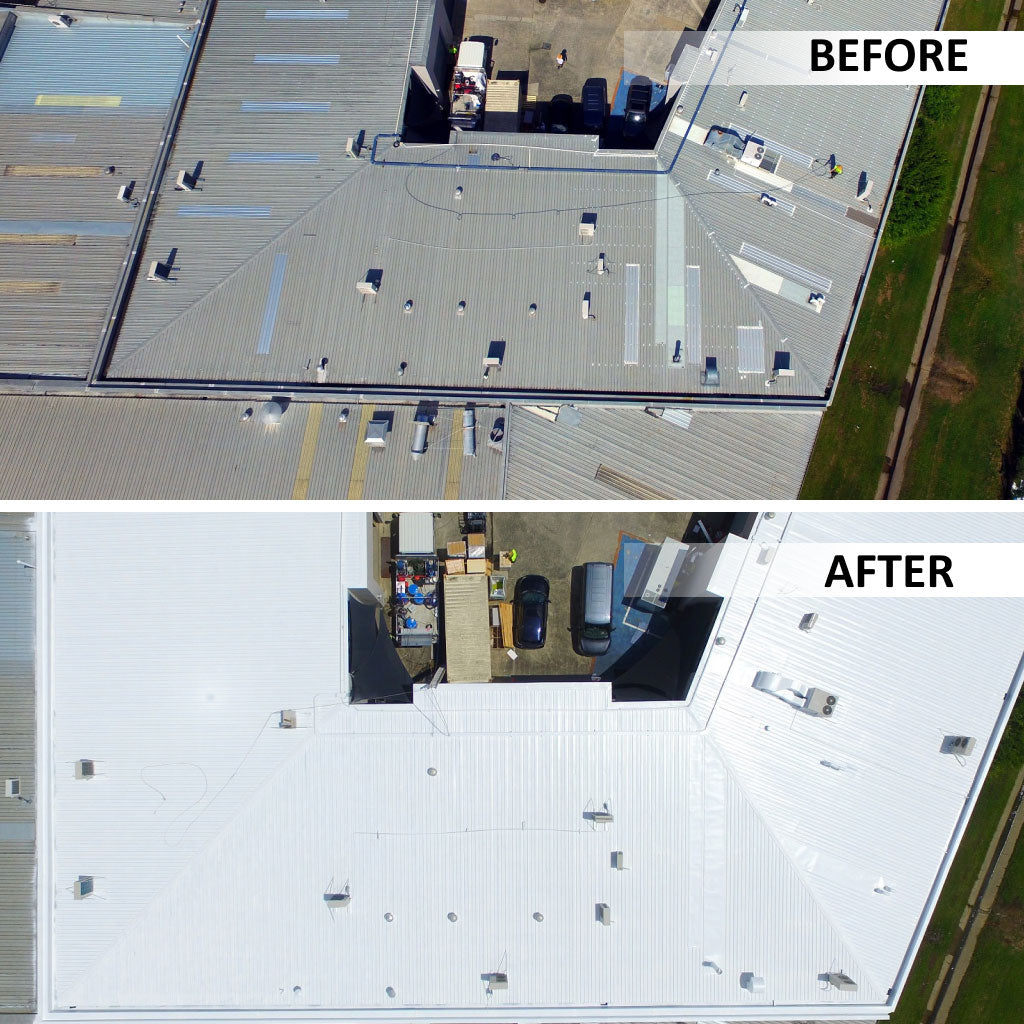
We've been testing and improving our products since 2008. When properly applied the Waterproof Membrane will extend the life of your Roof by 10+ year.
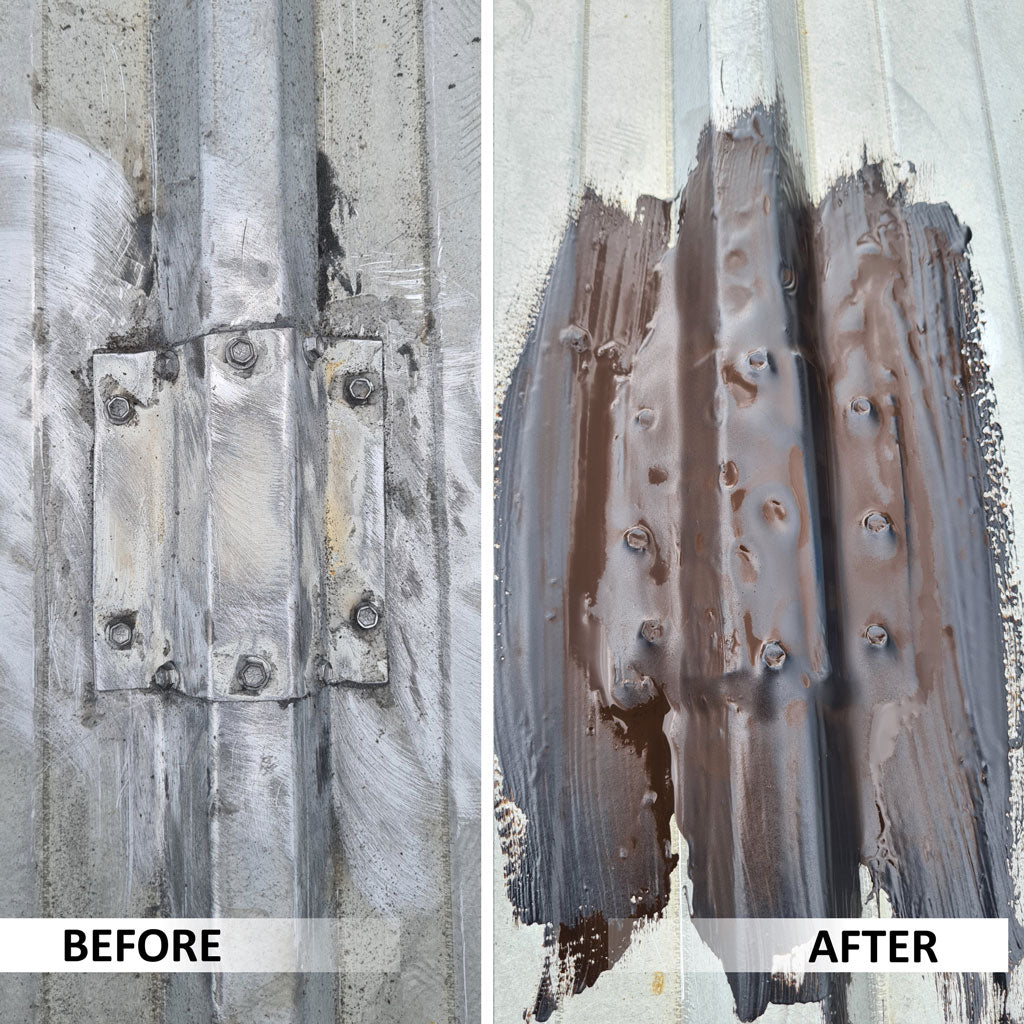
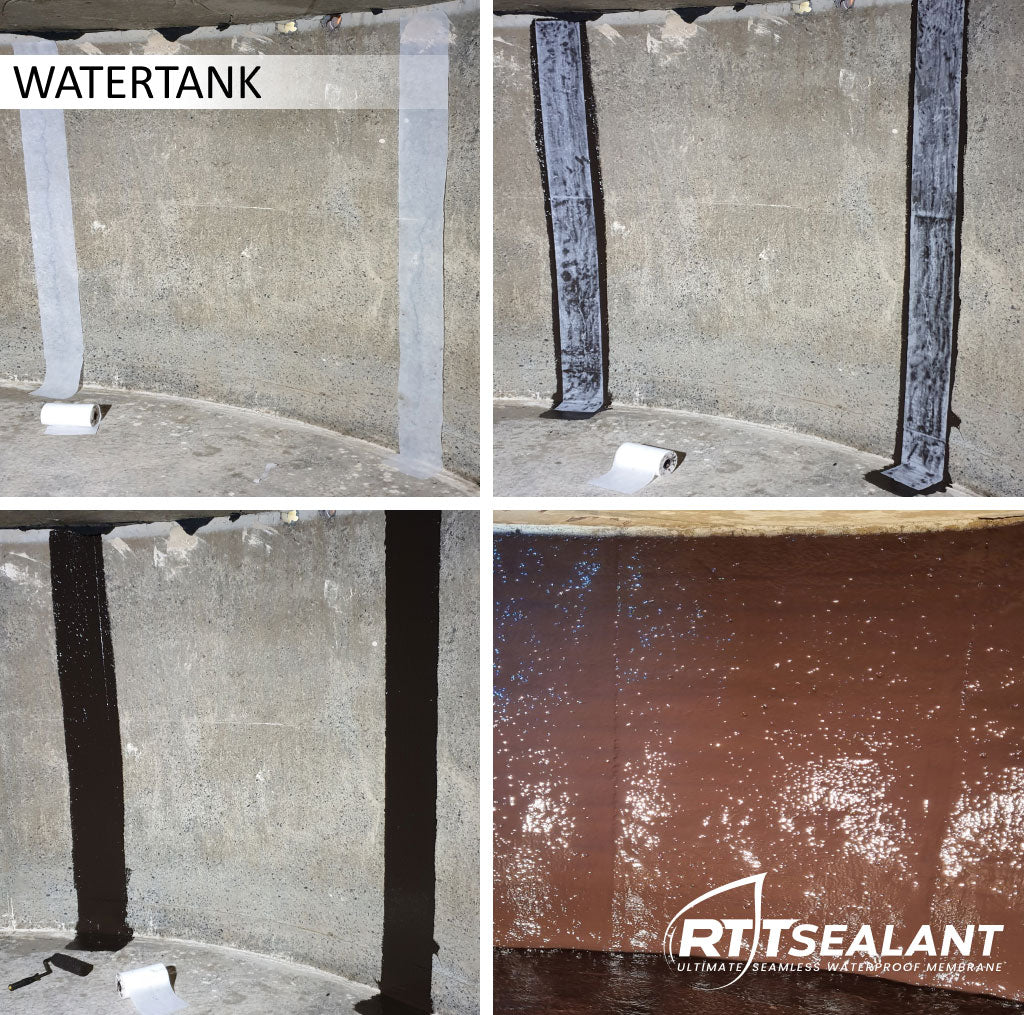
The GEO Textile is sandwiched with the Waterproof Sealant over cracks, holes, seams, vents etc. It is used for reinforcement and stabilisation purposes.
The Seam Tape is used to cover bigger holes and cracks causing your box gutter leak, as it is firmer than the GEO Textile. Like the GEO Textile, it is used for reinforcement and stabilisation purposes.
The Quick Dry Spray is optional. However, we recommend spraying it on top of a wet Waterproof Sealant layer for a quicker cure and to protect the product from approching rain.