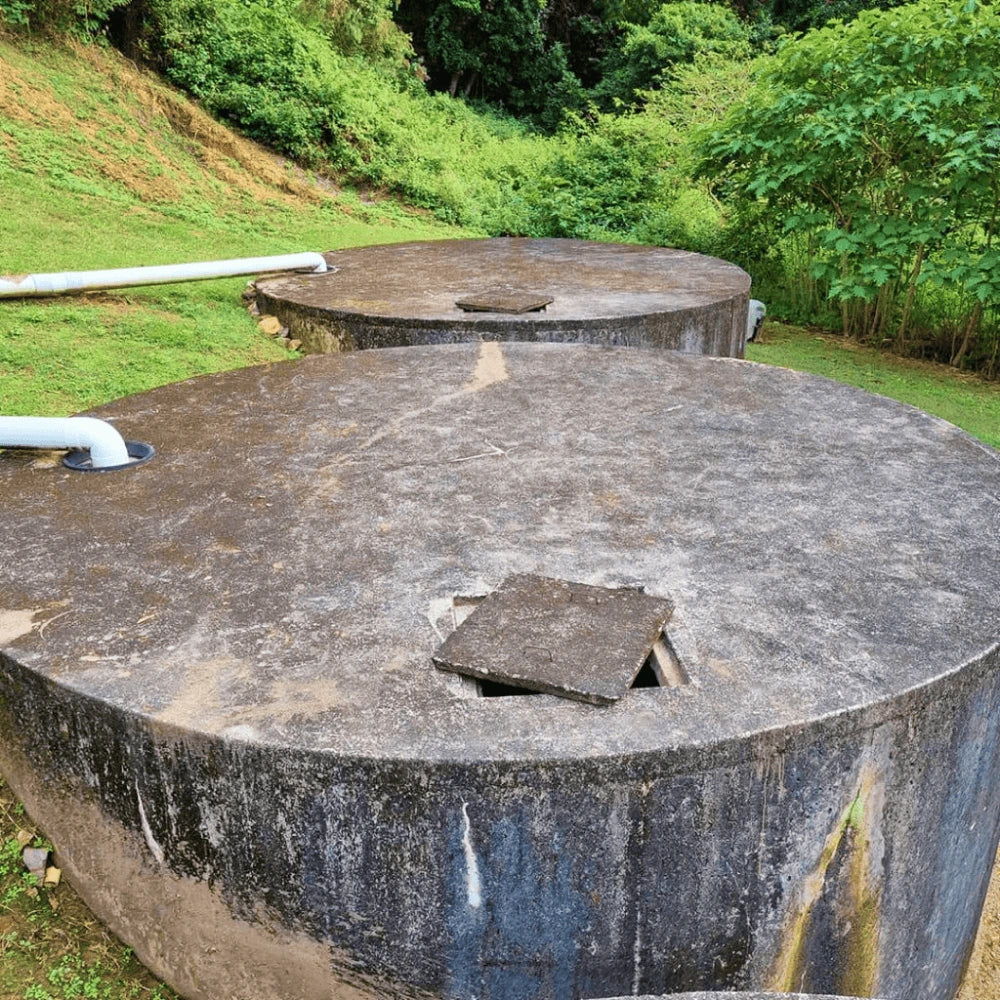
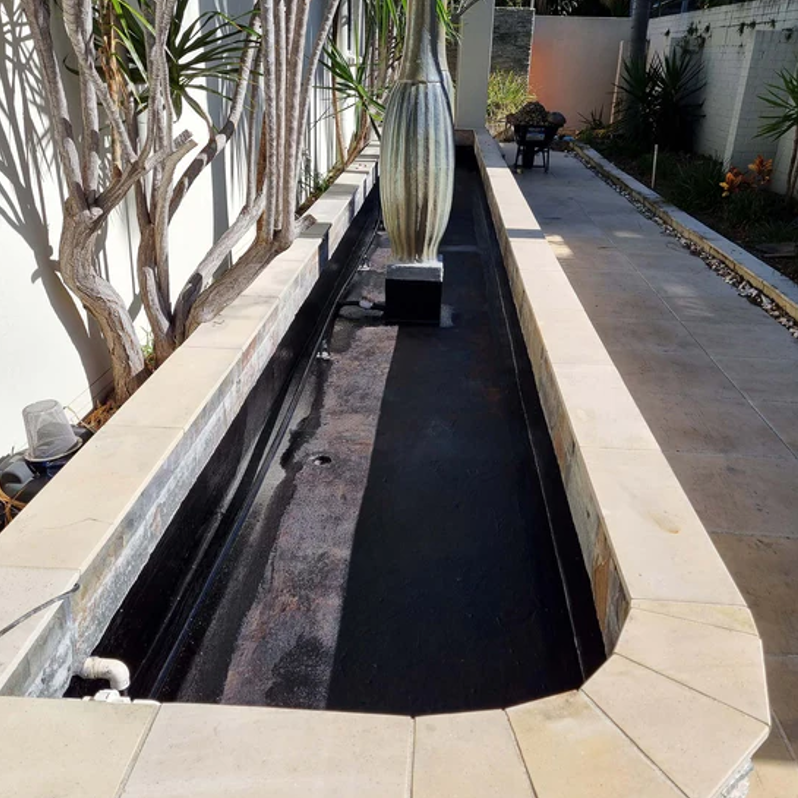
Waterproof Your Water Tank
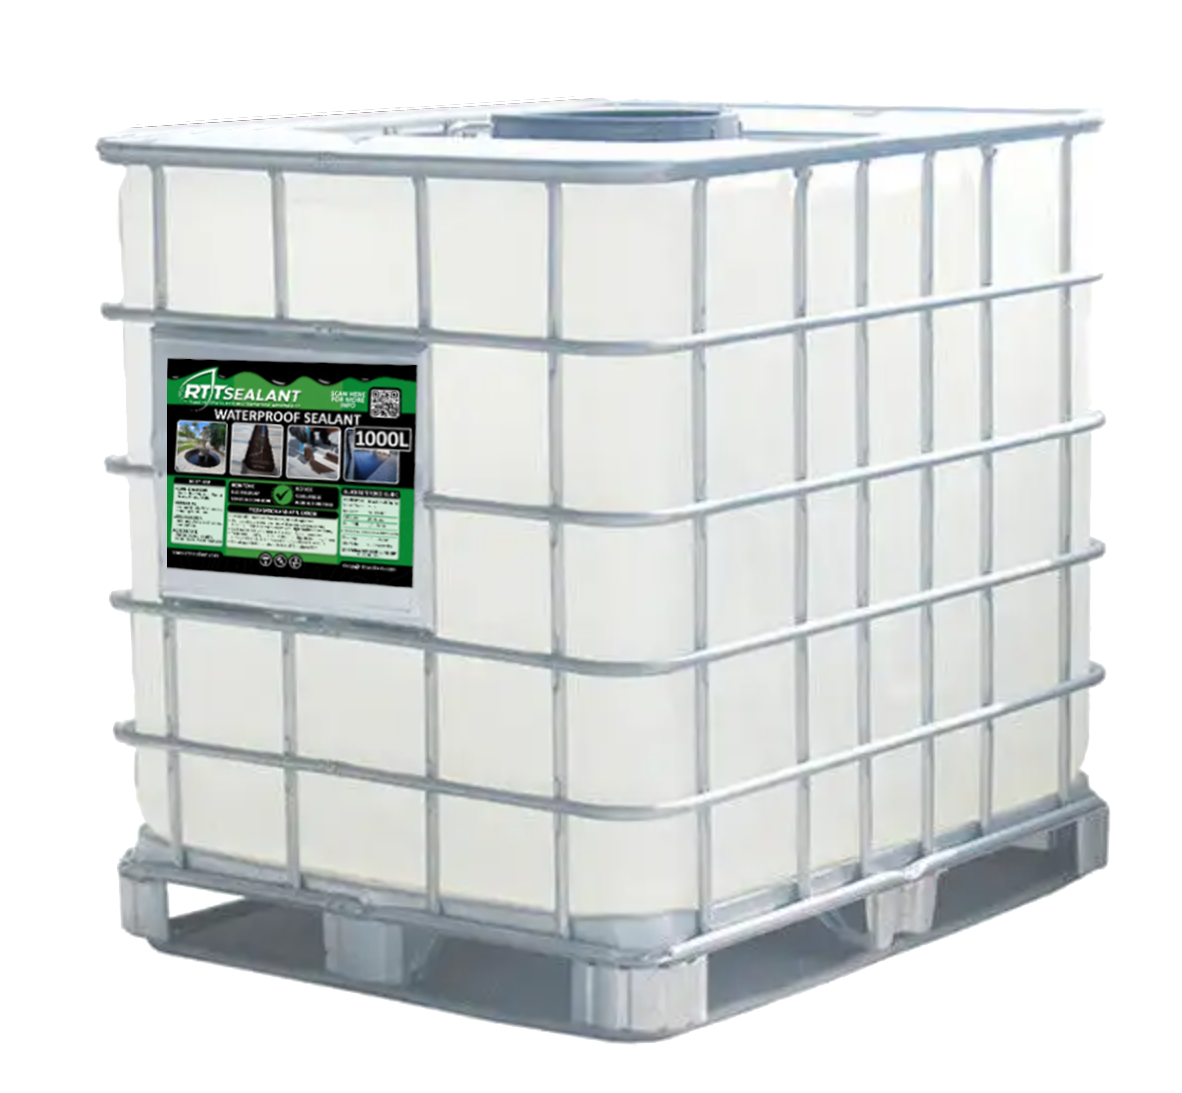
Discover quality water tank repair and sealant products to fix leaks and ensure lasting waterproofing. RTT Sealant offers reliable solutions in Australia. Renovate your leaking tank with RTT Sealant to increase property value and save thousands on replacement costs. Find all products to waterproof your tank below. ↓
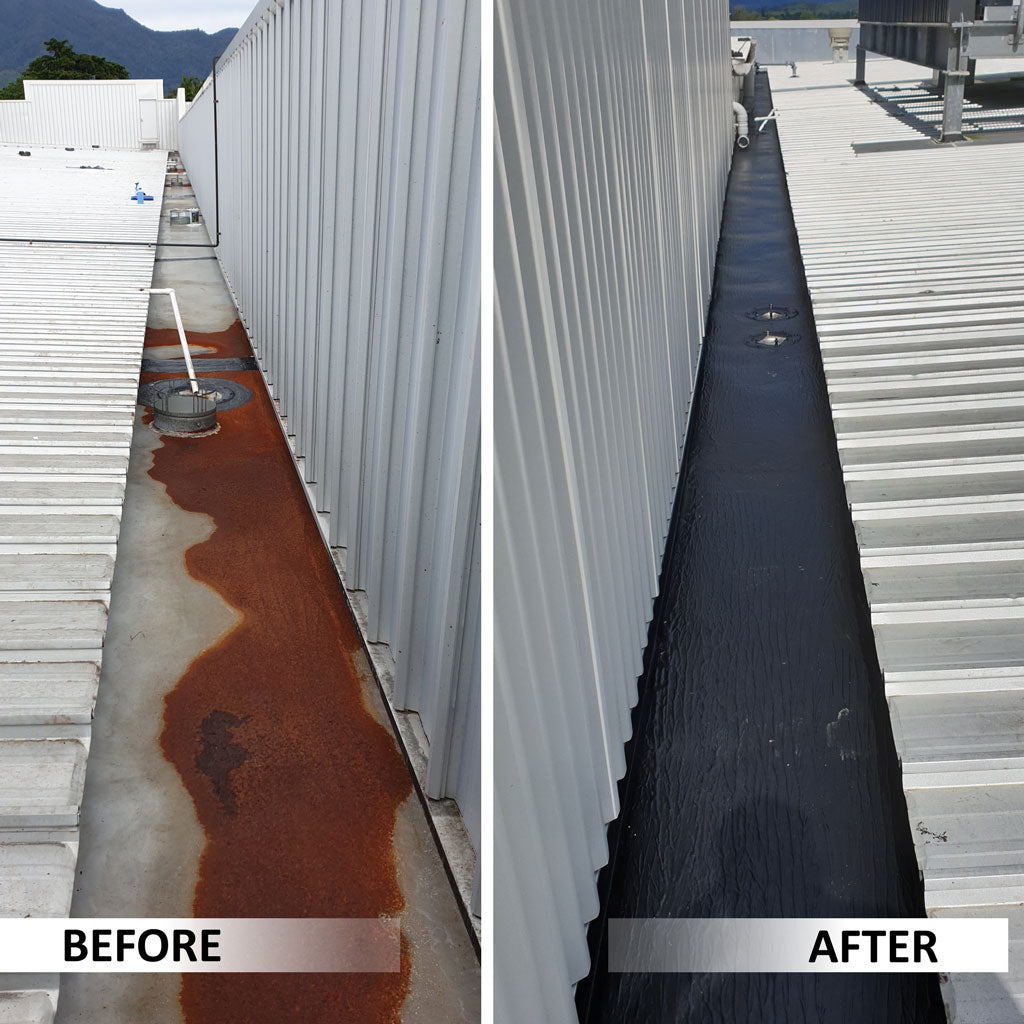
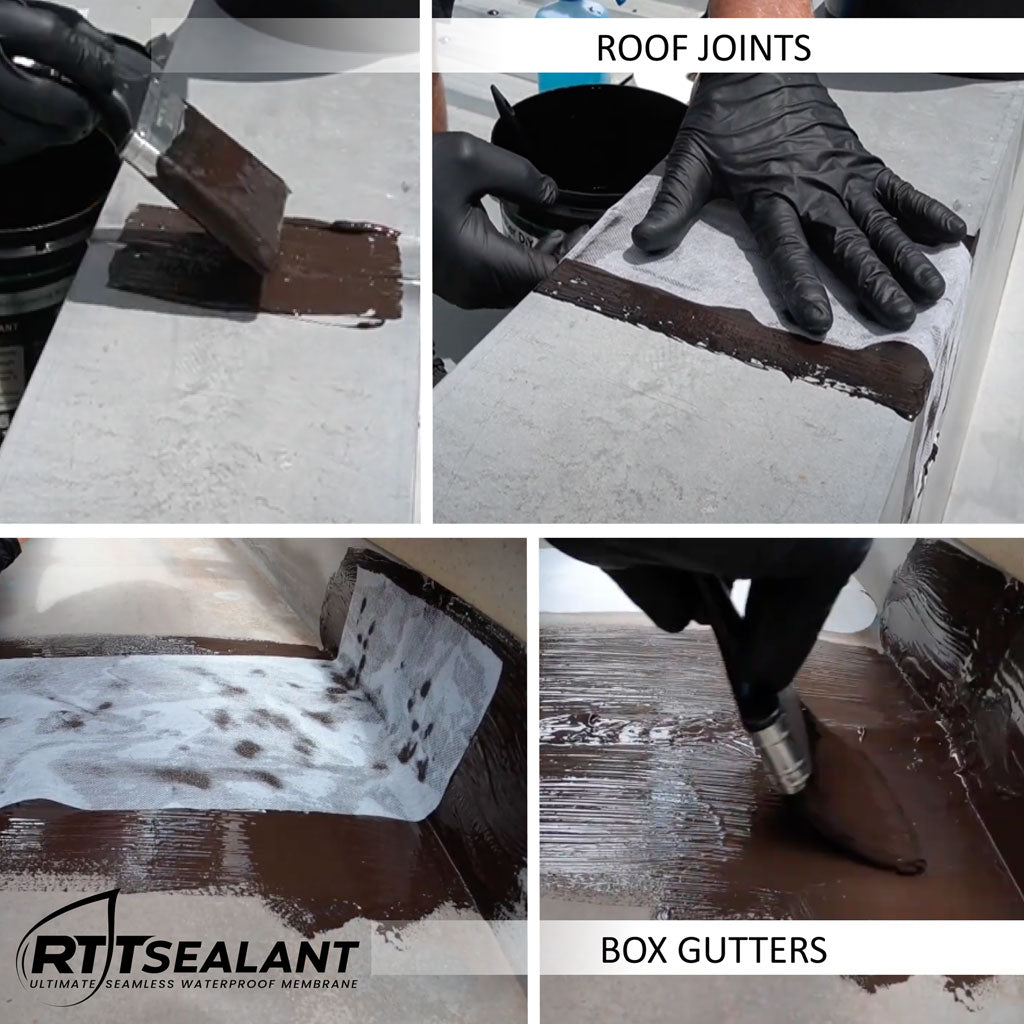
Step by step instruction for sealing a Box Gutter
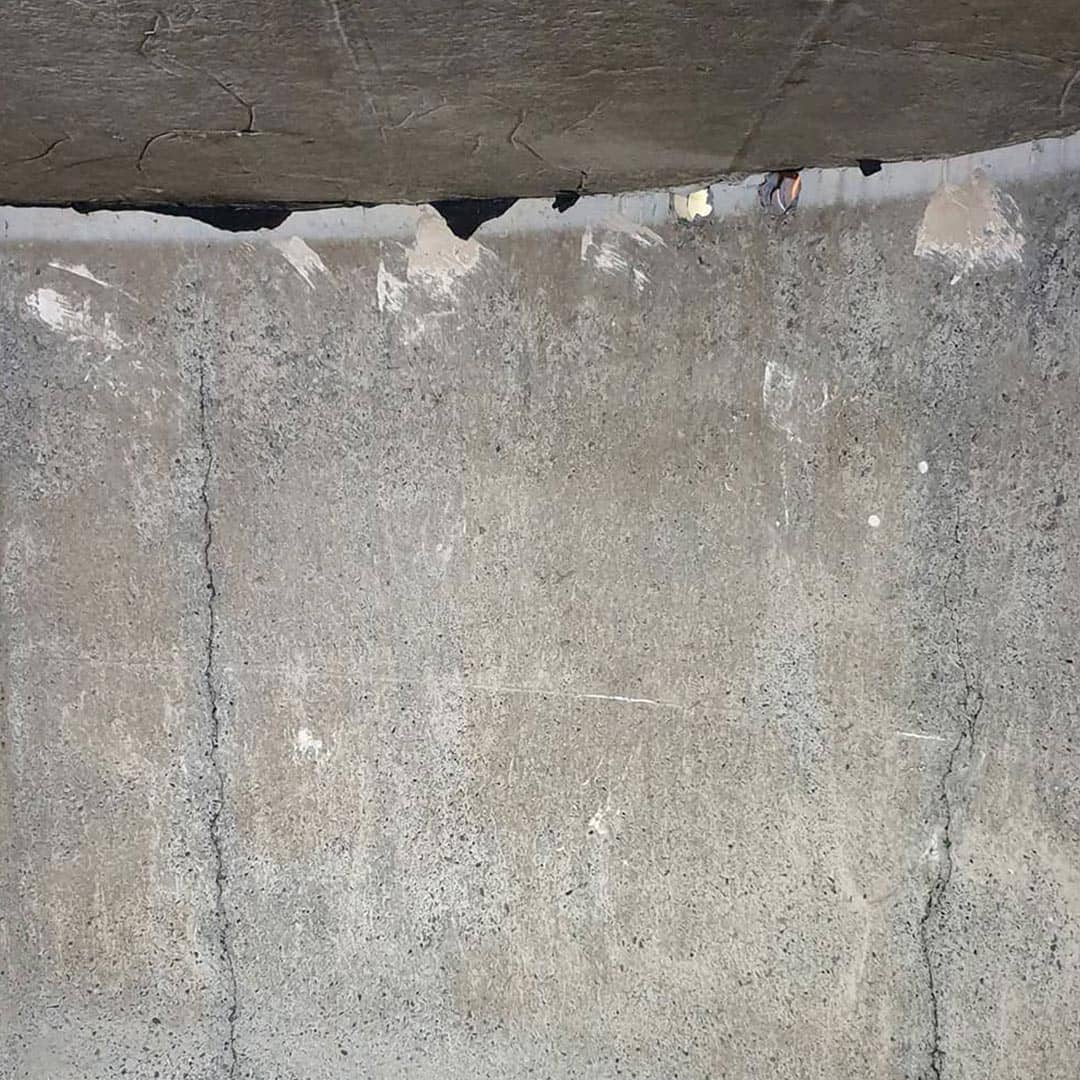
STEP 1:
Make sure the tank surface is clean and dry. Use a pressure washer/water blaster to clean the surface.
Allow the surface to dry before proceeding to the next step.
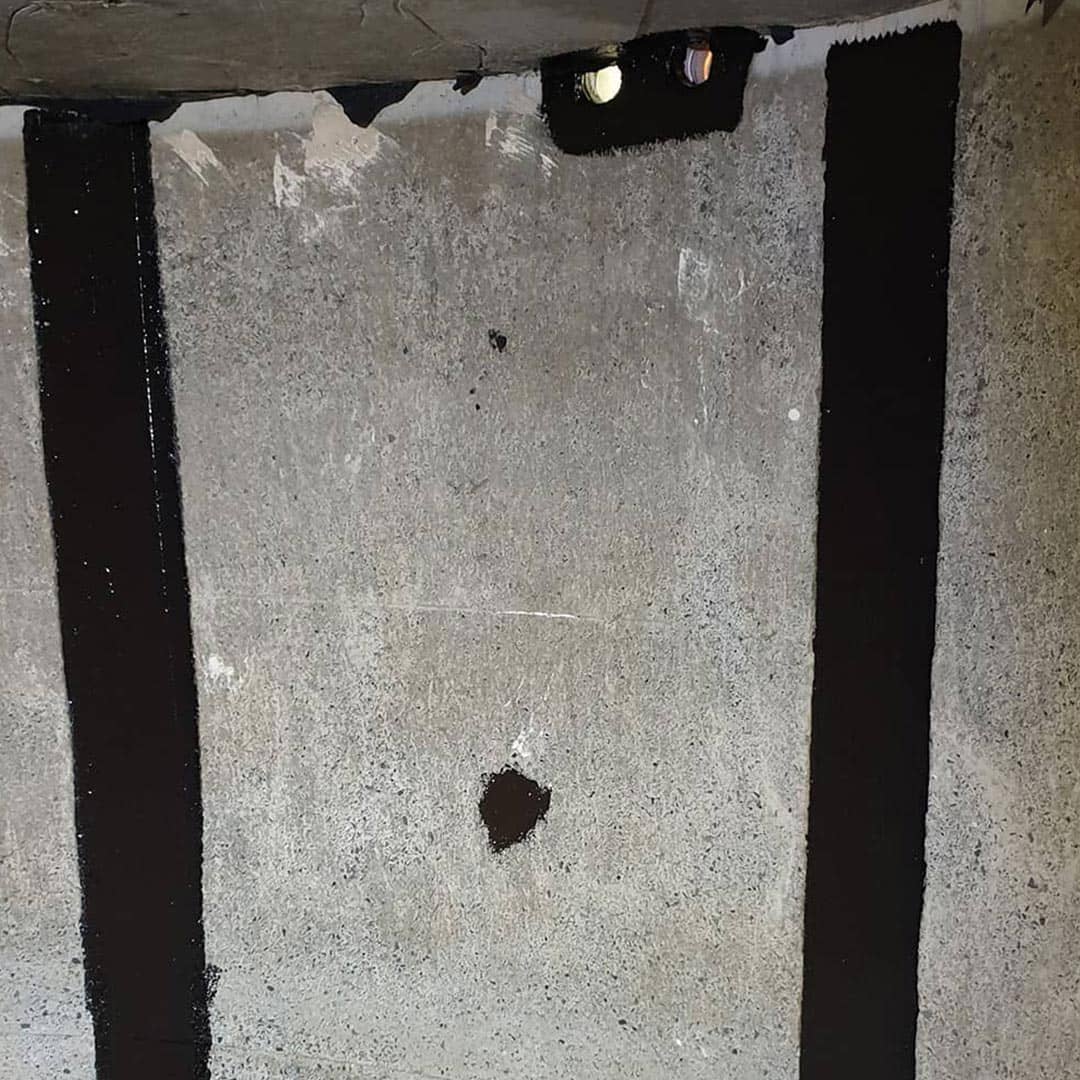
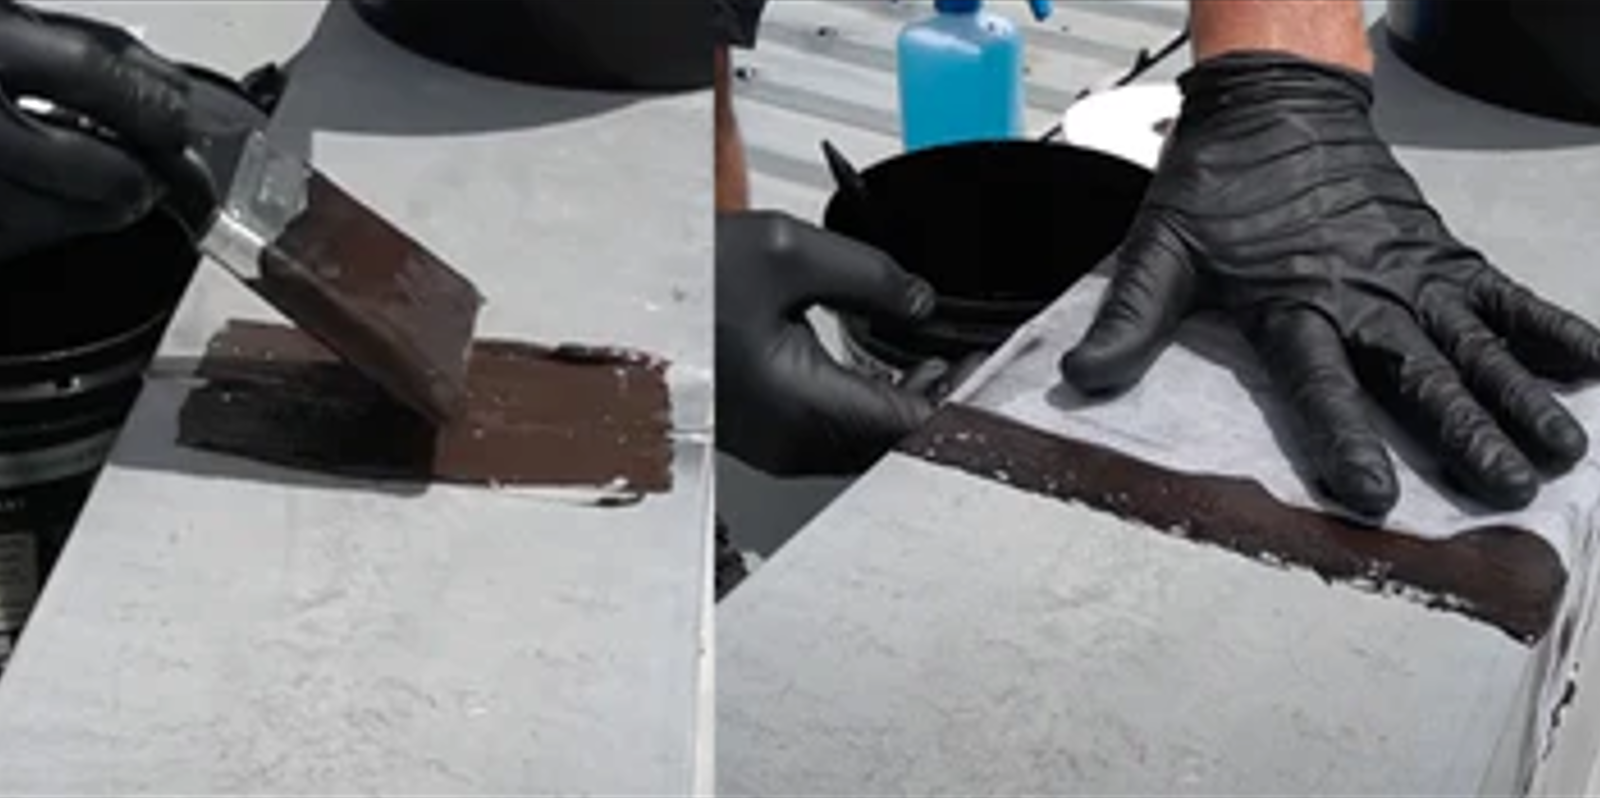
STEP 2:
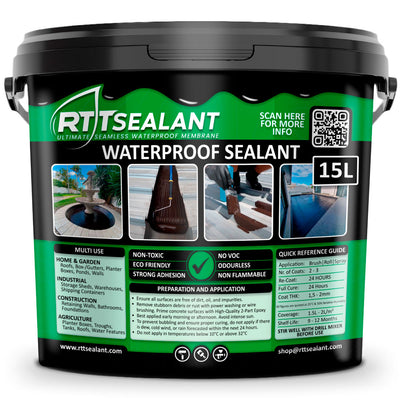
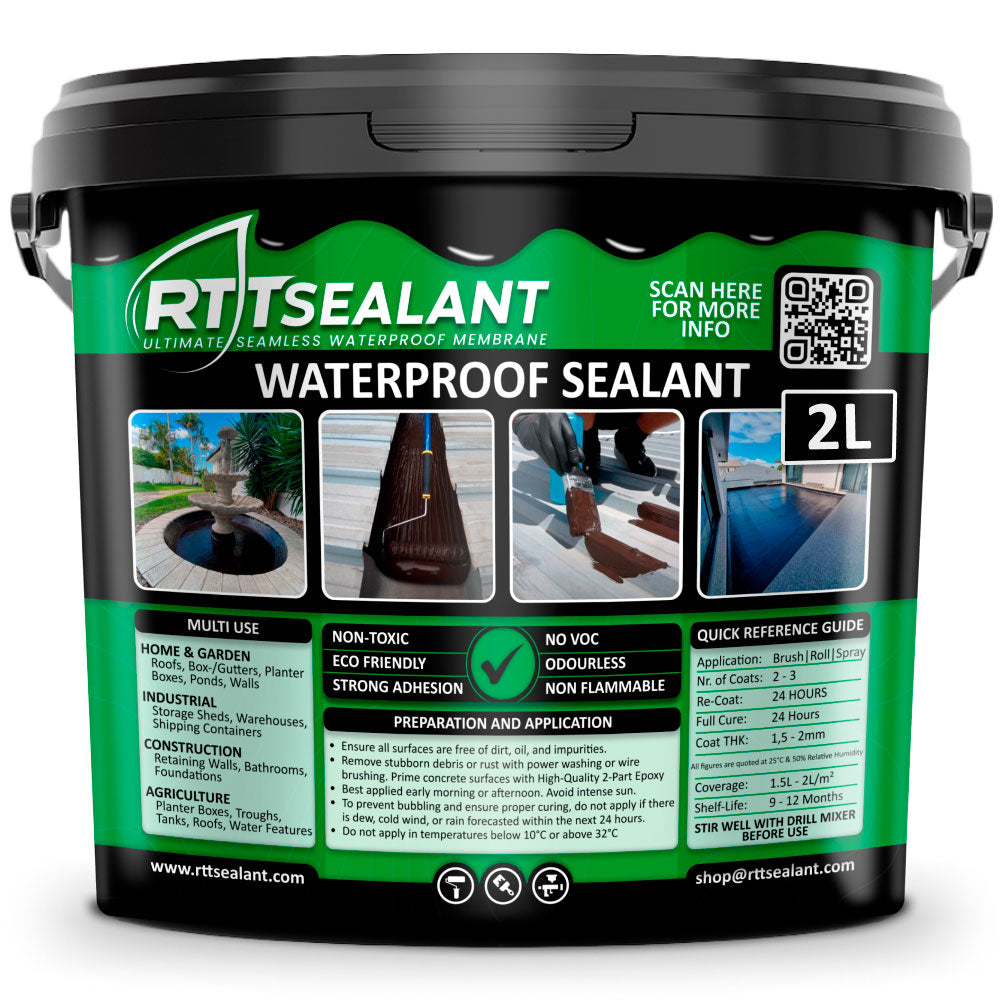
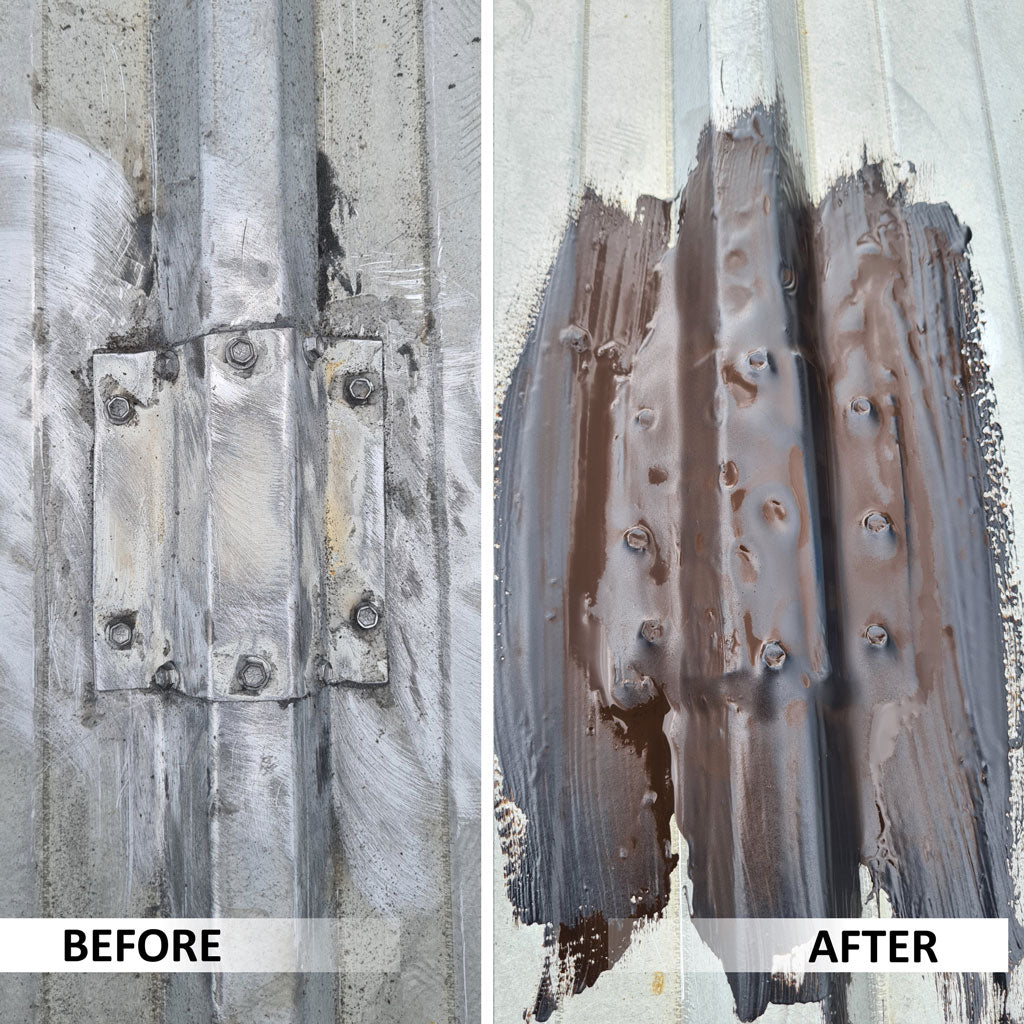
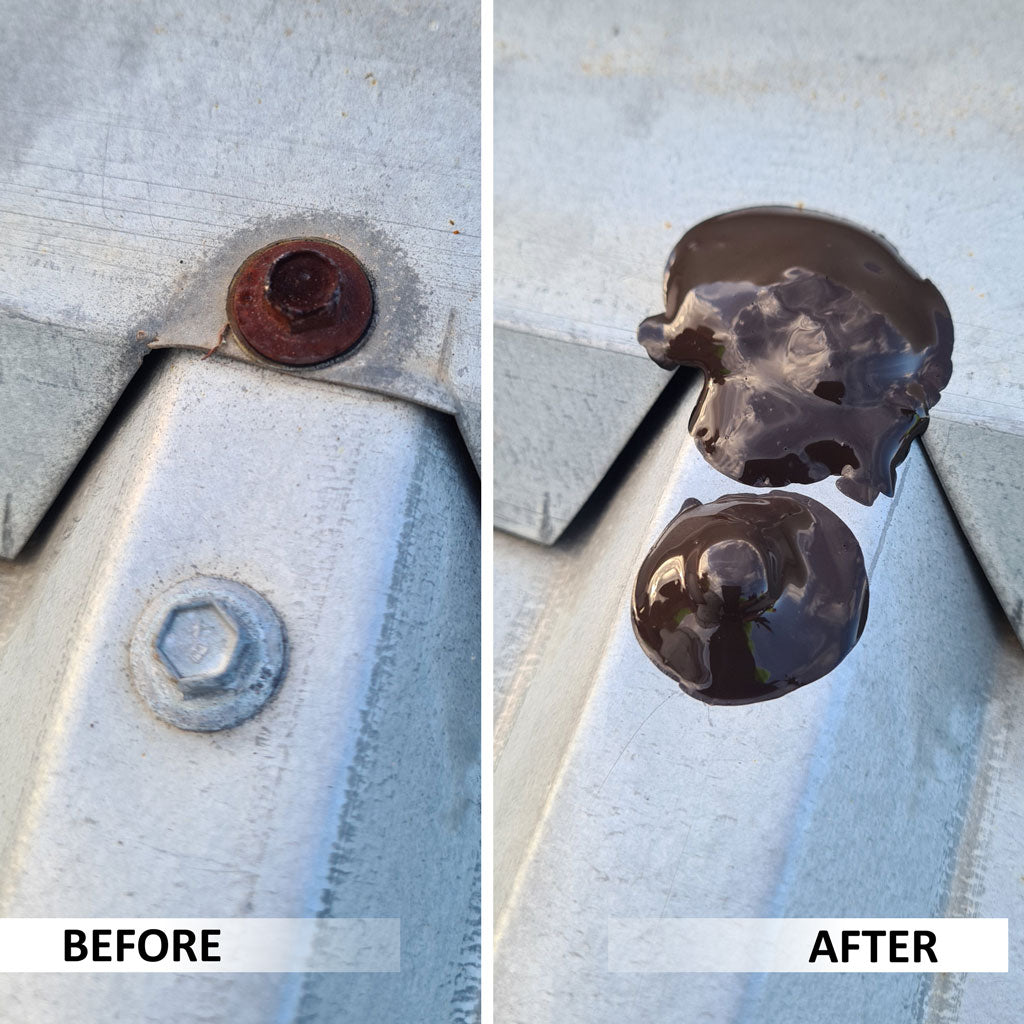
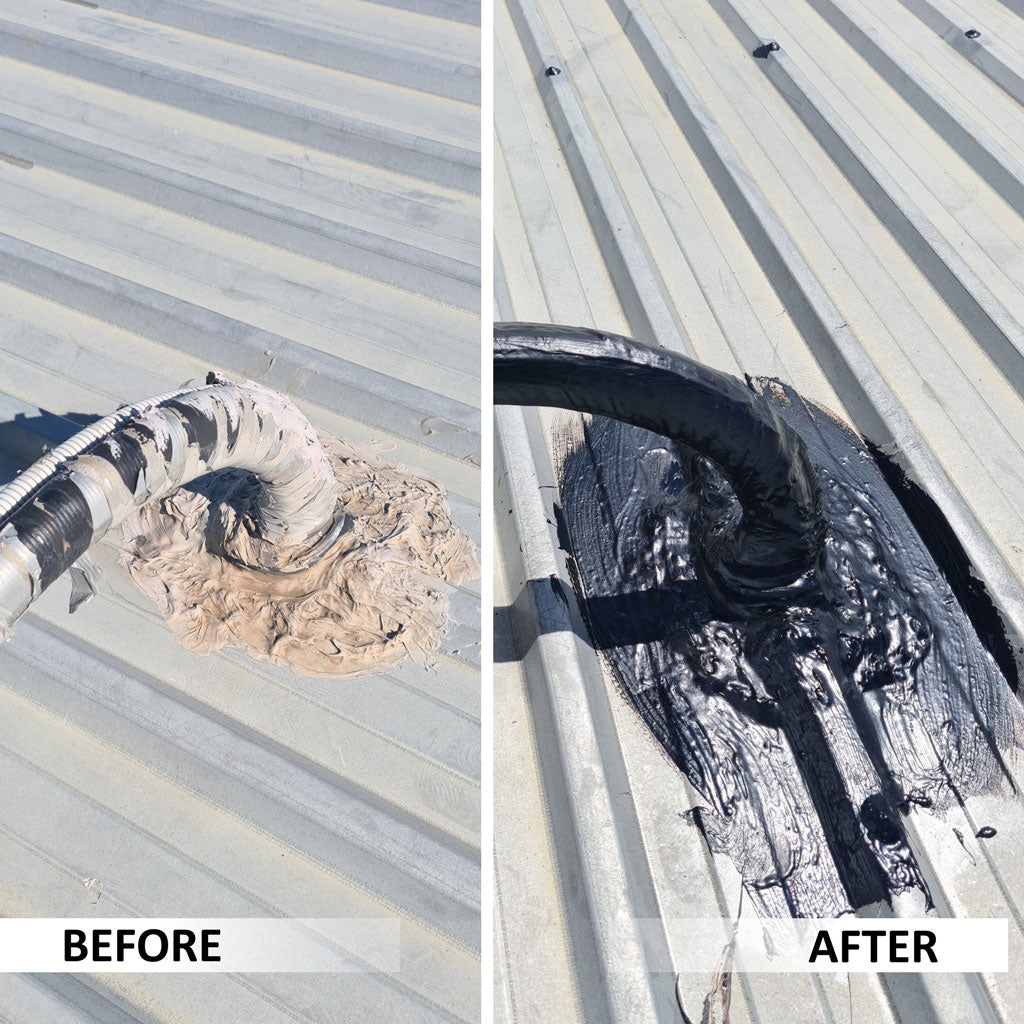
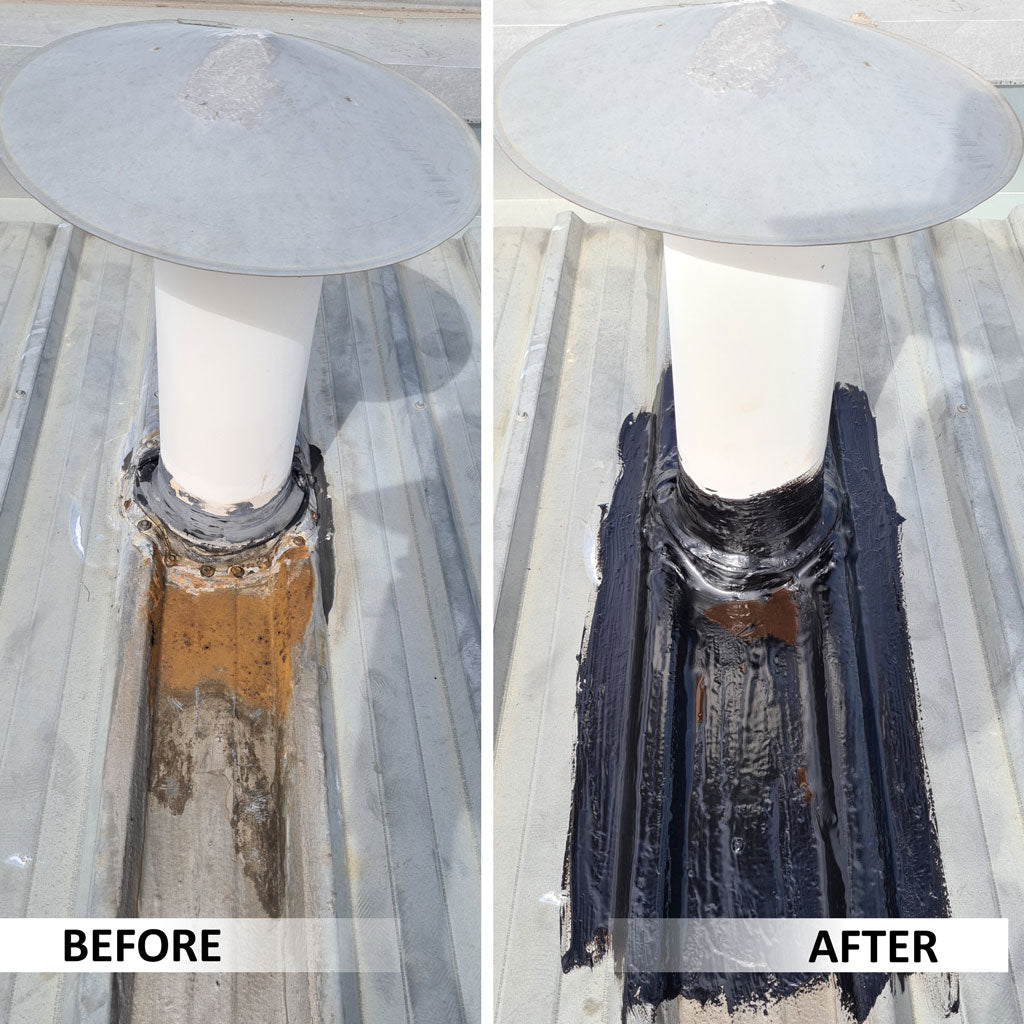
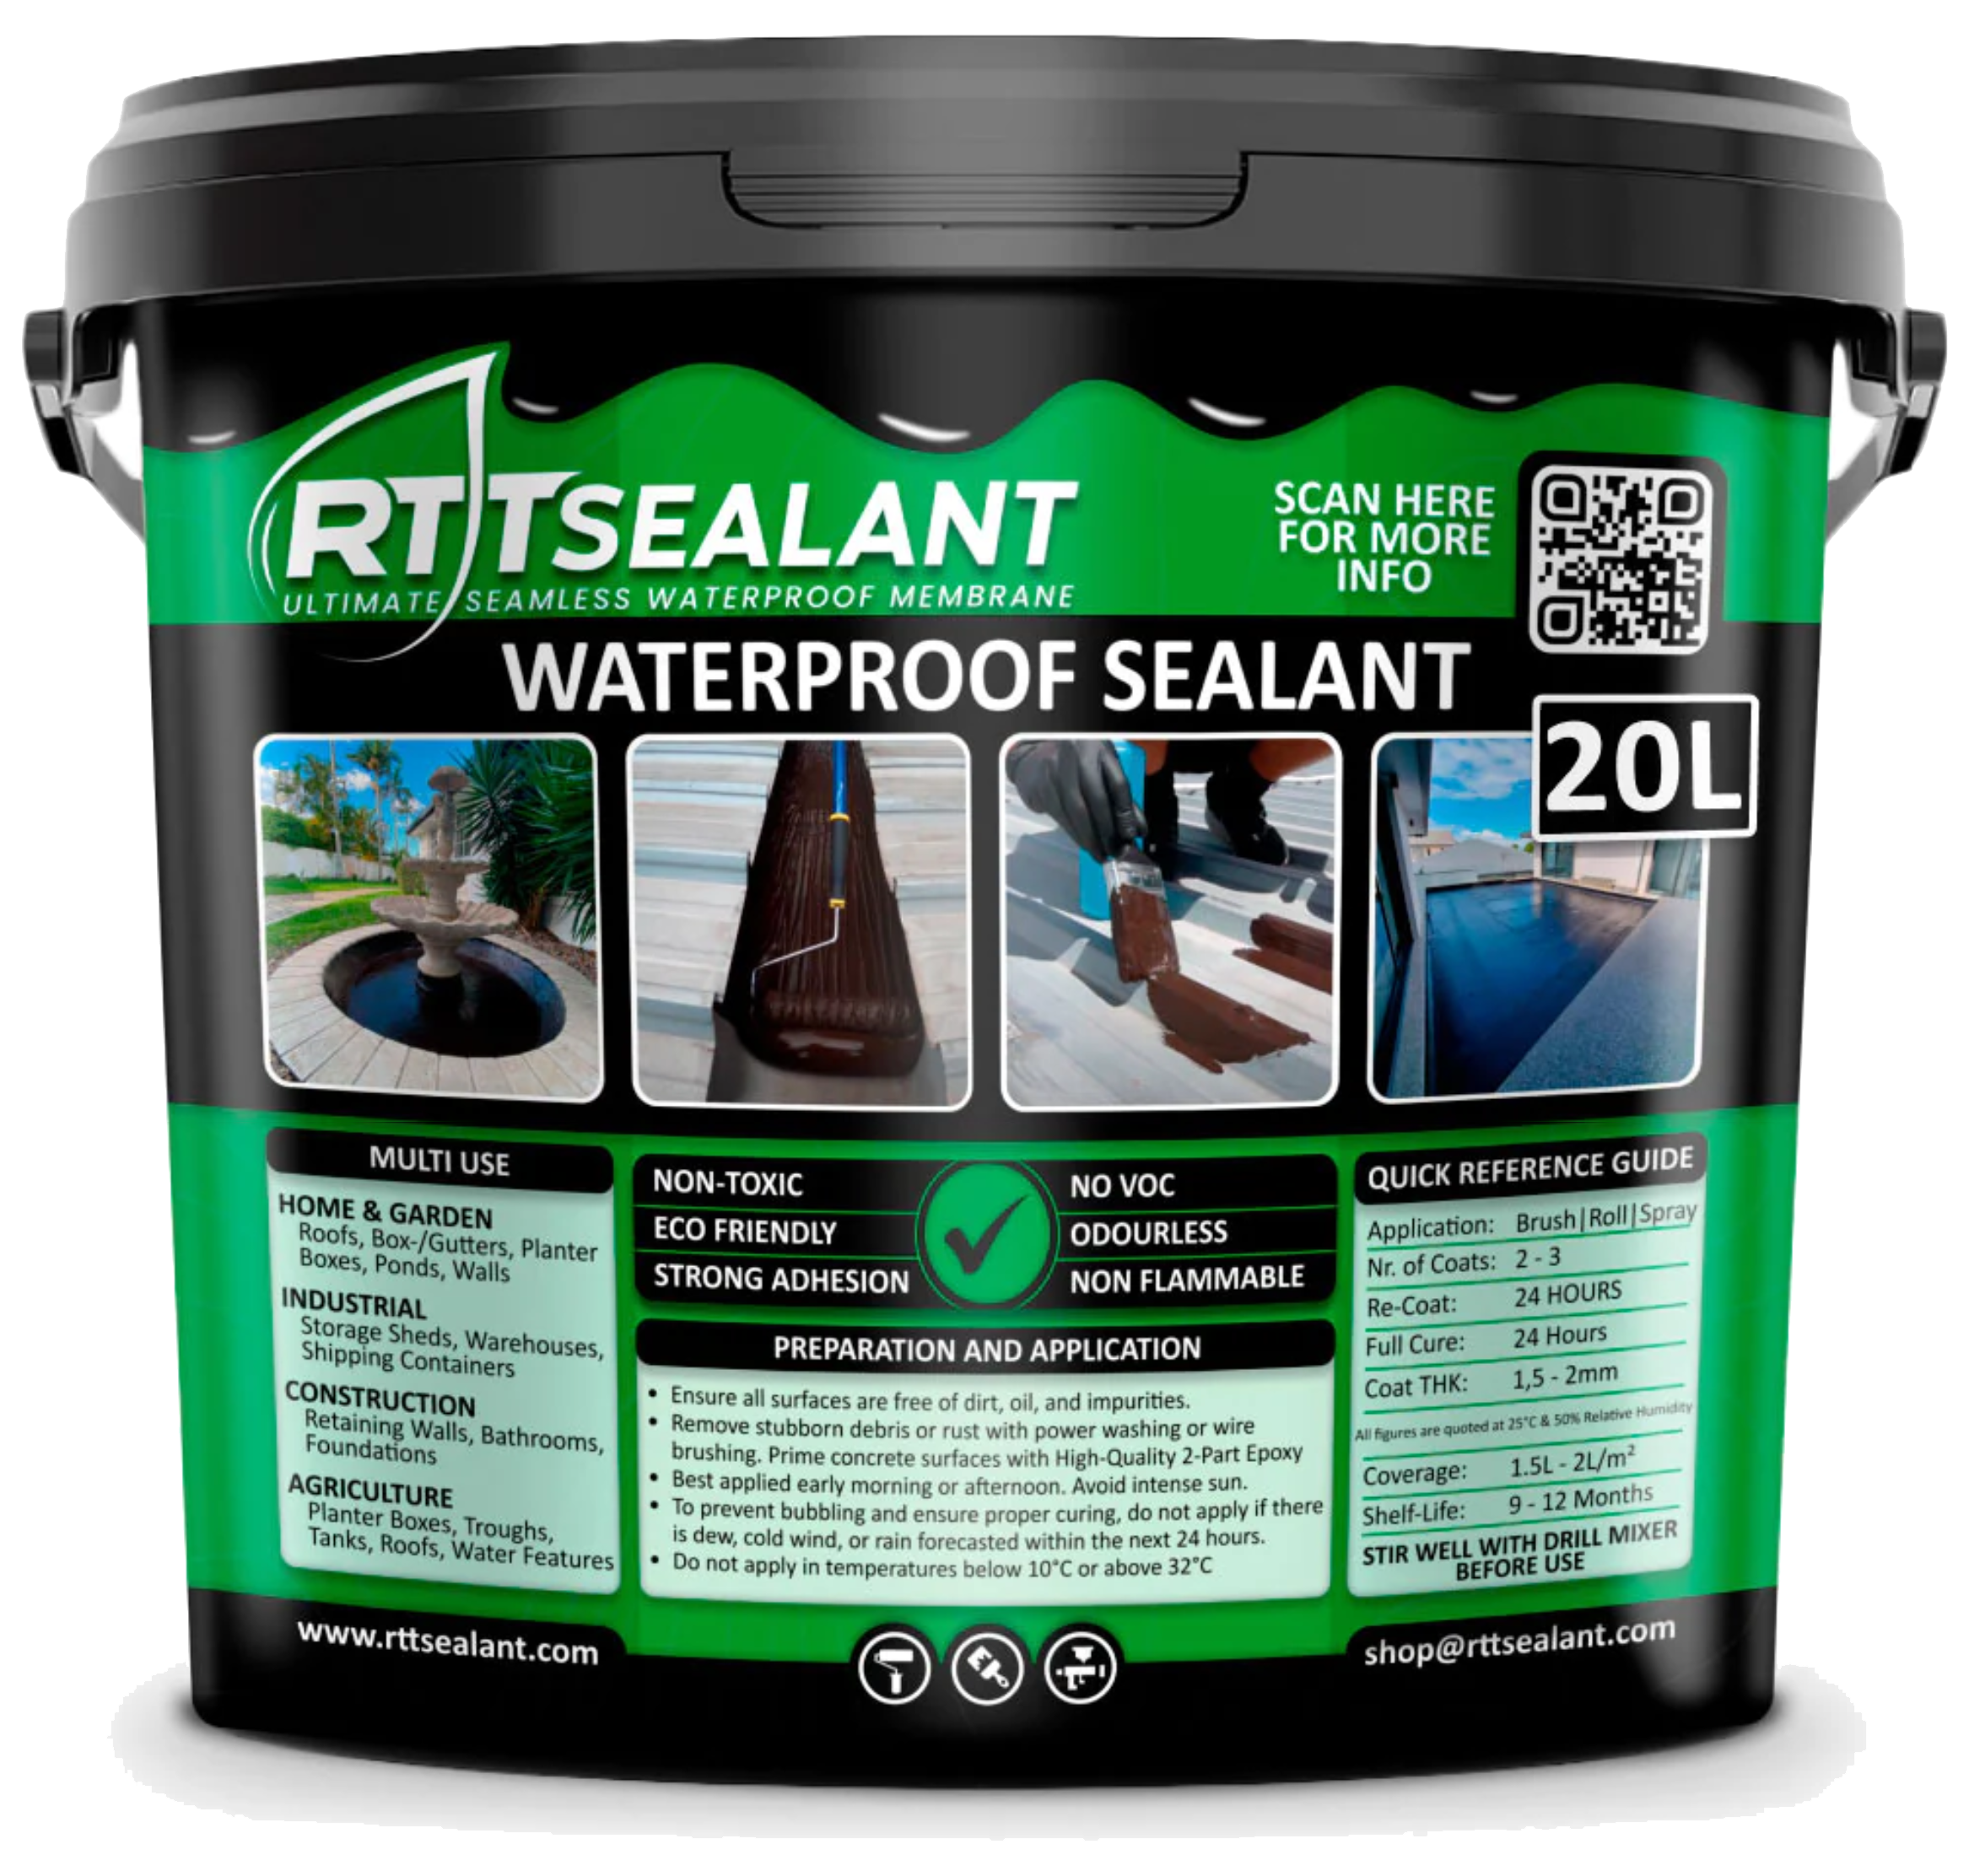
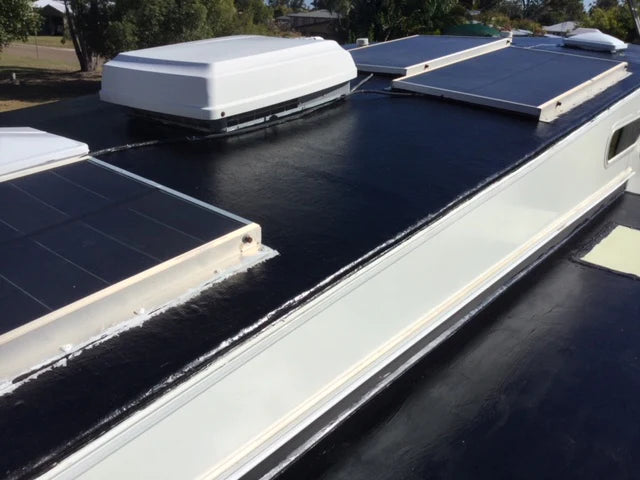
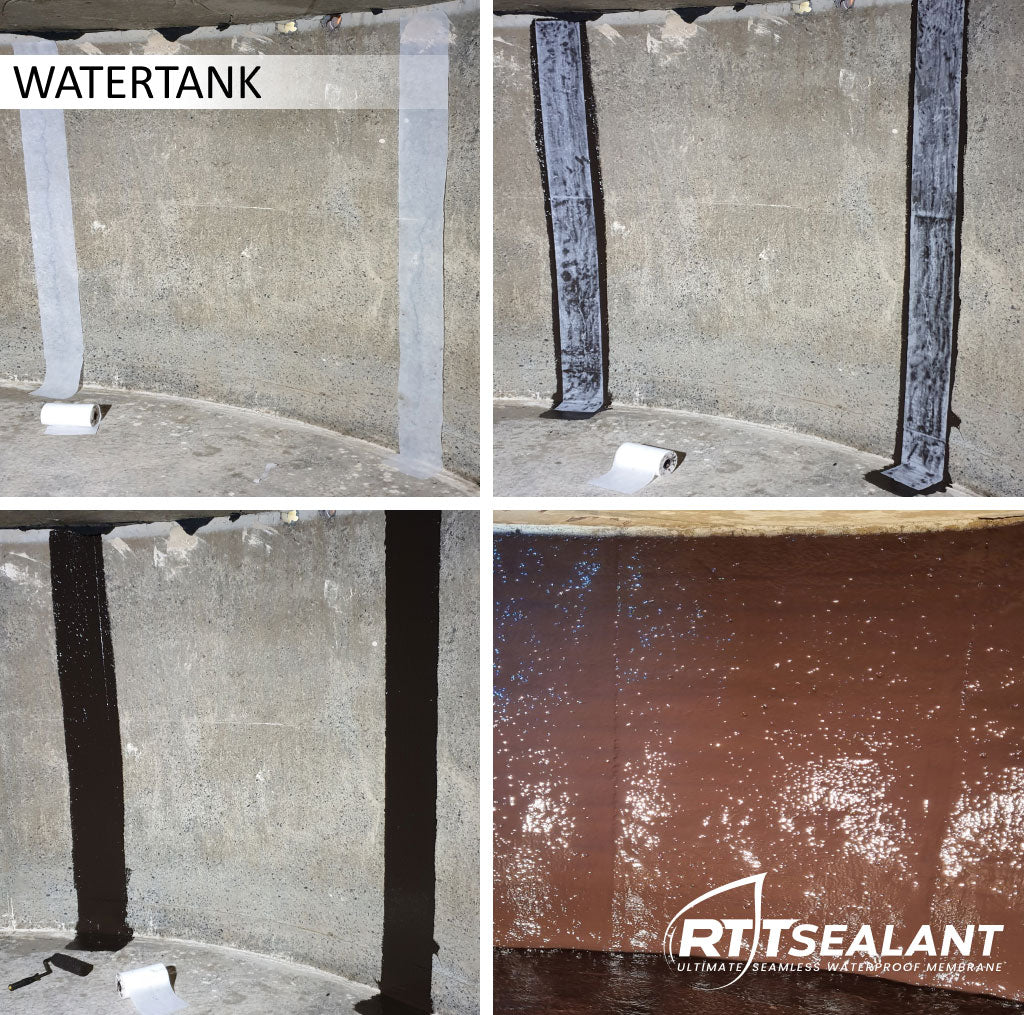
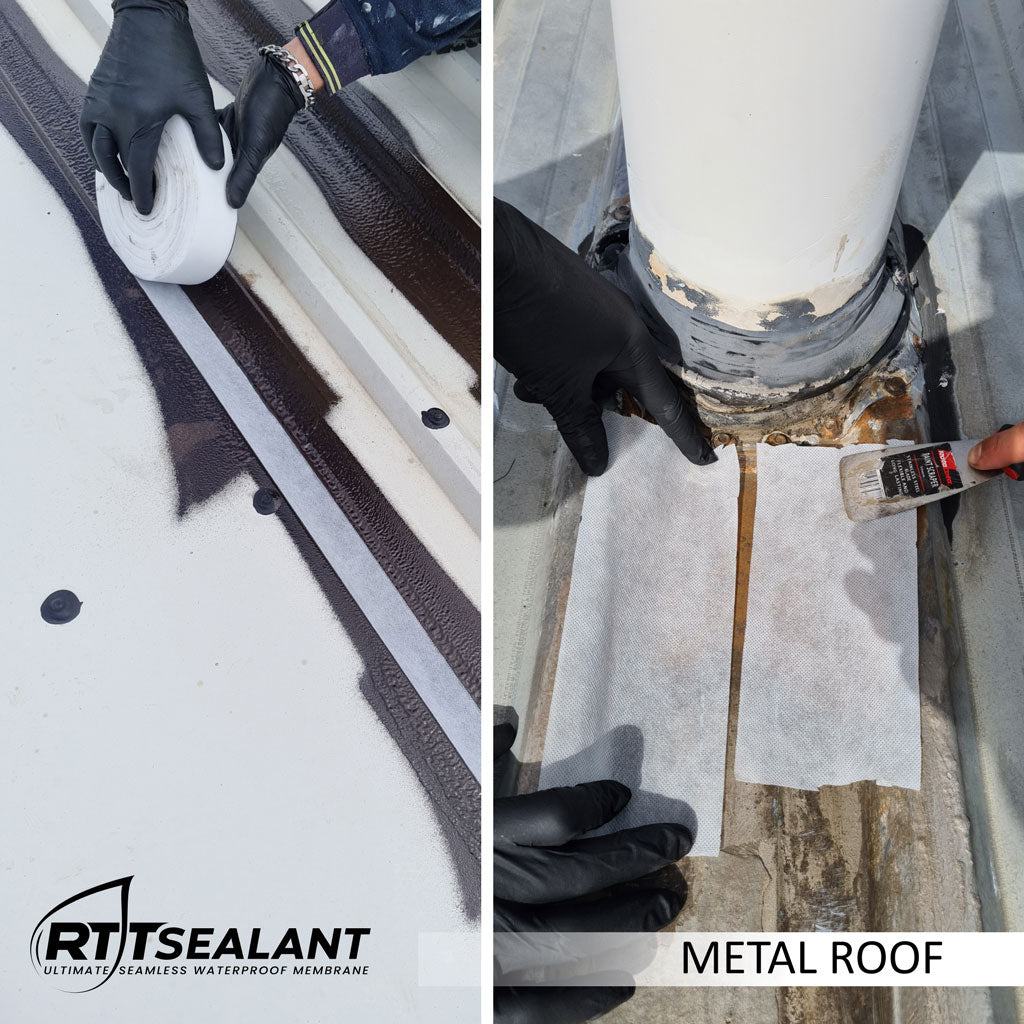
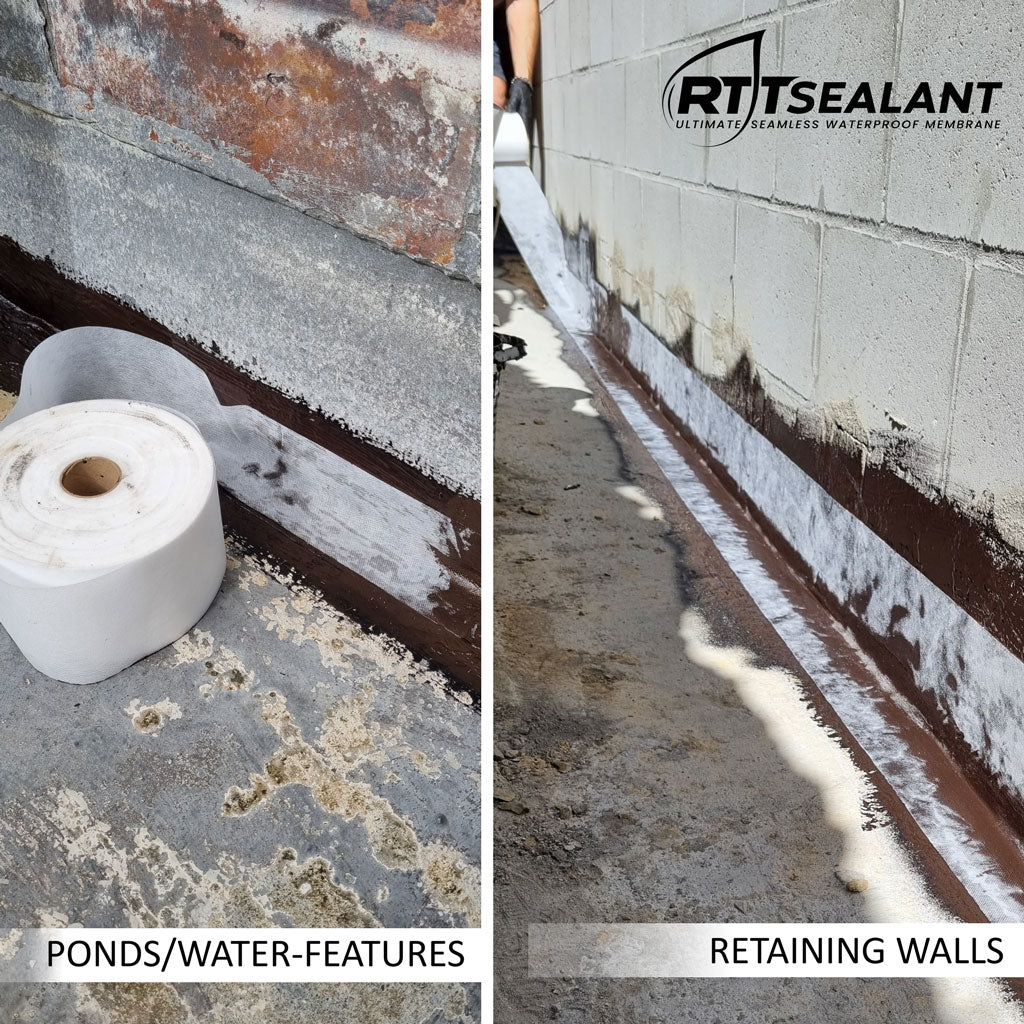
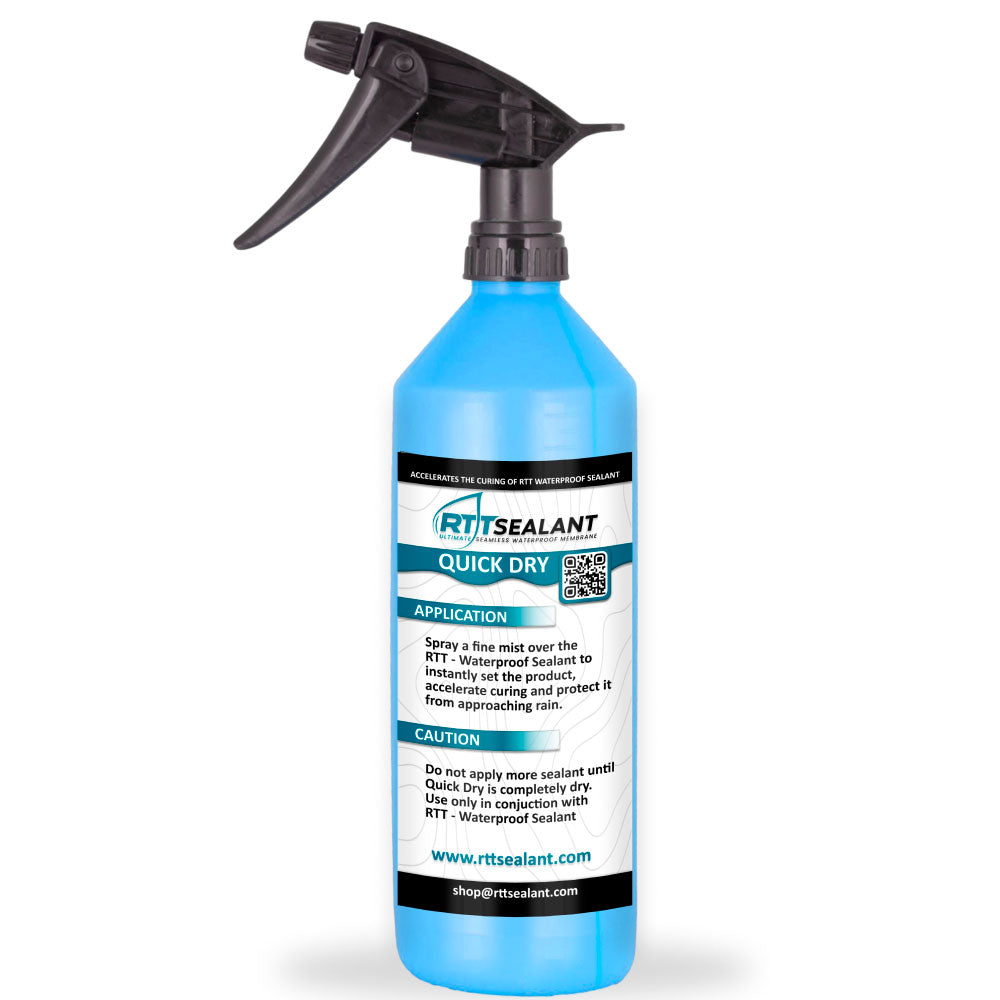
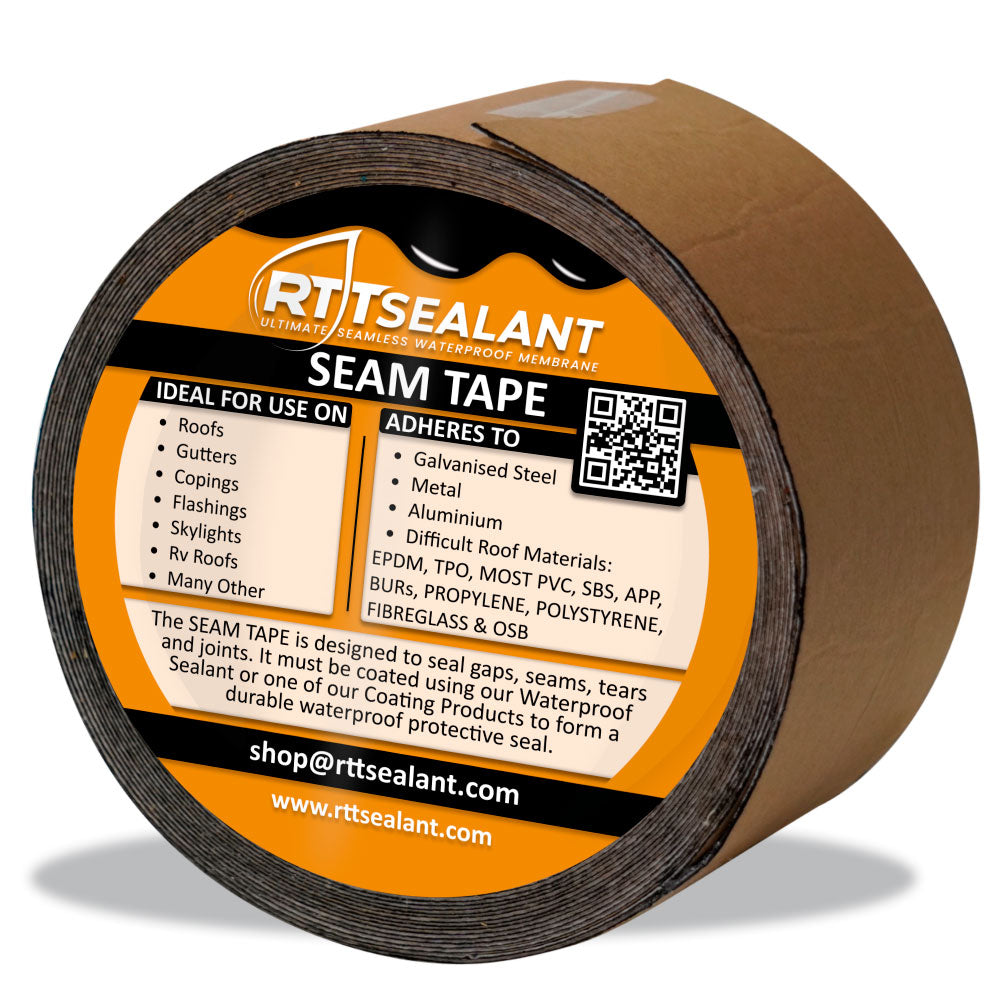
Once dry, apply RTT - Waterproof Sealant by brush, roller, or spray to cracks, holes, joints, pipe inlets, or over RTT - Seam Tape. Place RTT - GEO Textile over the wet sealant on cracks and joints, smoothing out air bubbles. Apply RTT - Quick Dry on top for faster curing.
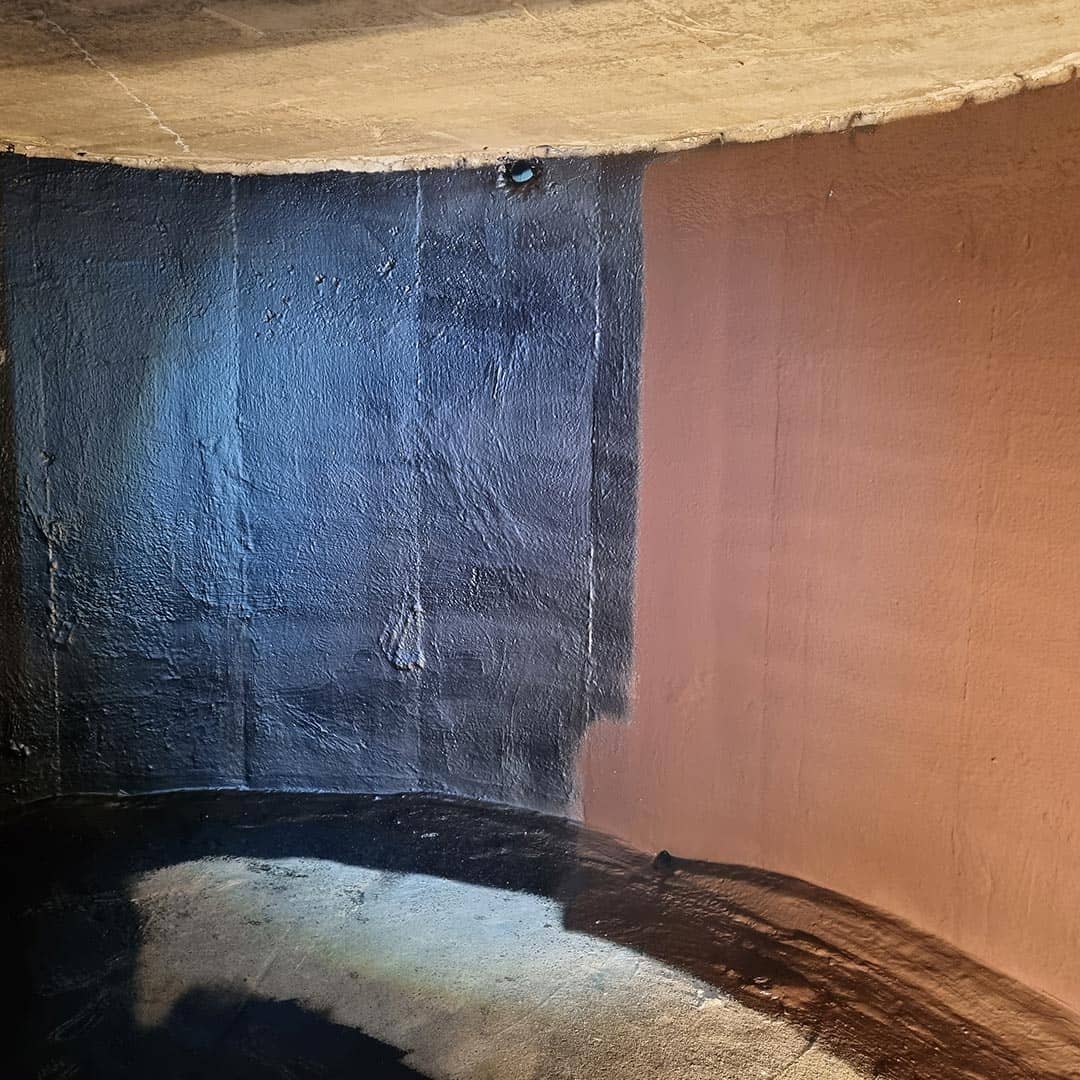
STEP 3:
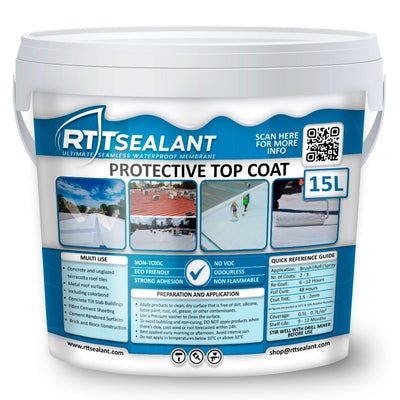
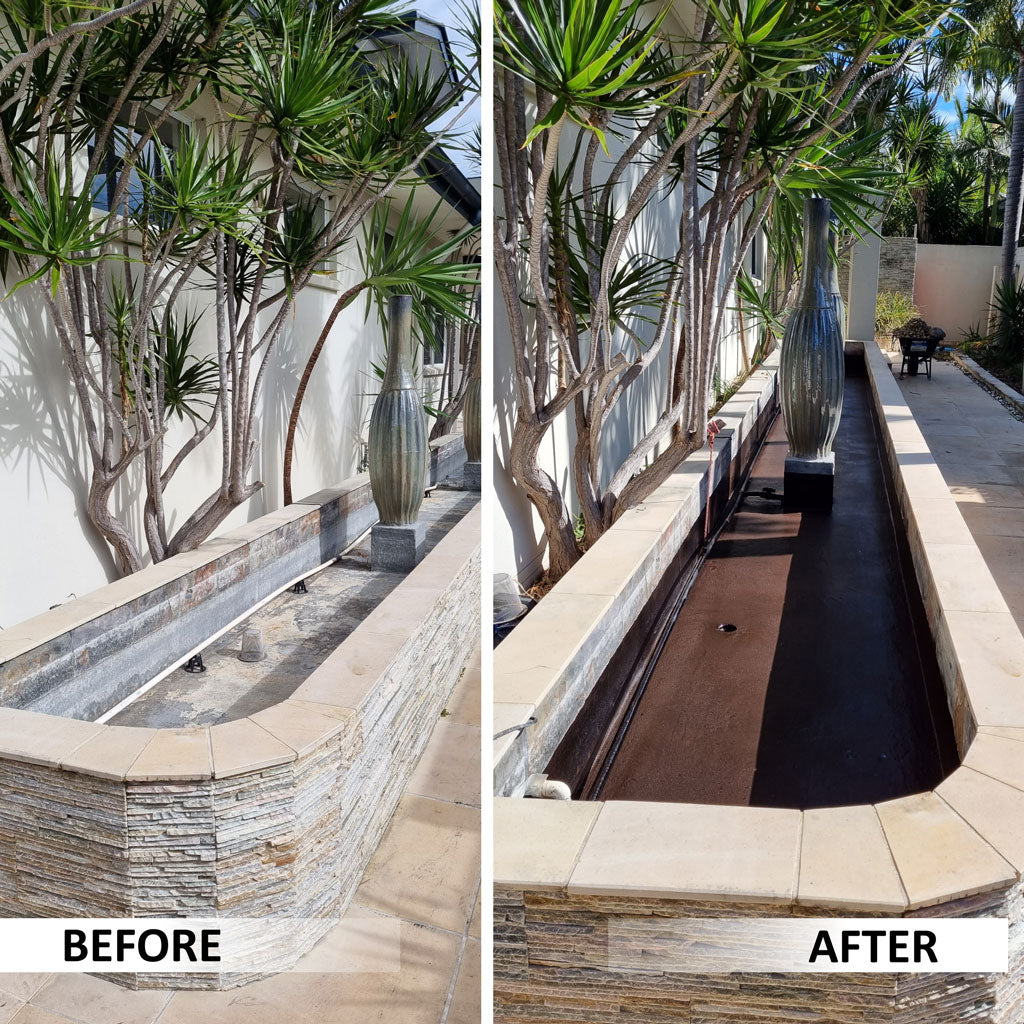
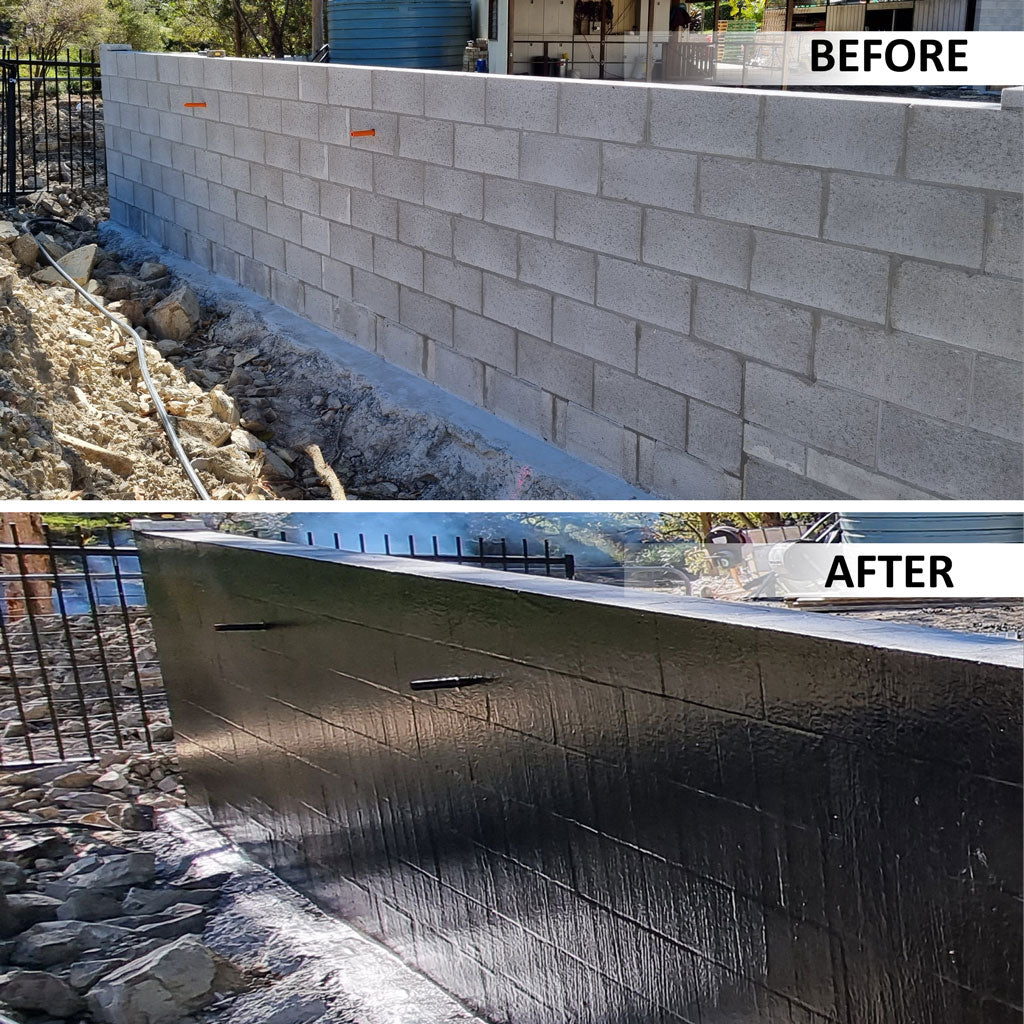
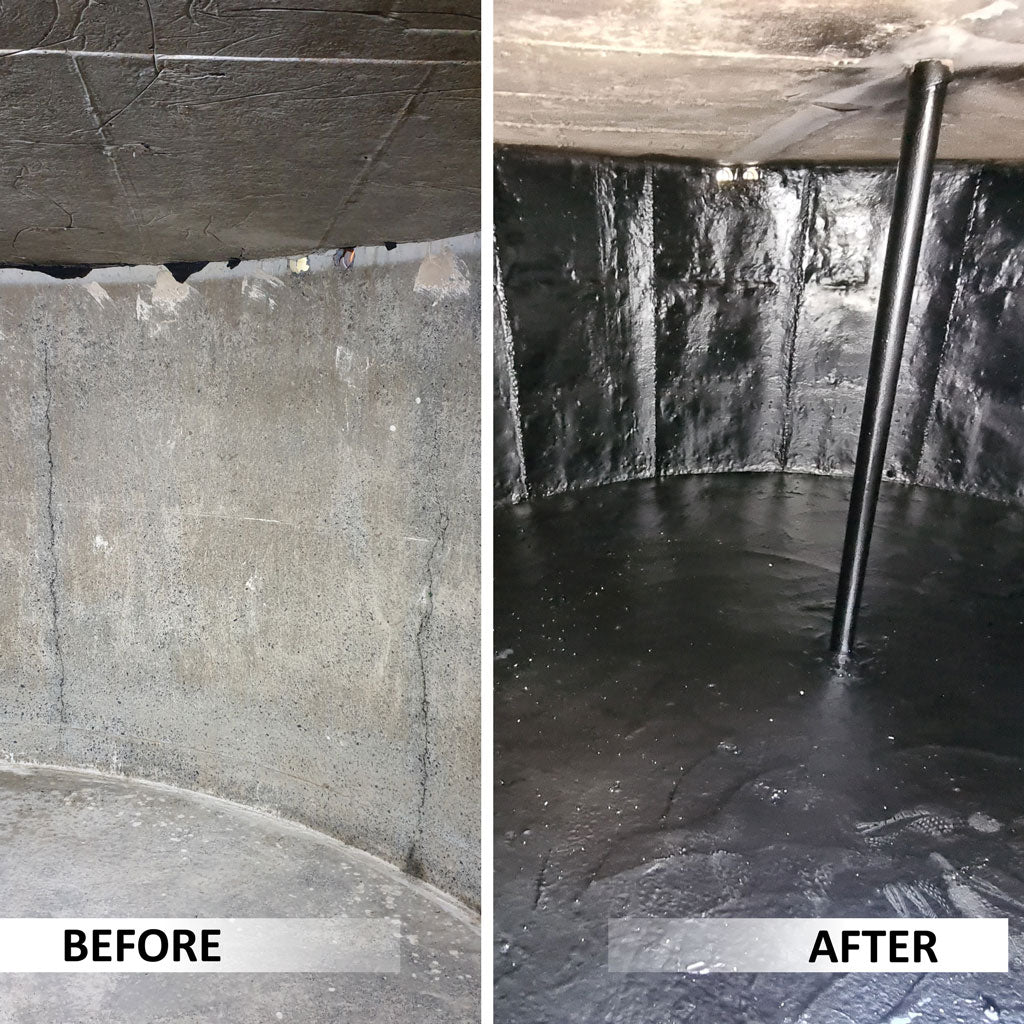
Apply 2 - 3 coats of the RTT-Waterproof Sealant to the walls and any columns, so that the walls and columns are finished.
Allow 4 - 6 hours to cure between each coat.

STEP 4:
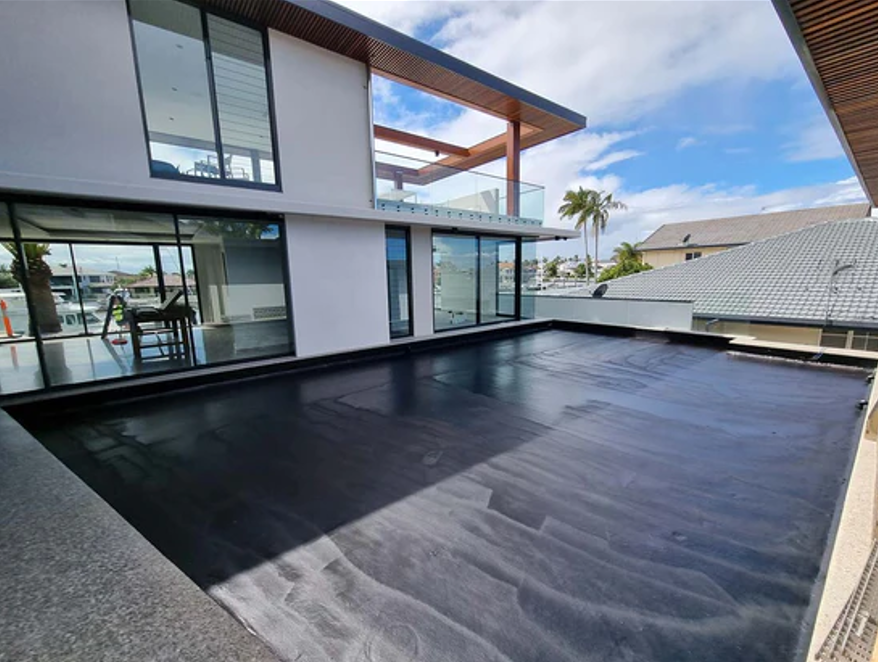
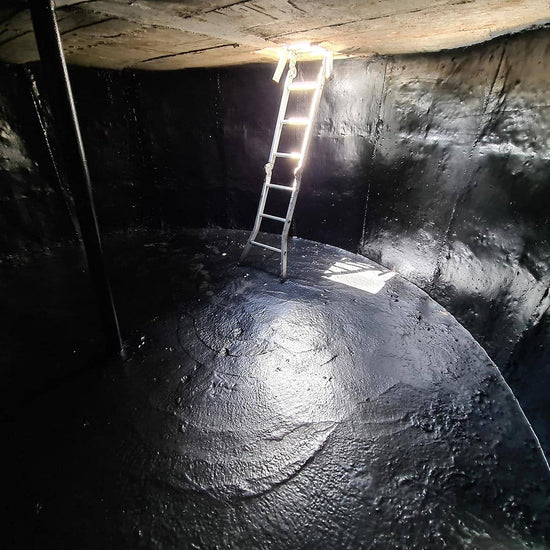
Apply a thick coating to the floor and work your way toward the ladder. overlapping the floor wall joints.
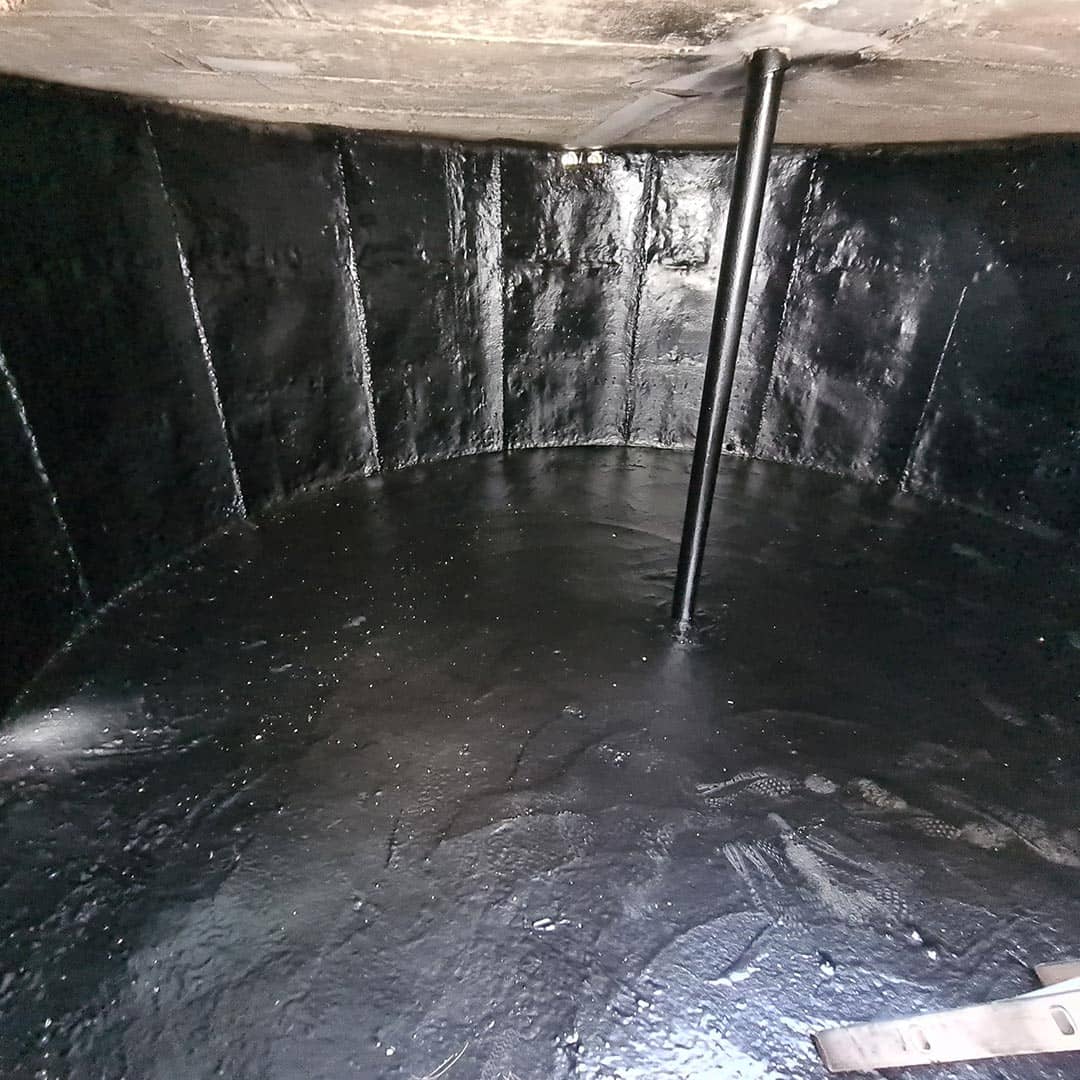
STEP 5:
Allow 10 Days for the product to cure with the the fan continuously going (24/7) to dry out all the moisture.
It is very important that the waterproof membrane is fully cured before filling the tank.
Products you need for your roof


FAQ
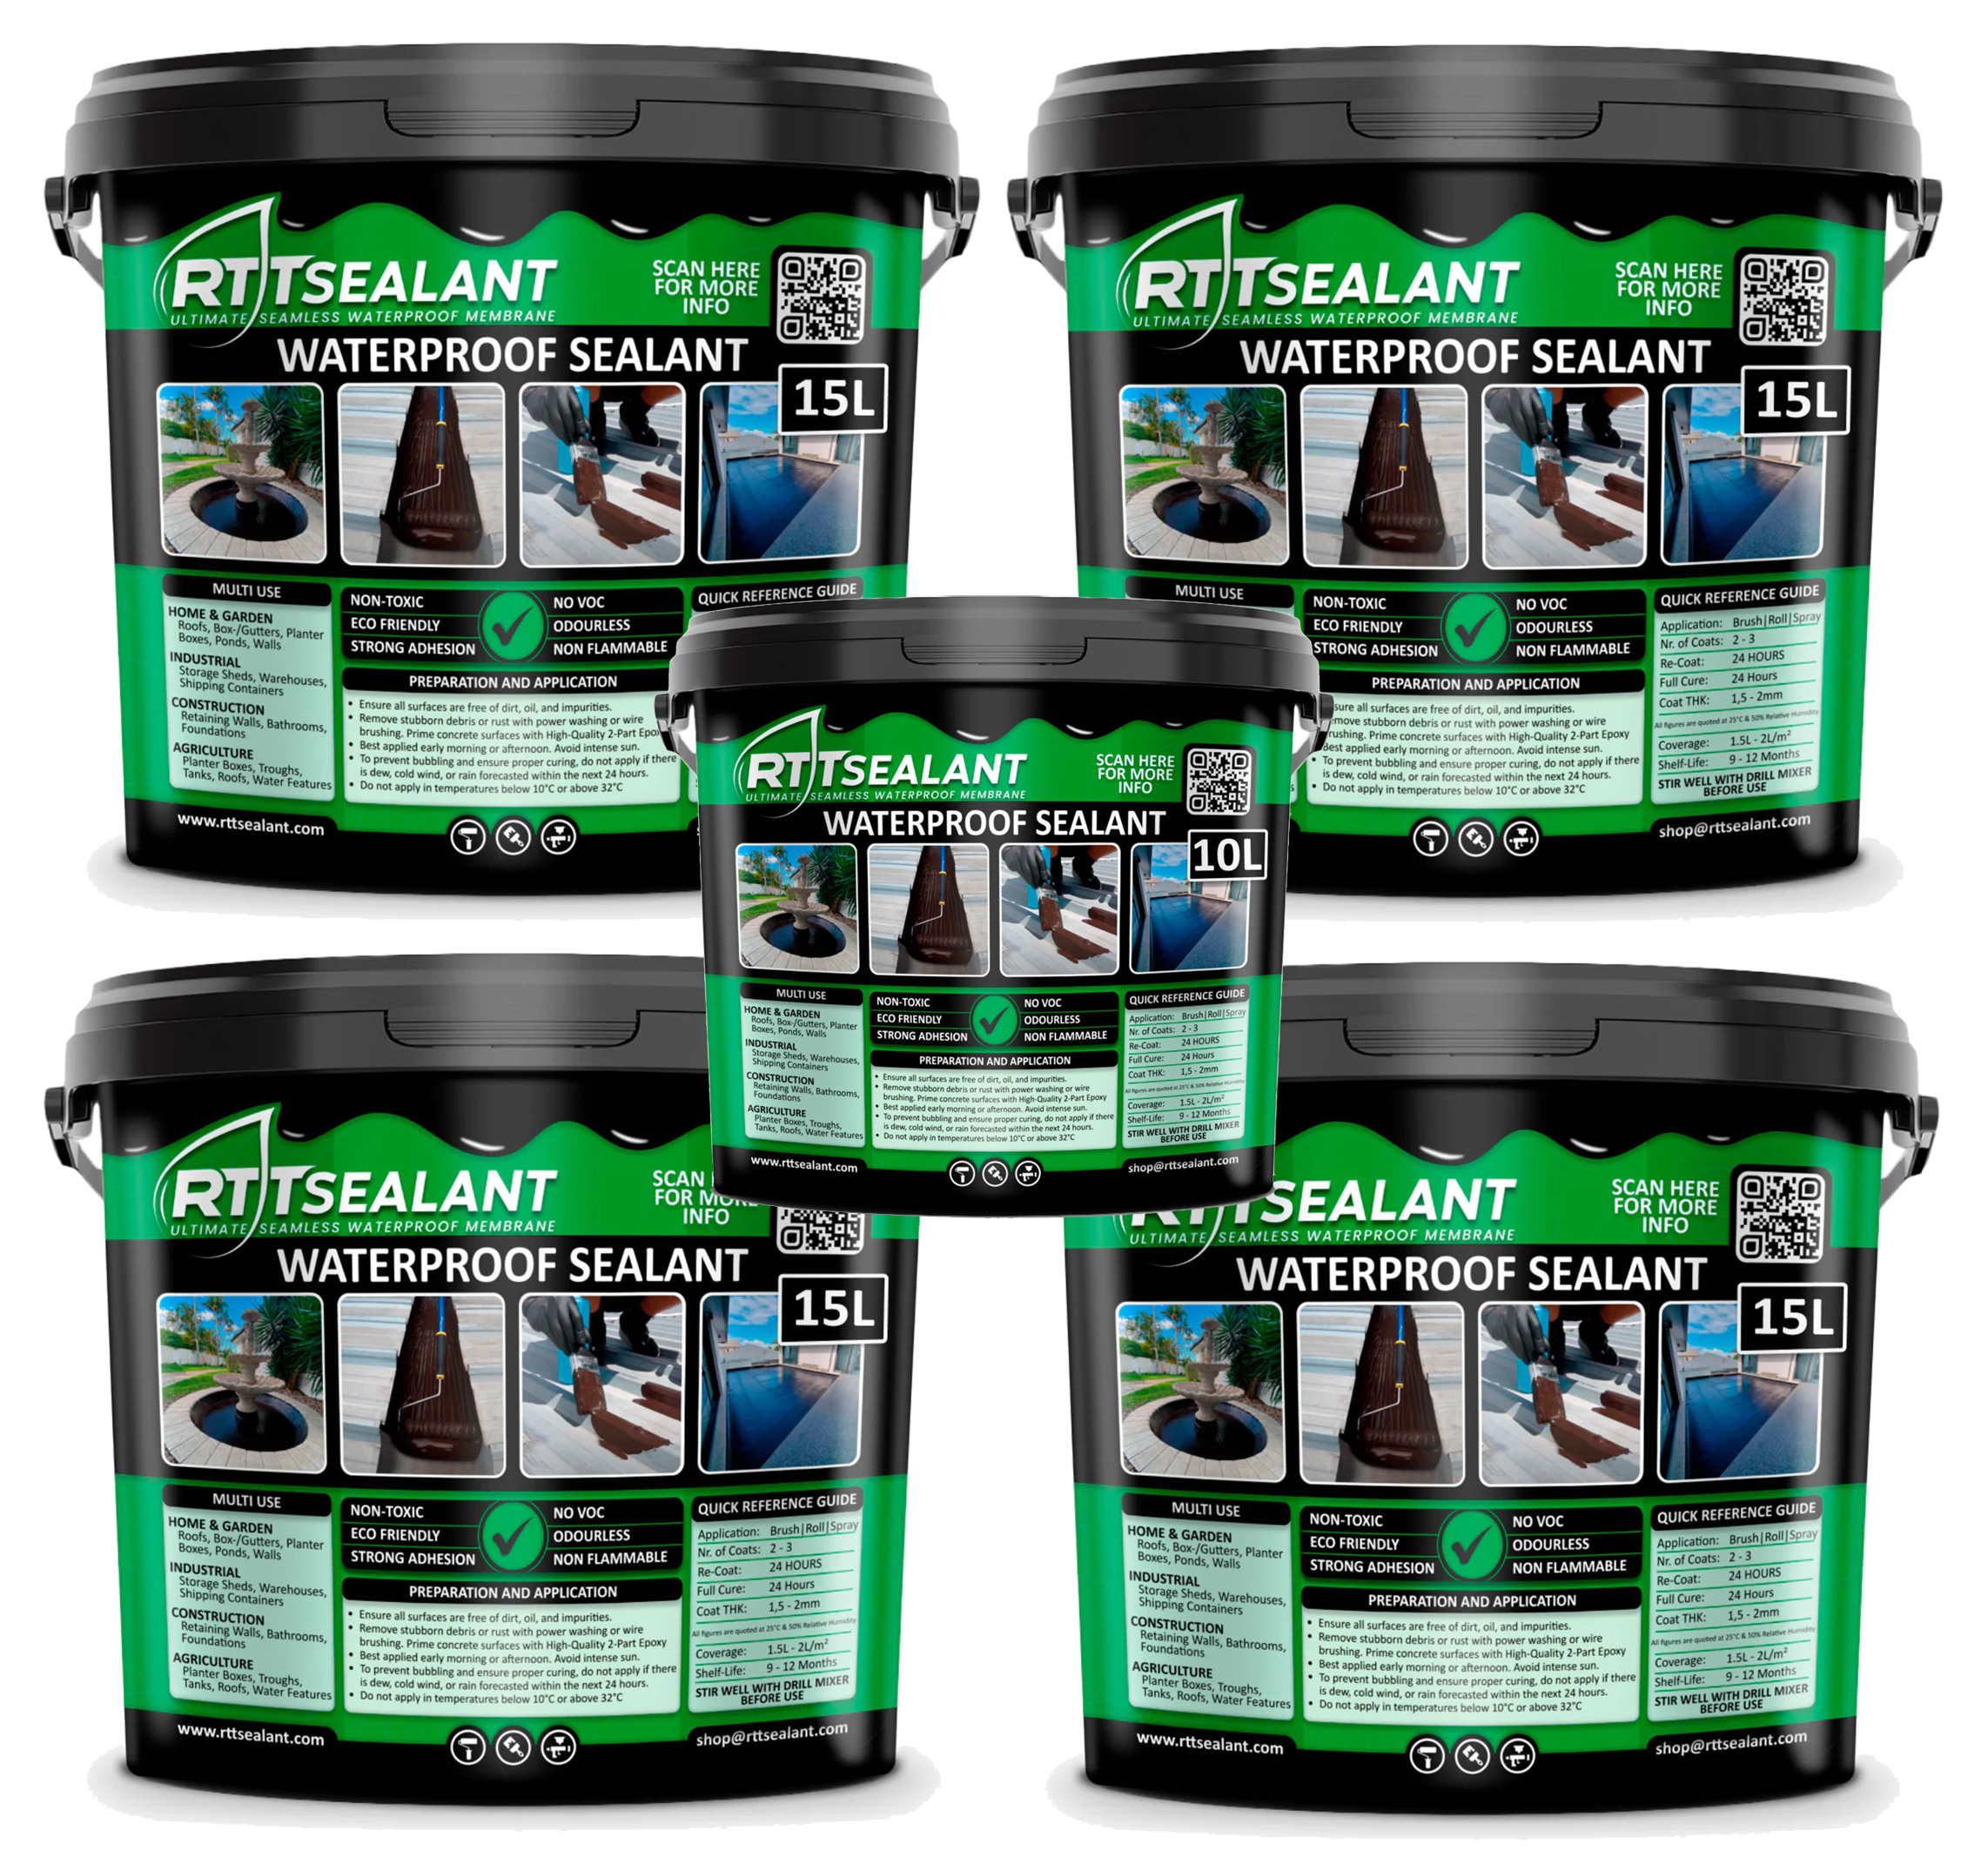
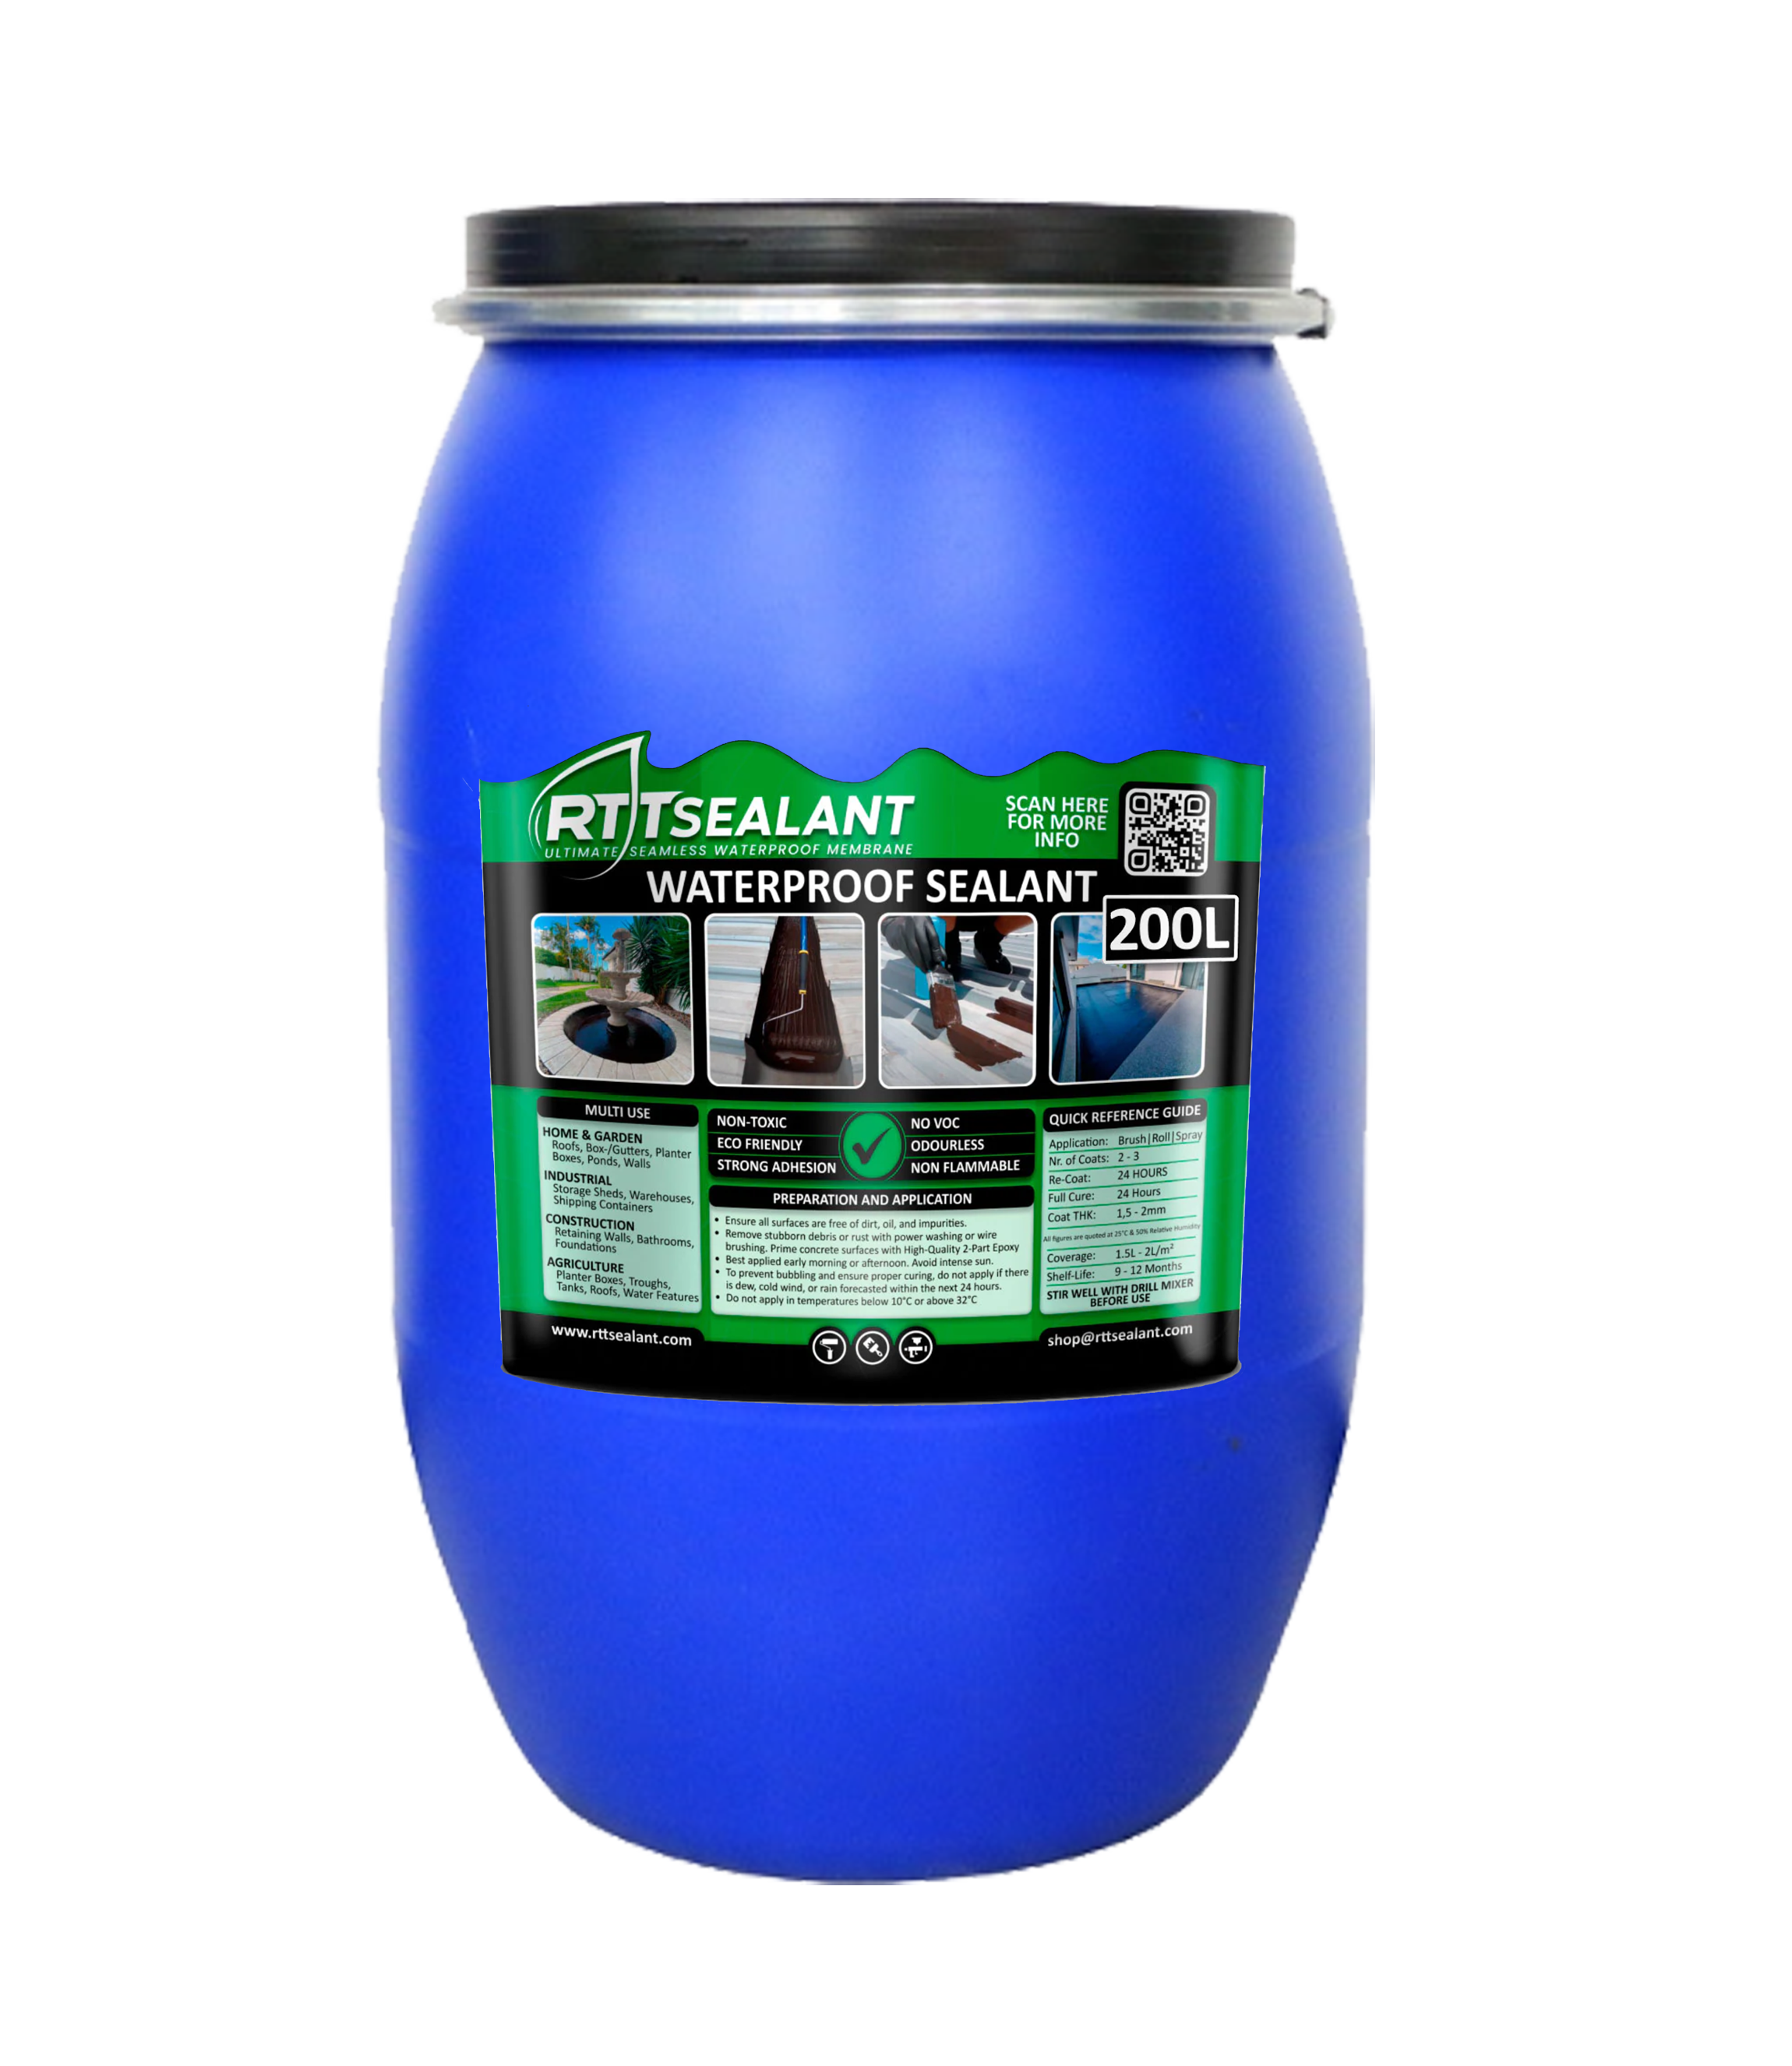
A minimum of 2L/m2 of RTT - Waterproof Sealant for concrete surfaces.
A minumum of 1.5L/m2 RTT - Waterproof Sealant for metal surfaces.
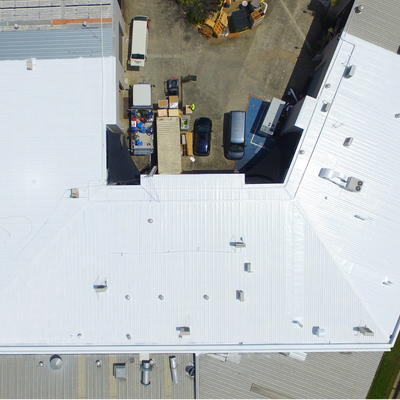
We've been testing and improving our products for water tank repairs since 2008. When properly applied the Waterproof Membrane will extend the life of your Water tank by 10+ year.
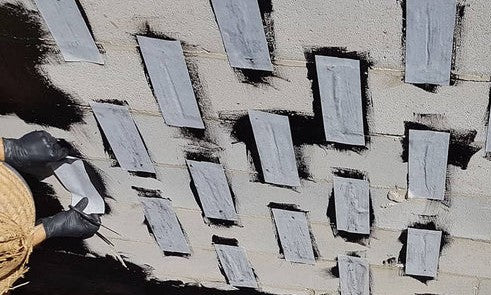
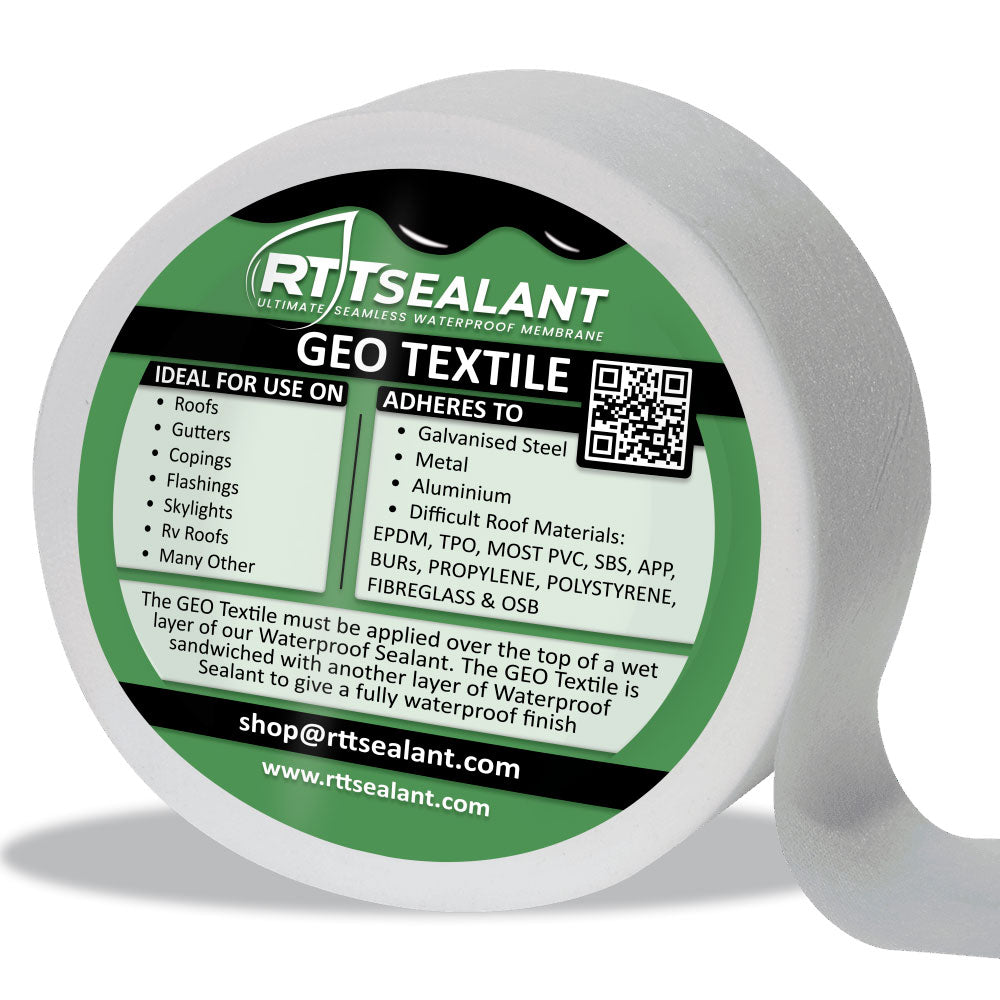
The GEO Textile is sandwiched with the Waterproof Sealant over cracks, holes, seams, vents etc. It is used for reinforcement and stabilisation purposes for your box gutter repair
The Seam Tape is used to cover bigger holes and cracks causing your box gutter leak, as it is firmer than the GEO Textile. Like the GEO Textile, it is used for reinforcement and stabilisation purposes.
The Quick Dry Spray is optional. However, we recommend spraying it on top of a wet Waterproof Sealant layer for a quicker cure and to protect the product from approching rain.